 Save
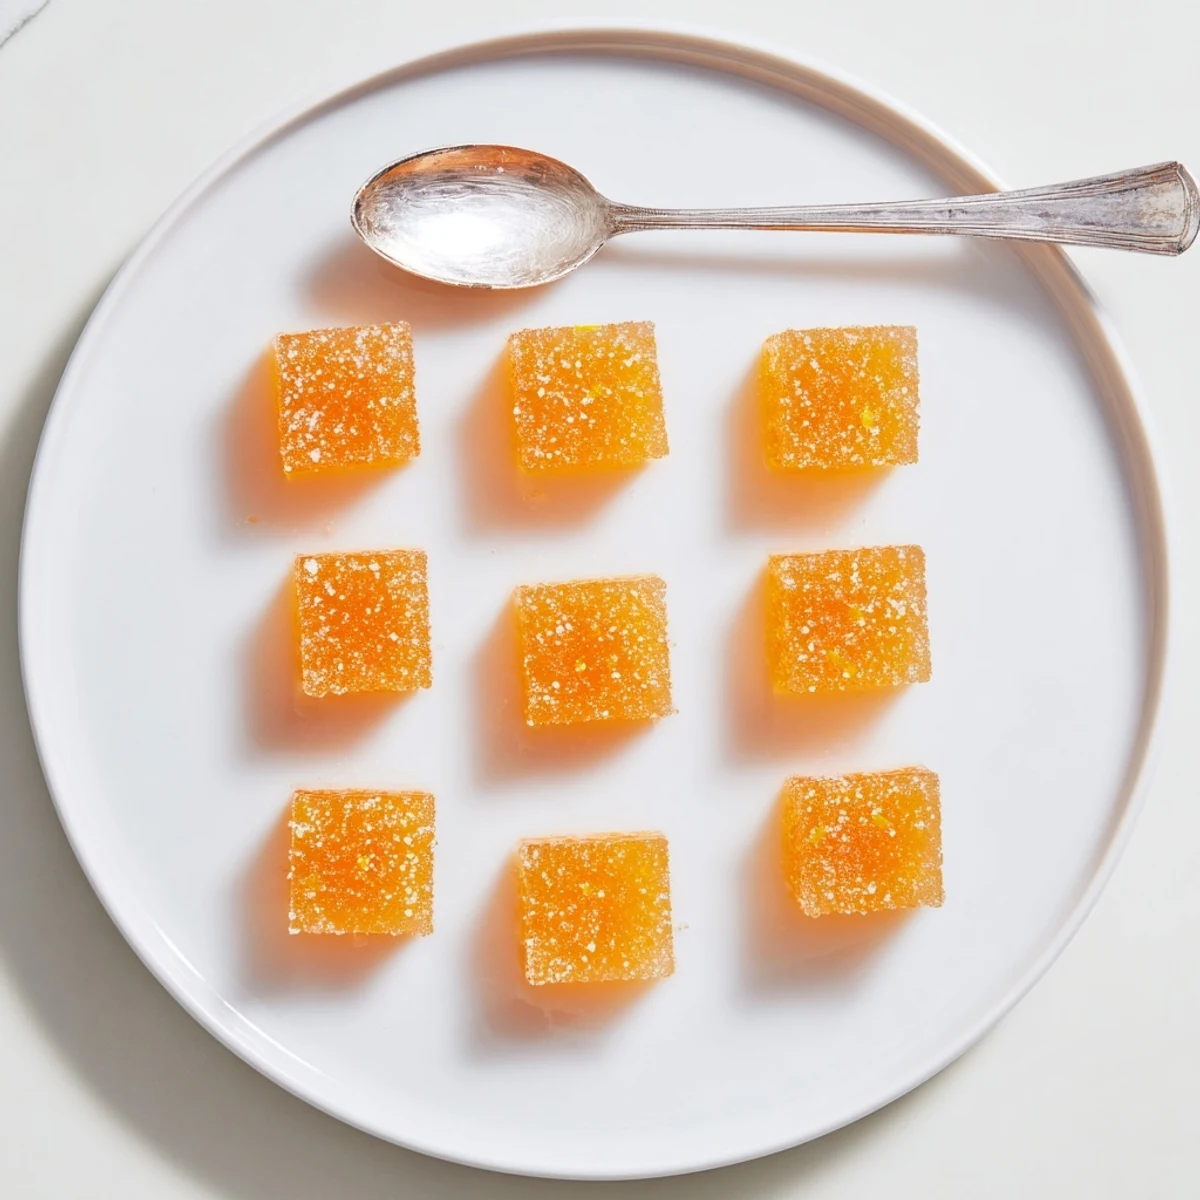
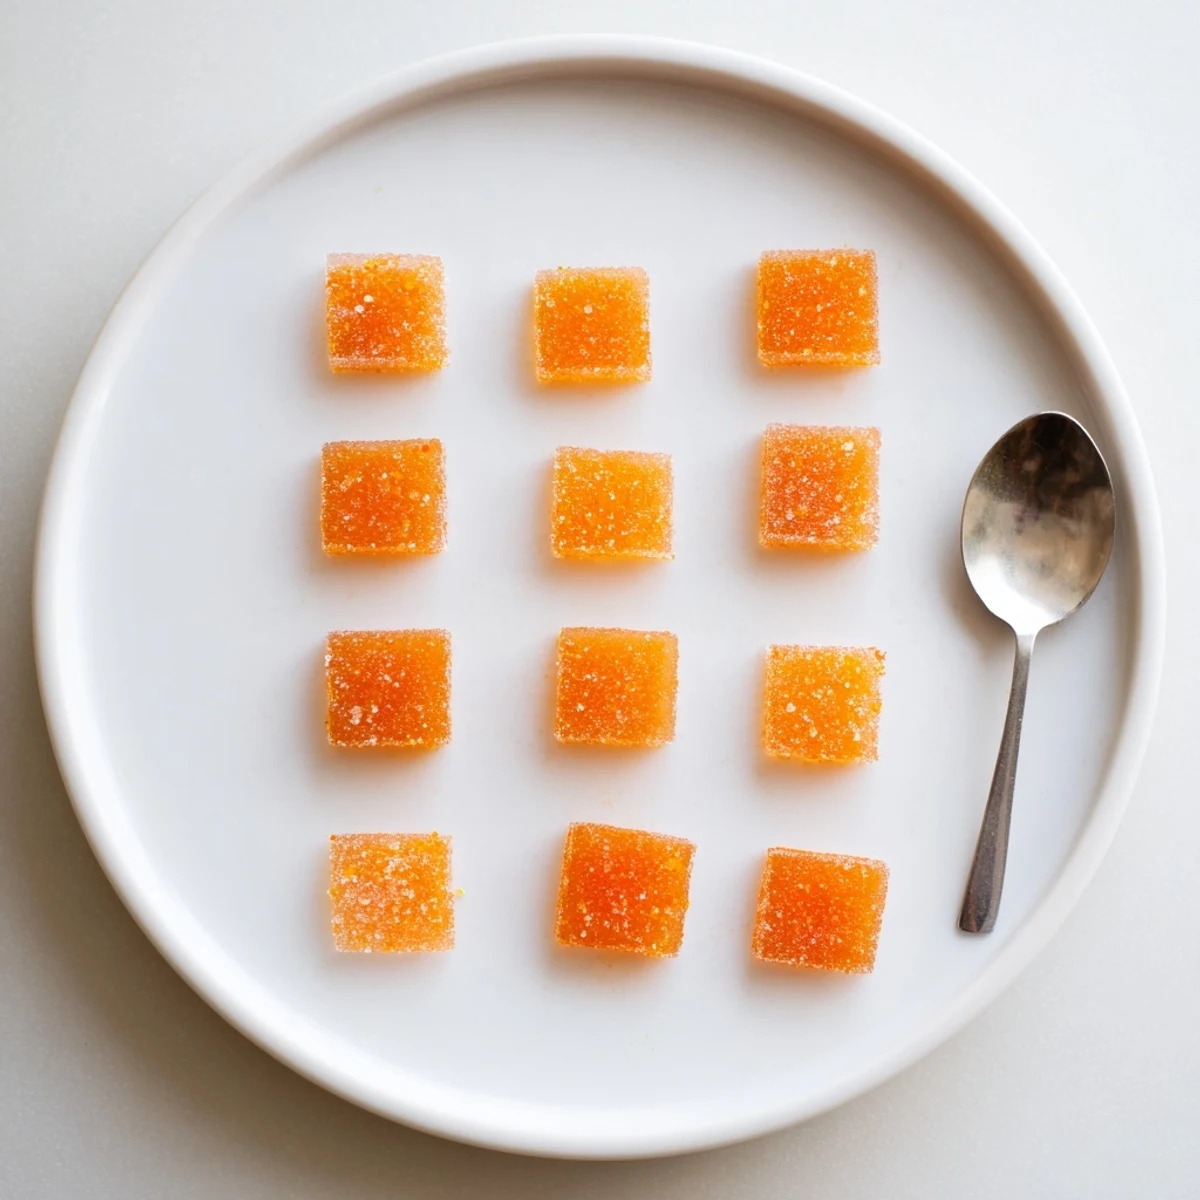
Save Combine fresh orange juice, zest, sugar and corn syrup, cook to the soft‑ball stage (240°F/115°C), then stir in bloomed gelatin or a vegetarian agar alternative until smooth. Pour into a lined pan, allow 2–3 hours to set, cut into squares and toss in extra sugar. Use a candy thermometer for reliability and ensure full gelatin dissolution for a silky, even texture.
Zest filled the air as I stirred and measured, chasing the aromatic plume of oranges that lingered on my hands. My curiosity for making candy at home began the day a neighbor shared a crinkly cellophane-wrapped sweet, invoking a lively discussion on crafting childhood treats from scratch. What started as a rainy afternoon experiment with fresh citrus soon became a compelling routine. Surprisingly, nothing lifts a mood quite like watching a glossy orange syrup bubble away while conversations drift through the kitchen.
It’s hard not to smile remembering the time I brought these to a book club, sugar-dusted and neatly squared; people reached for seconds before the plot got interesting. We ended up debating candy textures almost as long as we discussed the chapters, with sticky fingers passing notes and swapping favorites. Sharing homemade sweets has a way of creating instant camaraderie, especially when they taste like sunshine. Even a fellow usually resistant to dessert was caught pocketing a few for later.
Ingredients
- Freshly squeezed orange juice: Using real juice brings unmatched brightness—strain out pulp for the smoothest candy.
- Orange zest: The zest is where most of the fragrant oils hide—wash oranges well and zest just the colored part for best flavor.
- Granulated sugar: It’s essential for that classic candy chew and to balance the tart citrus—avoid reducing the amount or the texture will suffer.
- Light corn syrup or glucose syrup: This prevents crystallization, so your candies stay delightfully snappy instead of gritty—don’t skip it.
- Water: A little for dissolving and simmering—measure it to the drop for consistent results.
- Powdered gelatin (or sheets, or agar-agar for vegetarian): This is what sets the squares to that bouncy, toothsome bite—bloom it patiently so you don’t wind up with lumps.
- Cold water (for blooming gelatin): Cold water helps the gelatin hydrate evenly—let it fully swell before adding.
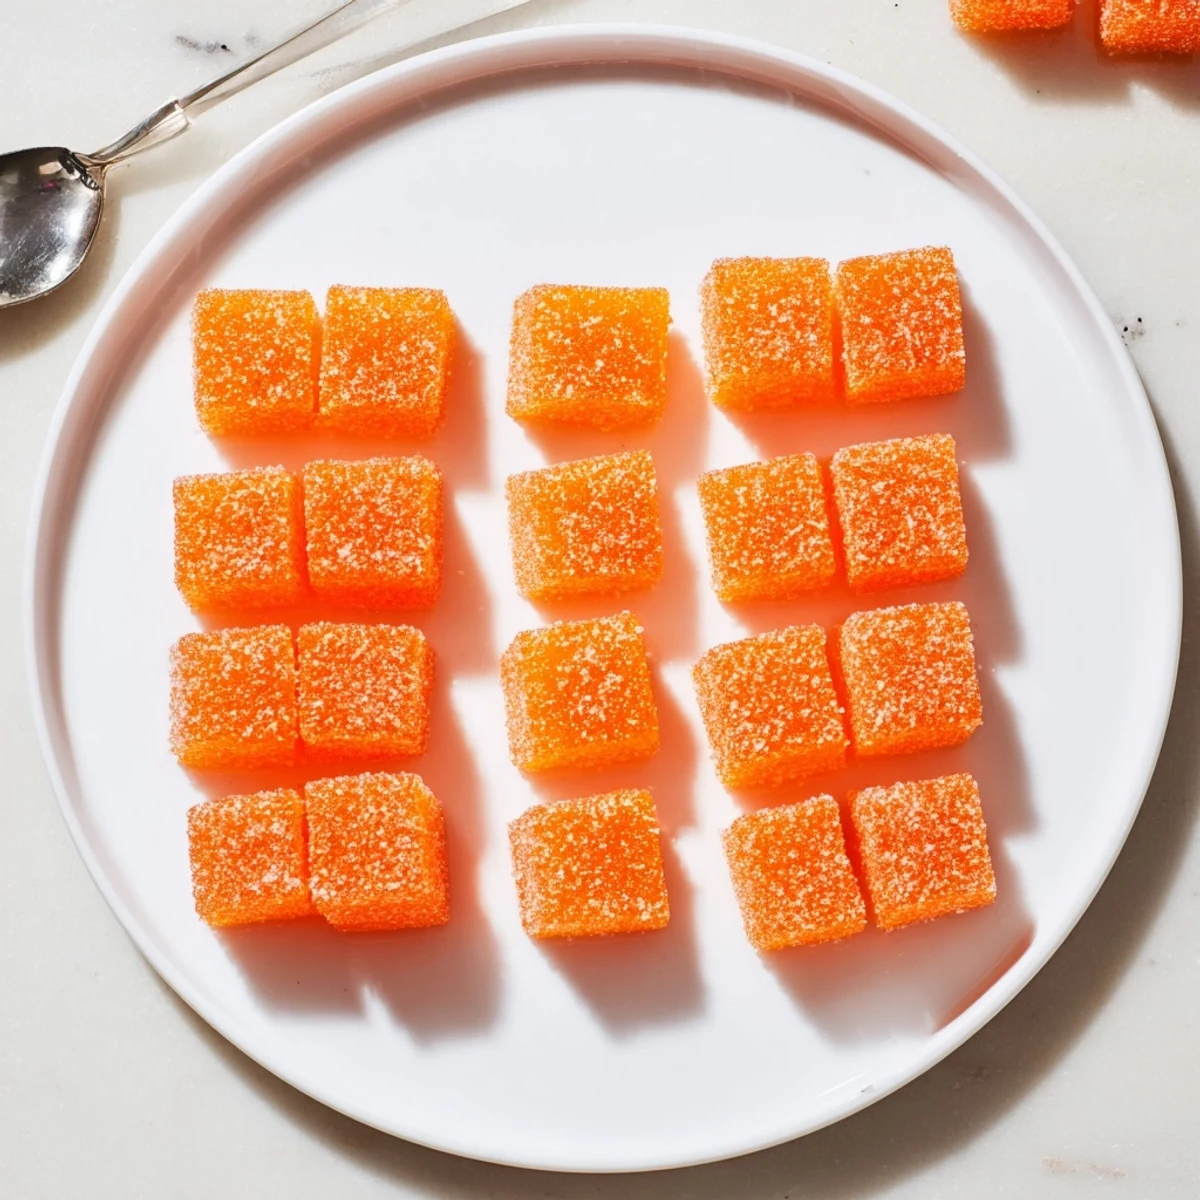
- Extra granulated sugar (for coating): This finishing touch keeps pieces from sticking and adds sparkle; I’ve found it also makes them more irresistible to passersby.
Instructions
- Prepare the pan:
- Line your baking pan with parchment and brush with a whisper of oil. It’s a small step but makes unmolding the candy a breeze.
- Bloom the gelatin:
- In a small bowl, scatter gelatin over cold water and leave it undisturbed until it softens and swells—about five minutes of anticipation.
- Simmer the orange base:
- Combine the juice, zest, sugar, corn syrup, and extra water in your saucepan; stir gently as the scents brighten and sugar dissolves completely.
- Cook to soft-ball stage:
- Raise the heat and let the mixture bubble enthusiastically, keeping an eye on the thermometer; it should reach 240°F for that chewy candy texture—no more, no less.
- Dissolve the gelatin:
- Take it off the burner and immediately stir in the bloomed gelatin until every speck has melted away, leaving a glossy, cohesive syrup.
- Pour and set:
- Quickly pour the molten orange mixture into your waiting pan, smoothing the surface before setting aside to cool undisturbed for two to three hours.
- Slice and coat:
- Once set, gently lift the slab out, cut into tidy squares or playful shapes, and tumble each in extra sugar for sparkle.
- Store the sweets:
- Nestle candies in an airtight container, separating layers with parchment—if they last longer than a day, you’re doing better than I ever manage.
 Save
Save Years ago, these orange candies quietly stole the spotlight on a holiday dessert tray—people ignored the cakes and went for the glowing citrus bites instead. That was when I first realized how something so small could evoke pure delight and a little awe from a crowd of grown-ups.
How to Master Candy Temperature
Candy-making turned precise once I stopped guessing and invested in a proper candy thermometer—guesswork only led to batches that refused to set, or ones that shattered. Hold the thermometer tip above the bottom of the pan, and don’t walk away—temperature climbs fast in those final moments. Trusting that little gadget brought consistency I didn’t know I needed.
Tweaks for Dietary Needs
More friends asked for vegetarian options than I expected, so I tried agar-agar—just whisk it in carefully and adjust simmering times, since it sets faster and firmer. Using agar means these candies work for almost everyone at the table, and a drop of natural food coloring elevates their sunshine glow. Even gluten-free palates can savor these with confidence now.
Troubleshooting and Serving Ideas
If a batch turns sticky, a few more minutes of cooking can solve it next time—just don’t go overboard. For events, cut candies into whimsical shapes with small cookie cutters, or twist them in cellophane for gifting—people love the old-fashioned feel. Serve alongside tea or coffee for an easy conversation starter, or just sneak a few from the tin late at night.
- Dust off extra sugar before serving so they don’t stick together.
- Keep candies cool and dry for best texture.
- Share generously—these sweets disappear astonishingly fast.
 Save
Save May your kitchen fill with citrus and laughter, and may these orange candies brighten even the cloudiest day. There's true joy in making sweets from scratch—especially when shared.
Recipe FAQs
- → Can I use agar-agar instead of gelatin?
-
Yes. Agar-agar can set these candies for a vegetarian option, but it must be fully dissolved in boiling liquid and will yield a slightly firmer, less elastic texture. Follow the package guidance for ratios and test a small batch if unsure.
- → Is a candy thermometer necessary?
-
Highly recommended. Reaching the soft‑ball stage (around 240°F/115°C) ensures the right chew and set. A thermometer gives consistent results and helps avoid under- or overcooking the sugar.
- → How do I prevent the candies from sticking when cutting?
-
Let the slab cool and fully set, then use a sharp knife or candy cutter dusted with sugar. Wiping the blade hot or dipping it briefly in hot water between cuts helps produce clean edges.
- → What’s the best way to store these candies?
-
Store in an airtight container at cool room temperature, layering pieces with parchment to prevent sticking. Properly stored, they keep well for about one to two weeks.
- → Can I use other citrus juices?
-
Yes. Lemon, grapefruit or a mix of citrus will work; expect shifts in acidity and flavor intensity. Adjust sugar slightly to balance tartness and preserve the desired chew.
- → How can I get a more vibrant orange color?
-
Add a drop of concentrated natural orange coloring or a small amount of carrot or beet juice for tint without altering flavor significantly. Add color sparingly to reach the shade you prefer.
