 Save
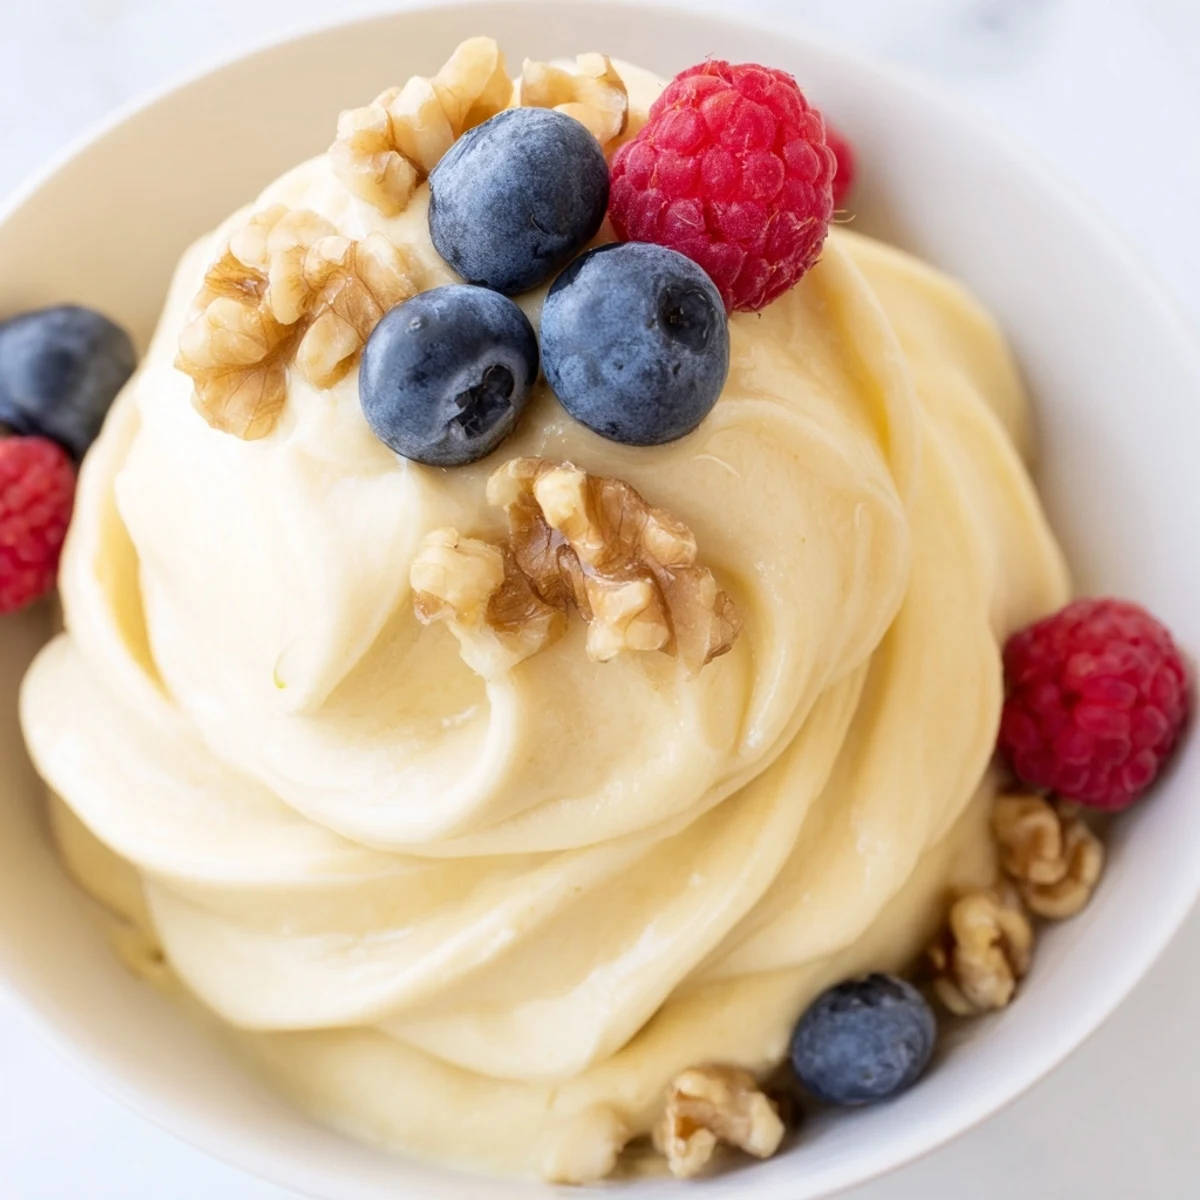
Save Transform ripe frozen bananas into a velvety, scoopable treat that rivals traditional ice cream. This simple creation delivers impressive creaminess without dairy, added sweeteners, or complex equipment. The natural sweetness of overripe bananas creates a luscious base that blends into smooth perfection in just minutes.
Customize endlessly with vanilla, cocoa powder, or peanut butter for flavor variations. Serve immediately for soft-serve texture or freeze longer for firm scoops. Each serving contains only 105 calories while satisfying dessert cravings completely.
My blender was loud enough at midnight that my roommate knocked on my door asking if I was grinding rocks. I was actually making banana nice cream for the first time, skeptical that frozen bananas alone could mimic anything close to ice cream. One taste of that impossibly silky spoonful and I stood there in the dark kitchen eating the entire batch straight from the pitcher.
I started keeping a dedicated bag of sliced bananas in my freezer after that night, mostly because friends kept showing up at my apartment expecting me to make it for them. My friend Elena brings over frozen berries now and we blend them in together, standing around the kitchen island with spoons before it even makes it to a bowl.
Ingredients
- 3 ripe bananas: Use bananas with plenty of brown spots on the peel since the starches have converted to sugar and they blend much creamier than firm yellow ones.
- 1 tsp vanilla extract: A small amount rounds out the banana flavor and makes it taste more like actual ice cream.
- 1 to 2 tbsp plant based milk: Only add this if your blender struggles with the frozen chunks, and add it one spoonful at a time so the mixture does not thin out too much.
- 1 tbsp peanut butter or cocoa powder: Either one transforms the flavor entirely if you want something beyond plain banana.
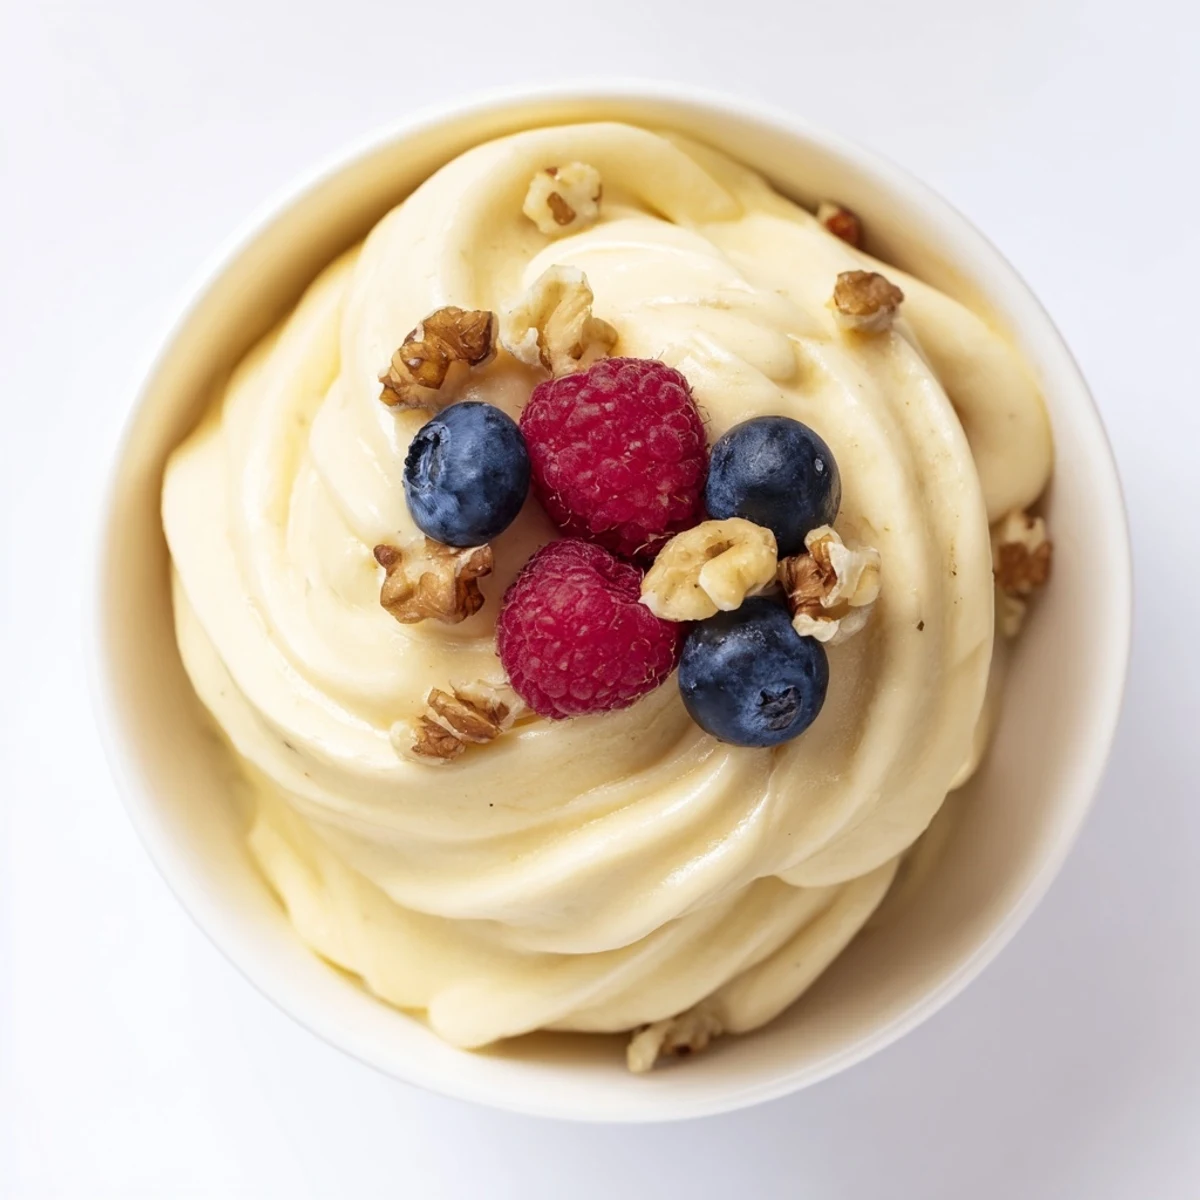
- Toppings like fresh berries, chopped nuts, or chocolate chips: These add texture contrast and make a simple bowl feel like a real sundae.
Instructions
- Freeze the bananas:
- Peel each banana and slice it into coins about half an inch thick, then spread them in a single layer in an airtight container and freeze for at least two hours until completely solid through the center.
- Start blending:
- Dump the frozen slices into a high powered blender or food processor and blend until the chunks break down into tiny crumbly pieces, stopping to scrape down the sides with a spatula whenever banana sticks to the walls.
- Push through the ugly stage:
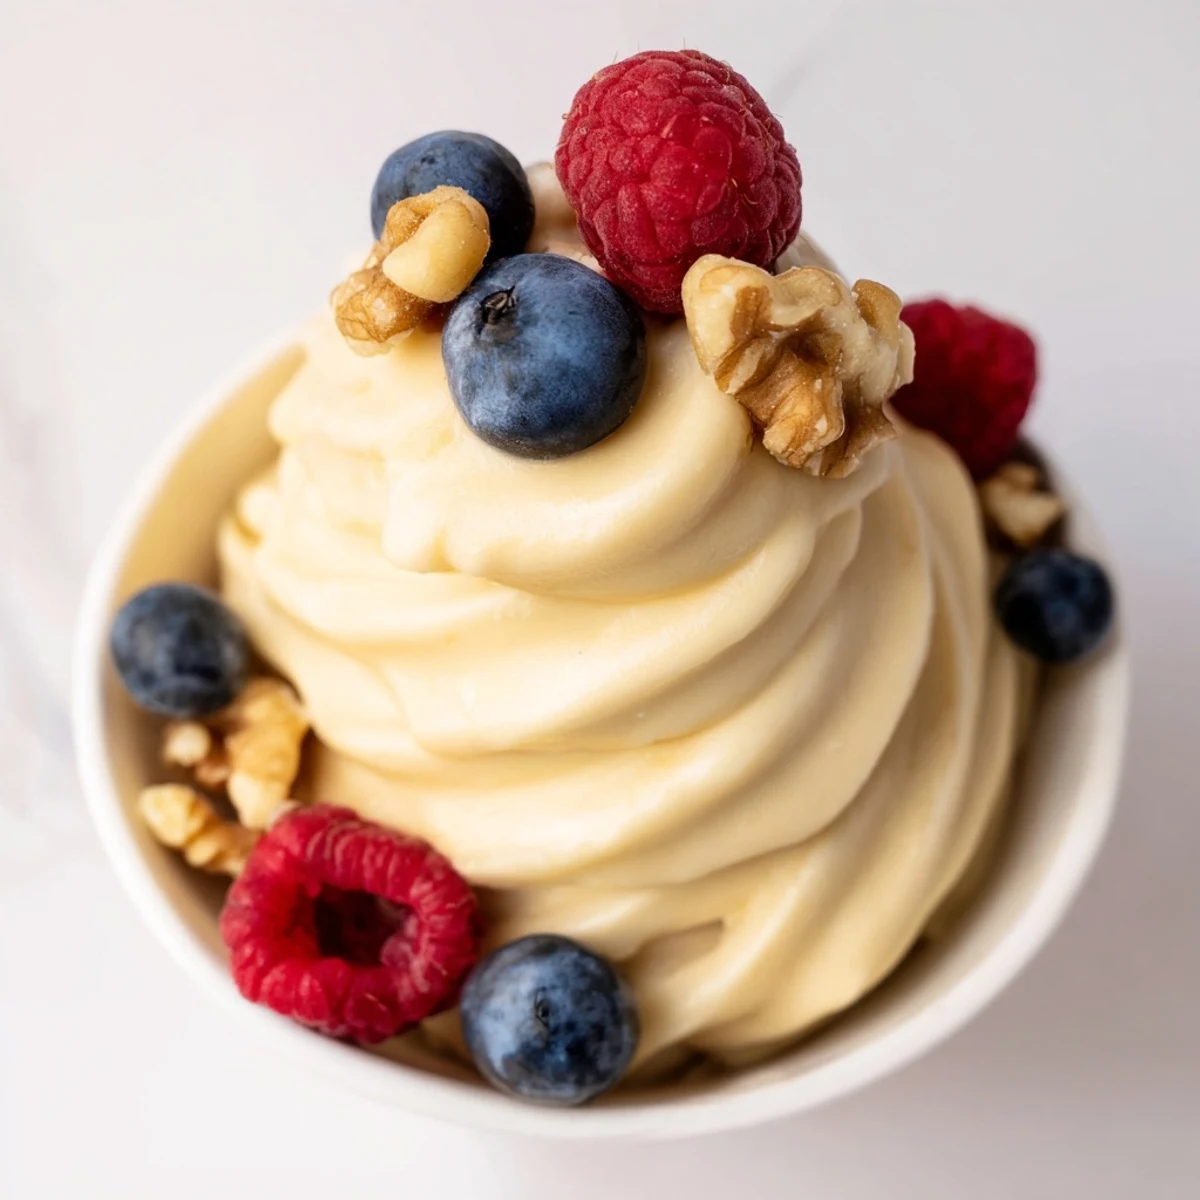
- Keep blending past the crumbly phase and the banana will suddenly transform into a thick creamy mass that looks exactly like soft serve ice cream.
- Add your flavor boosters:
- Toss in vanilla extract, peanut butter, or cocoa powder now and blend for another thirty seconds until everything is evenly swirled through.
- Choose your texture:
- Serve it right away for a soft serve consistency, or scoop it into a container and freeze for one more hour if you want it firm enough to hold a round scoop shape.
- Top and enjoy:
- Pile on whatever toppings you are craving and eat it immediately because banana nice cream melts faster than traditional dairy ice cream.
 Save
Save I brought a batch to a summer potluck thinking no one would care about a two ingredient dessert, and it disappeared faster than the fancy pastries someone picked up from a bakery downtown.
Choosing and Storing Your Bananas
I buy the discounted overripe bananas at the grocery store specifically for this recipe since they cost less and blend up sweeter than perfect yellow ones. Once sliced and frozen in a single layer, they keep well for up to three months, so I always have a backup stash ready when the craving hits at an unreasonable hour.
Blender Versus Food Processor
A food processor gives you the smoothest texture with the least effort because the wide bowl lets the blades catch every piece of frozen banana. A blender works too but you will stop and scrape more often, and a small personal blender might need a splash of milk to get things moving.
Fun Variations to Try
Once you master the basic version you will start keeping flavor ideas in your head for every mood. The best part of nice cream is how easily it adapts to whatever you have on hand.
- Blend in a teaspoon of matcha powder for a grassy sweet twist that looks beautiful in a bowl.
- Add a shot of cooled espresso for a coffee banana combination that makes a perfect afternoon pick me up.
- Freeze a handful of strawberries alongside the bananas for a fruity pink version that kids especially love.
 Save
Save Keep a bag of frozen banana slices in your freezer and dessert is never more than ten minutes away, no matter what the day throws at you.
Recipe FAQs
- → What makes banana nice cream creamy without dairy?
-
The high starch content in bananas breaks down during freezing and blending, creating a remarkably smooth texture. When blended thoroughly, the fruit's natural pectin and fiber produce a creamy consistency similar to traditional ice cream without any dairy products needed.
- → How ripe should the bananas be?
-
Use bananas with plenty of brown spots—they're naturally sweeter and blend more smoothly. Yellow bananas with brown speckles work perfectly. Completely black bananas may have an overly intense flavor, while bright yellow ones lack sweetness and creaminess.
- → Can I make this without a high-powered blender?
-
A food processor works excellently and often handles frozen fruit better than standard blenders. If using a regular blender, let the bananas thaw for 5 minutes before blending and add liquid gradually. The key is patience—blend in short bursts, scraping down sides frequently.
- → How long does banana nice cream last in the freezer?
-
Store in an airtight container for up to one week. The texture may become somewhat icy after freezing—simply let it thaw for 10 minutes and re-blend briefly to restore creaminess. For best results, consume within the first few days when texture remains optimal.
- → What are the best flavor combinations?
-
Classic pairings include peanut butter with chocolate chips, strawberries with basil, or cocoa powder with mint extract. For tropical notes, blend in frozen mango or pineapple. Coffee lovers can add instant espresso powder, while matcha creates a vibrant green version with earthy notes.
- → Is this suitable for people with dietary restrictions?
-
The base version contains no common allergens and is naturally vegan, gluten-free, and dairy-free. Be mindful when adding toppings or mix-ins—nut butters introduce allergens, and some plant milks contain soy. The basic preparation fits most restrictive diets while remaining completely satisfying.
