 Save
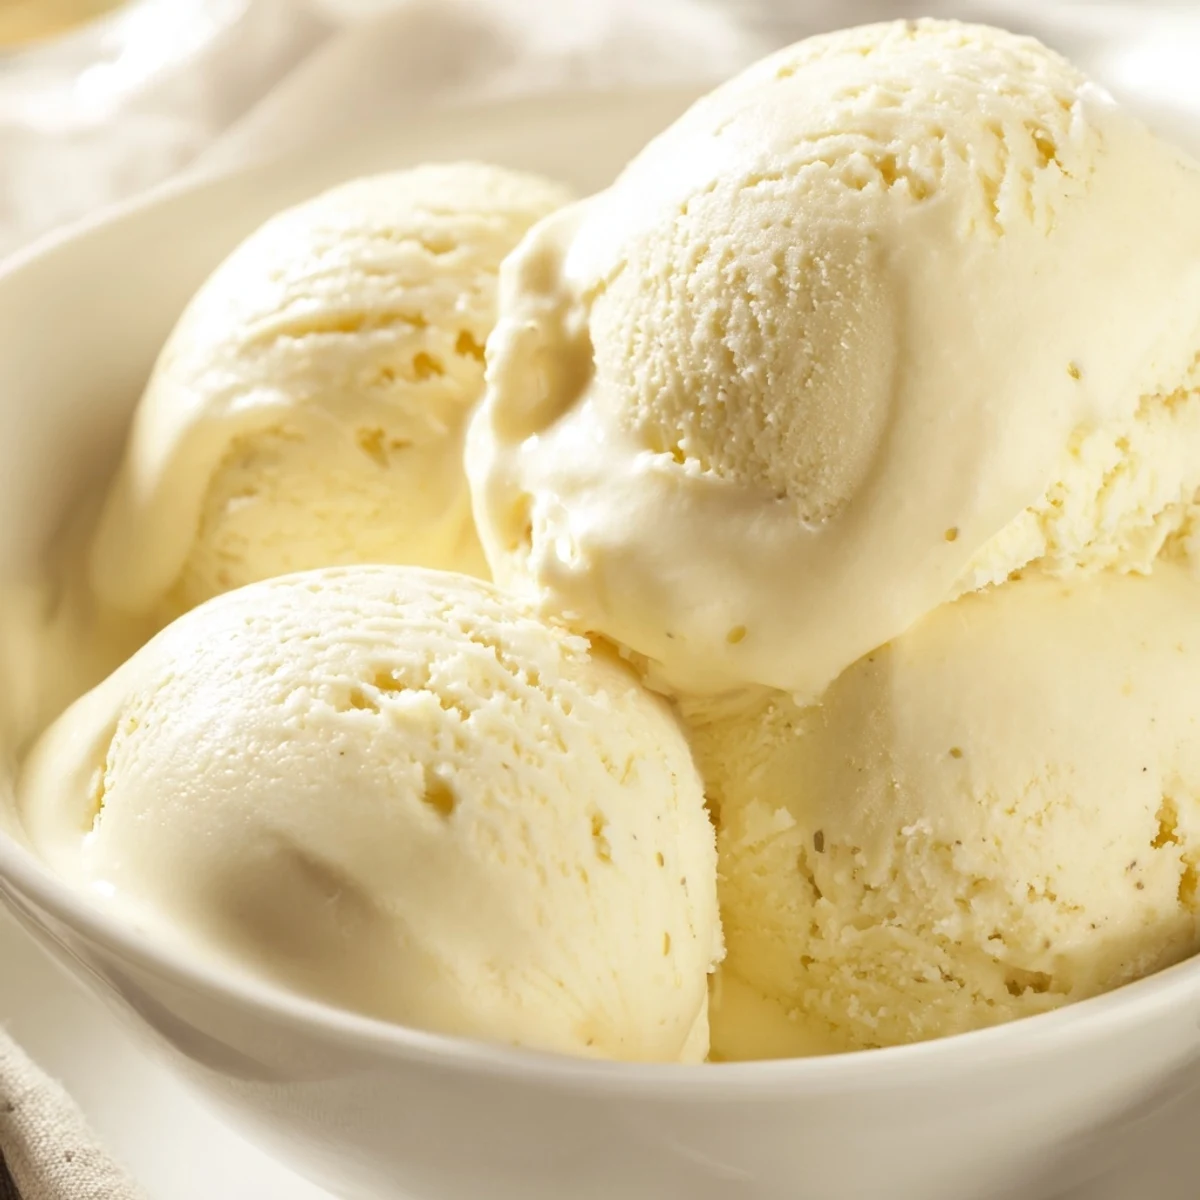
Save Indulge in velvety smooth vanilla frozen dessert made from scratch with a classic French custard base. This timeless treat delivers unparalleled creaminess through a perfect balance of heavy cream, whole milk, and fresh egg yolks, tempered and cooked to silky perfection.
The process involves creating a rich custard on the stovetop, chilling it for optimal texture, then churning until thick and luscious. The result is an incredibly smooth, luxurious dessert that rivals any artisanal version.
Customize endlessly by folding in chopped chocolate, toasted nuts, fresh berries, or swirls of fruit sauce after churning. The pure vanilla base provides the perfect canvas for your creativity, while the fundamental technique ensures consistent, professional-quality results every time.
The thermometer outside read 97 degrees and the kids were running through the sprinkler for the third time that afternoon when I decided the only reasonable response to July was homemade ice cream. My grandmother always said the secret was patience, not fancy equipment, and she was right about most things in the kitchen. There is something almost meditative about standing at the stove, gently stirring custard until it whispers thick against the back of a spoon. That first batch changed my entire summer routine forever.
My daughter wandered into the kitchen during the churning phase last August and stood mesmerized by the ice cream maker for a full fifteen minutes, watching the liquid slowly transform into something scoopable and cloud soft. She declared it magic and honestly, she was not entirely wrong.
Ingredients
- 2 cups heavy cream: This is where the richness lives, so do not even think about substituting light cream or half and half here, because you will taste the difference immediately.
- 1 cup whole milk: Balances the heavy cream with just enough lightness to keep the texture from feeling heavy or greasy on your tongue.
- 3/4 cup granulated sugar: Sweetens the base while also lowering the freezing point so your ice cream stays scoopable straight from the freezer.
- 5 large egg yolks: The yolks are what give this its classic French style custard body and that gorgeous pale golden color.
- 1 tablespoon pure vanilla extract: Please use real vanilla, not imitation, because this simple flavor depends entirely on quality ingredients.
- 1/4 teaspoon salt: Just a pinch makes every other flavor pop and prevents the sweetness from feeling one dimensional.
Instructions
- Warm the cream mixture:
- Pour the heavy cream, milk, and half the sugar into a medium saucepan and set it over medium heat until you see steam curling up from the surface, but never let it boil.
- Prepare the yolk mixture:
- In a separate bowl, whisk the egg yolks with the remaining sugar and salt until the color lightens and the texture feels slightly thick and ribboned.
- Temper the yolks:
- Slowly drizzle the hot cream into the yolk mixture while whisking constantly so the eggs warm gently without scrambling into something lumpy and sad.
- Cook the custard:
- Pour everything back into the saucepan and cook over low heat, stirring without stopping, until the mixture coats the back of your wooden spoon like a thin layer of velvet.
- Add vanilla and strain:
- Take the pan off the heat, stir in the vanilla extract, then push the custard through a fine mesh sieve to catch any stray bits of cooked egg you might not see.
- Chill thoroughly:
- Let the custard reach room temperature, then cover the surface directly with plastic wrap to prevent a skin from forming and refrigerate for at least four hours or ideally overnight.
- Churn the ice cream:
- Pour the cold custard into your ice cream maker and churn following the manufacturers directions until it looks like soft serve and holds its shape when you scoop it.
- Freeze until firm:
- Transfer the churned ice cream into a freezer safe container with a tight lid and freeze for at least two hours so it firms up into something you can serve with a proper scoop.
 Save
Save The night I served this at a backyard dinner party, three guests went quiet mid conversation after their first bite, and one friend actually put down his fork and just stared at the bowl for a moment before asking what on earth I had done differently.
Getting Creative With Flavors
This vanilla base is really a blank canvas waiting for whatever you are craving, and I have folded in everything from crushed graham crackers to swirls of strawberry jam with great results. Add your mix ins during the last two minutes of churning or gently fold them in by hand before the final freeze so they distribute evenly without turning the whole batch into mush.
Equipment Matters More Than You Think
A reliable ice cream maker is the one piece of gear you truly cannot skip here, and making sure the bowl has been in the freezer for a full 24 hours before churning makes all the difference between creamy success and a soupy disappointment. I keep my freezer bowl stored in the deep freeze permanently so it is always ready when the craving hits.
Storing And Serving Like A Pro
Homemade ice cream is best eaten within the first week because it does not have the stabilizers that commercial brands rely on, but honestly it rarely lasts that long in my house anyway. Press a piece of parchment paper directly against the surface before lidding to prevent ice crystals from forming on top.
- Let the container sit on the counter for about five minutes before scooping so it softens just enough for clean, beautiful rounds.
- A warm scoop dipped in hot water between servings keeps things neat and effortless.
- Always serve in chilled bowls if you want it to hold its shape for that perfect presentation.
 Save
Save Every scoop is a small act of care that tastes like summer no matter what month it is. Share it freely and watch people light up.
Recipe FAQs
- → How long does the custard need to chill before churning?
-
The custard base requires at least 4 hours of chilling time, though overnight chilling (8-12 hours) yields the best texture. This allows the flavors to meld completely and ensures the mixture reaches proper temperature for optimal freezing.
- → Can I make this without an ice cream maker?
-
Yes, though the texture will differ. Pour the chilled custard into a shallow freezer-safe container and freeze for 45 minutes. Stir vigorously with a fork to break up ice crystals, then repeat every 30 minutes for 3-4 hours until firm.
- → Why is my mixture curdling during cooking?
-
Curdling occurs from overheating. Keep the temperature between 170-175°F (77-80°C) and stir constantly. Use low heat and remove immediately when the mixture coats the back of a spoon. Straining through a fine-mesh sieve helps rescue any slight curdling.
- → What's the purpose of tempering the eggs?
-
Tempering gradually warms the yolks with hot liquid, preventing them from scrambling when added to the saucepan. This technique ensures a smooth, silky custard without cooked egg pieces, creating that signature creamy texture.
- → How long will this keep in the freezer?
-
Properly stored in an airtight container, this frozen dessert maintains optimal quality for 1-2 weeks. Beyond that, ice crystals may form. For best flavor and texture, enjoy within the first week. Press parchment paper directly on the surface to prevent freezer burn.
- → Can I reduce the sugar?
-
Sugar plays a crucial role in texture, preventing large ice crystals and ensuring scoopability. Reducing beyond 25% may affect the final consistency. For lower sweetness, consider using alternative sweeteners specifically designed for frozen desserts.
