 Save
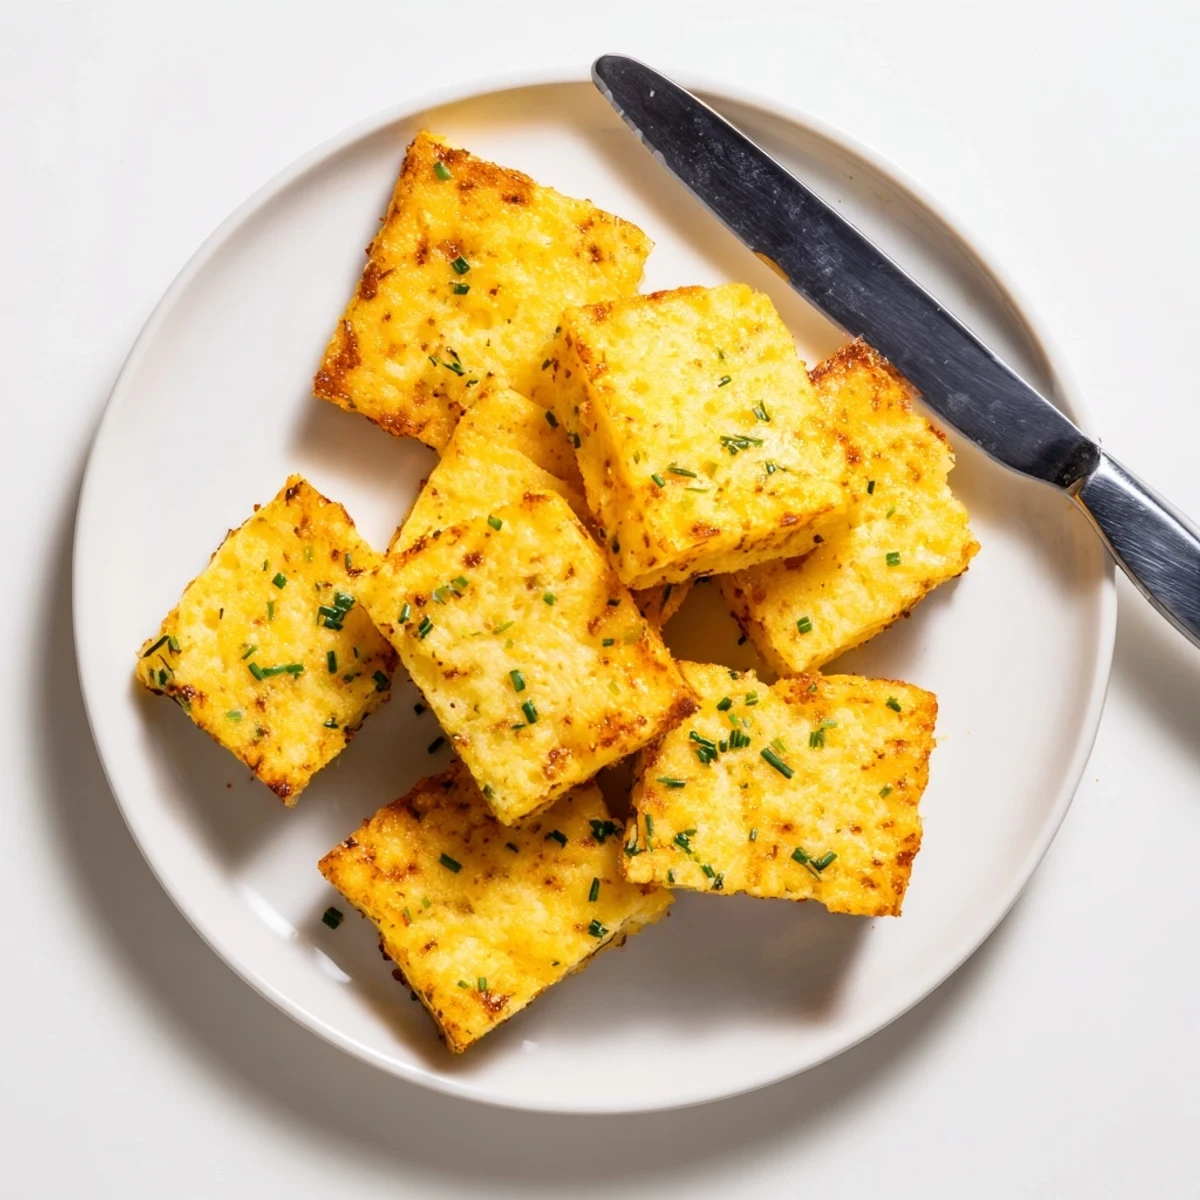
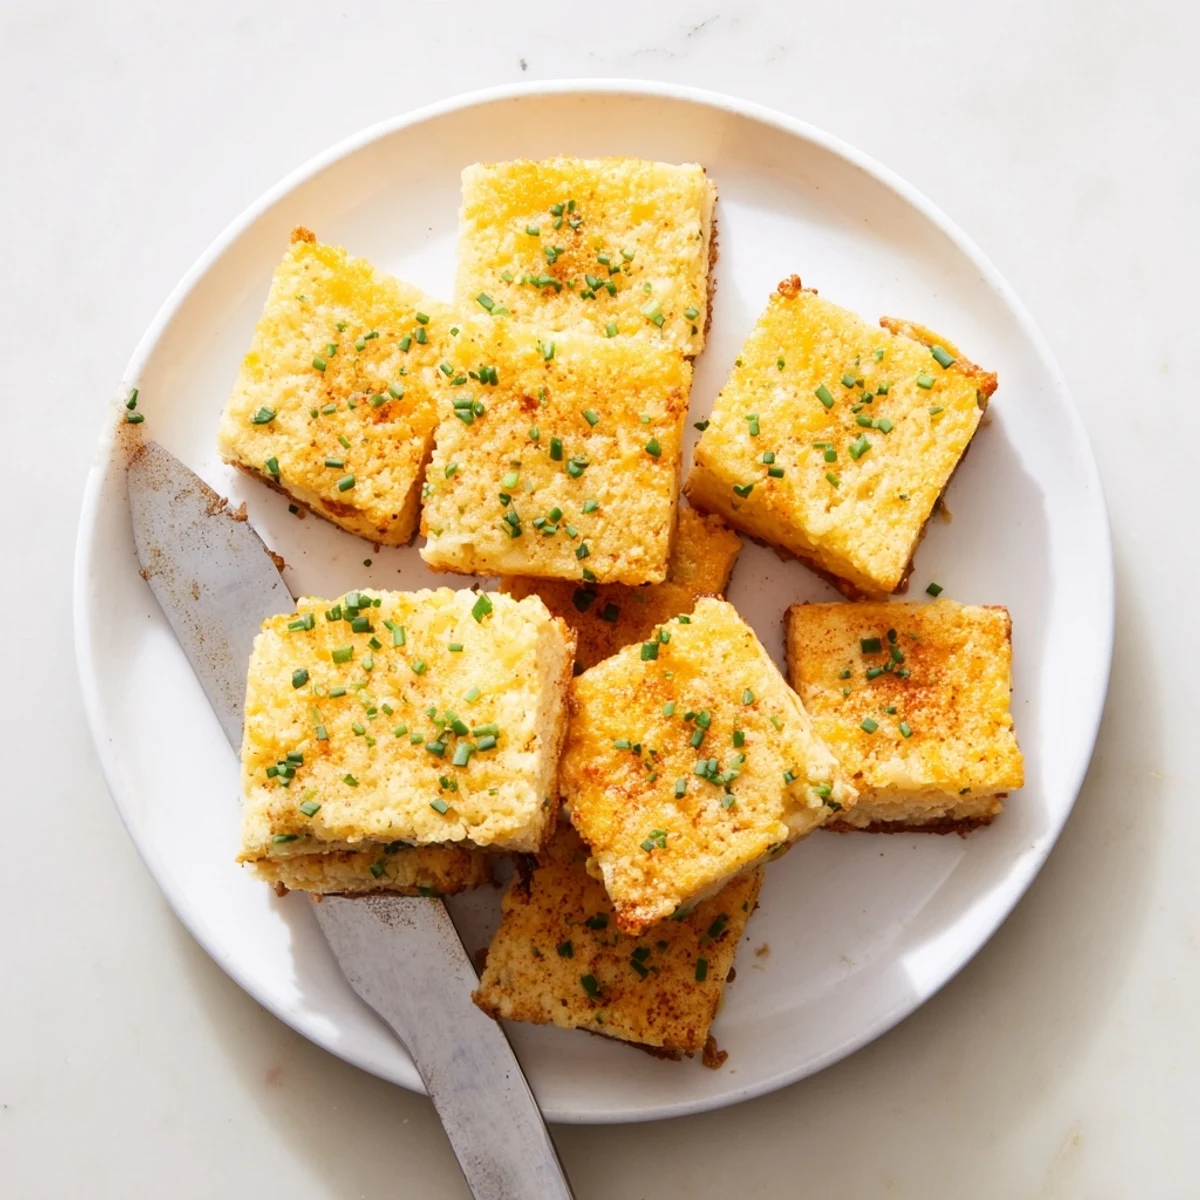
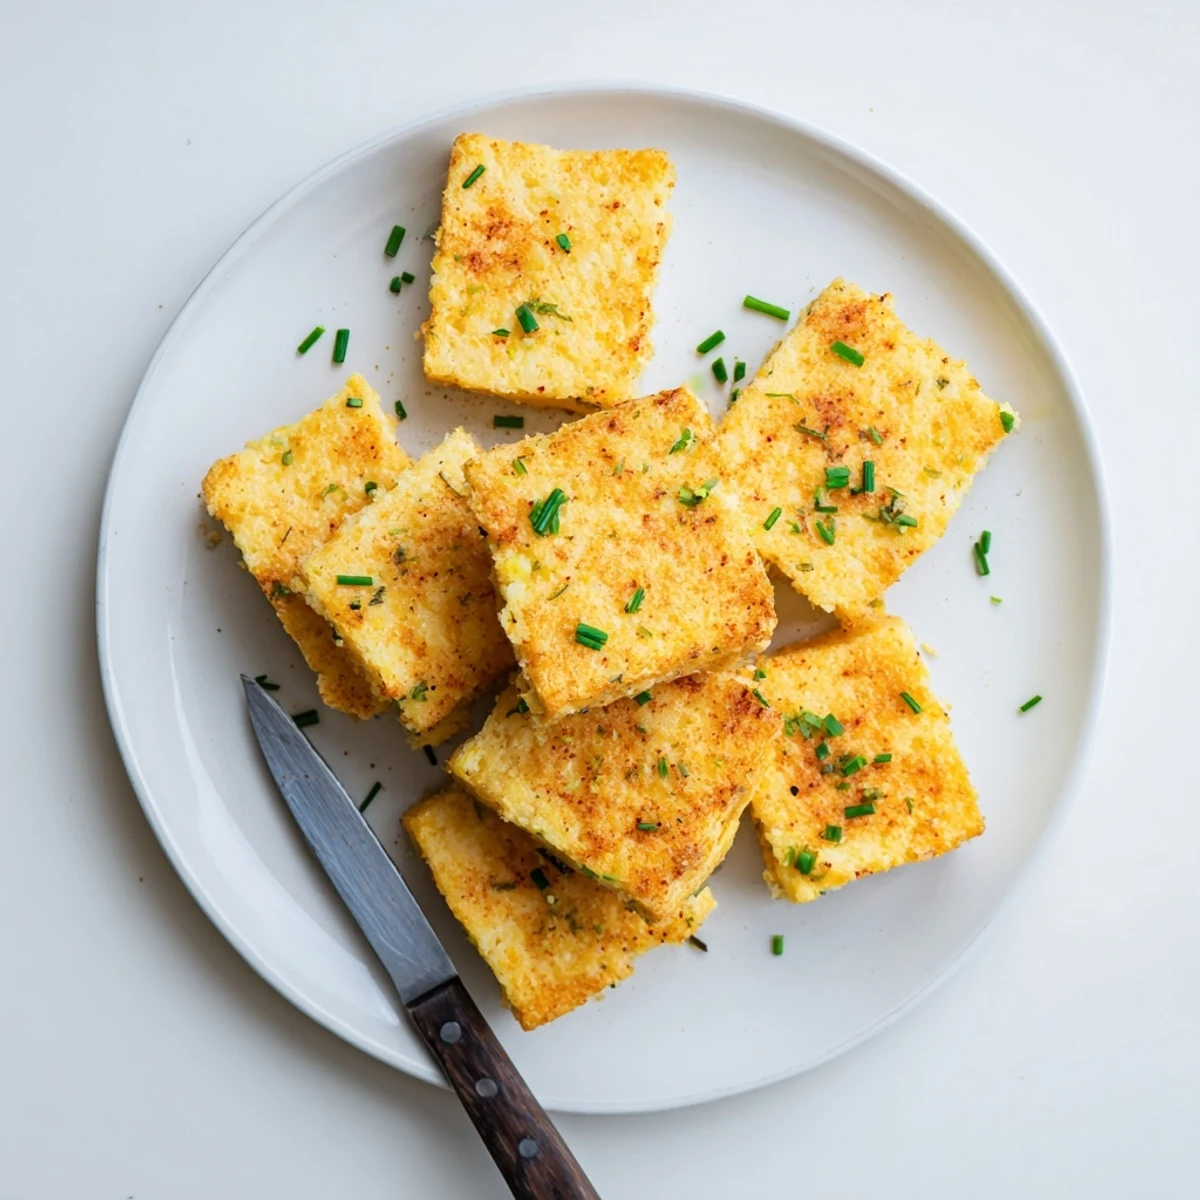
Save These ultra-crispy baked bites combine sharp cheddar, grated Parmesan, and fresh chives in a tender, flaky dough that bakes up golden and crunchy at the edges. Ready in under 30 minutes with just a handful of pantry staples, they're ideal for party platters, afternoon snacking, or whenever that savory craving hits. A touch of smoked paprika and garlic powder adds depth, while the cold-butter technique keeps every piece light and shatteringly crisp.
My neighbor brought a tin of these to a summer block party once and I stood next to the table eating them like I hadn't had a meal in days. The smoky cheese smell hit me from ten feet away and that was it, I was done for.
I made a double batch for a rainy Sunday football gathering and watched the whole plate vanish before halftime. Someone actually asked if I'd bought them from a bakery, which was the best compliment my kitchen has ever received.
Ingredients
- All-purpose flour: The structural backbone here, don't substitute whole wheat or the texture goes dense and cakey instead of shatteringly crisp
- Baking powder: Just a quarter teaspoon gives these a subtle lift so they aren't flat little crackers
- Fine sea salt: Fine grain distributes evenly through the dough without leaving salty pockets
- Shredded sharp cheddar: Sharp cheddar has less moisture than mild, which means crispier results and bolder cheese flavor
- Grated Parmesan: Adds a nutty, salty punch that deepens the overall cheese complexity
- Unsalted butter, cold and diced: Cold butter creates tiny steam pockets as it bakes, and that is where the crunch comes from
- Fresh chives: Don't skip these, they bring a mild onion brightness that cuts through the richness beautifully
- Smoked paprika: Optional but it adds a campfire-like warmth that makes people ask what your secret is
- Garlic powder: Rounds out the savory profile without being aggressive like raw garlic would be
- Cold water: Use it sparingly, just enough to bring the crumbly mixture into a cohesive dough
Instructions
- Get your oven ready:
- Preheat to 375°F (190°C) and line a baking sheet with parchment paper so nothing sticks and cleanup is effortless.
- Build the dry base:
- Whisk the flour, baking powder, and sea salt together in a mixing bowl until evenly distributed.
- Work in the flavor:
- Add the cheddar, Parmesan, cold butter, chives, paprika, and garlic powder. Use your fingertips to rub everything together until it looks like coarse sand with cheesy flecks throughout.
- Bring it together:
- Splash in cold water one tablespoon at a time, gently mixing until the dough just holds together when you squeeze it.
- Roll it out thin:
- Turn the dough onto a lightly floured surface and roll to about 1/8-inch thickness. Thin is critical here because thick pieces won't get crispy.
- Cut and arrange:
- Cut into 2-inch squares or any shape you like, then place them on the prepared sheet with a little space between each piece.
- Bake until golden:
- Slide into the oven for 16 to 18 minutes. You want deep golden edges and a firm feel when you tap them.
- Cool completely:
- Let them rest on a wire rack. They will continue to crisp up as they cool, so resist the urge to bite in immediately.
 Save
Save My daughter now requests these for every school bake sale and her classmates actually cheer when she walks in with the container. Watching a seven-year-old become the most popular kid in class because of a cheese cracker is a pretty surreal parenting moment.
Choosing the Right Cheese
I've tested this with at least six different cheeses and sharp cheddar with Parmesan remains the unbeatable combo. Gruyère works beautifully if you want something more refined, but the cheddar gives that punchy, familiar comfort that people gravitate toward at casual gatherings.
Getting That Perfect Crisp
The difference between a good batch and a great one comes down to two things: cold butter and thin rolling. I once rushed a batch with room-temperature butter and they came out like sad little biscuits. Keep everything cold until it hits the oven and you'll get that satisfying snap when you bite in.
Serving Ideas and Make-Ahead Tips
These store remarkably well in an airtight container for up to five days, which makes them ideal for meal-prepping party snacks. I've also frozen the cut shapes raw on a baking sheet, then transferred them to a bag to bake straight from frozen when unexpected guests show up.
- Add a pinch of cayenne to the dry mix if your crowd likes heat
- Serve alongside a simple sour cream and dill dip for an easy appetizer spread
- Re-crisp any leftover pieces in a 350°F oven for about five minutes
 Save
Save There's something deeply satisfying about turning flour, butter, and cheese into something people genuinely cannot stop eating. Keep a batch ready and you'll never be without the perfect last-minute snack.
Recipe FAQs
- → Can I make the dough ahead of time?
-
Yes, wrap the dough tightly in plastic and refrigerate for up to 24 hours. Let it soften slightly at room temperature before rolling and cutting.
- → What's the best way to get them extra crispy?
-
Roll the dough as thin as possible—about 1/8 inch—and make sure the oven is fully preheated. Baking directly on parchment helps the bottoms crisp evenly.
- → Can I freeze these before or after baking?
-
You can freeze the cut shapes on a tray, then transfer to a bag for up to 1 month. Bake from frozen, adding 2–3 extra minutes. Already-baked pieces freeze well too; reheat in a 350°F oven.
- → Which cheese substitutions work best?
-
Gruyère, Manchego, or a smoked gouda all melt beautifully here. Avoid very moist cheeses like fresh mozzarella, which can make the dough soggy.
- → Do I need a cookie cutter to shape them?
-
Not at all—a sharp knife and a ruler work fine for squares. A small cookie cutter just makes it easier to get uniform shapes for even baking.
- → How do I store leftovers?
-
Keep them in an airtight container at room temperature for up to 3 days. If they soften, a quick 5-minute reheat in the oven restores the crunch.
