 Save
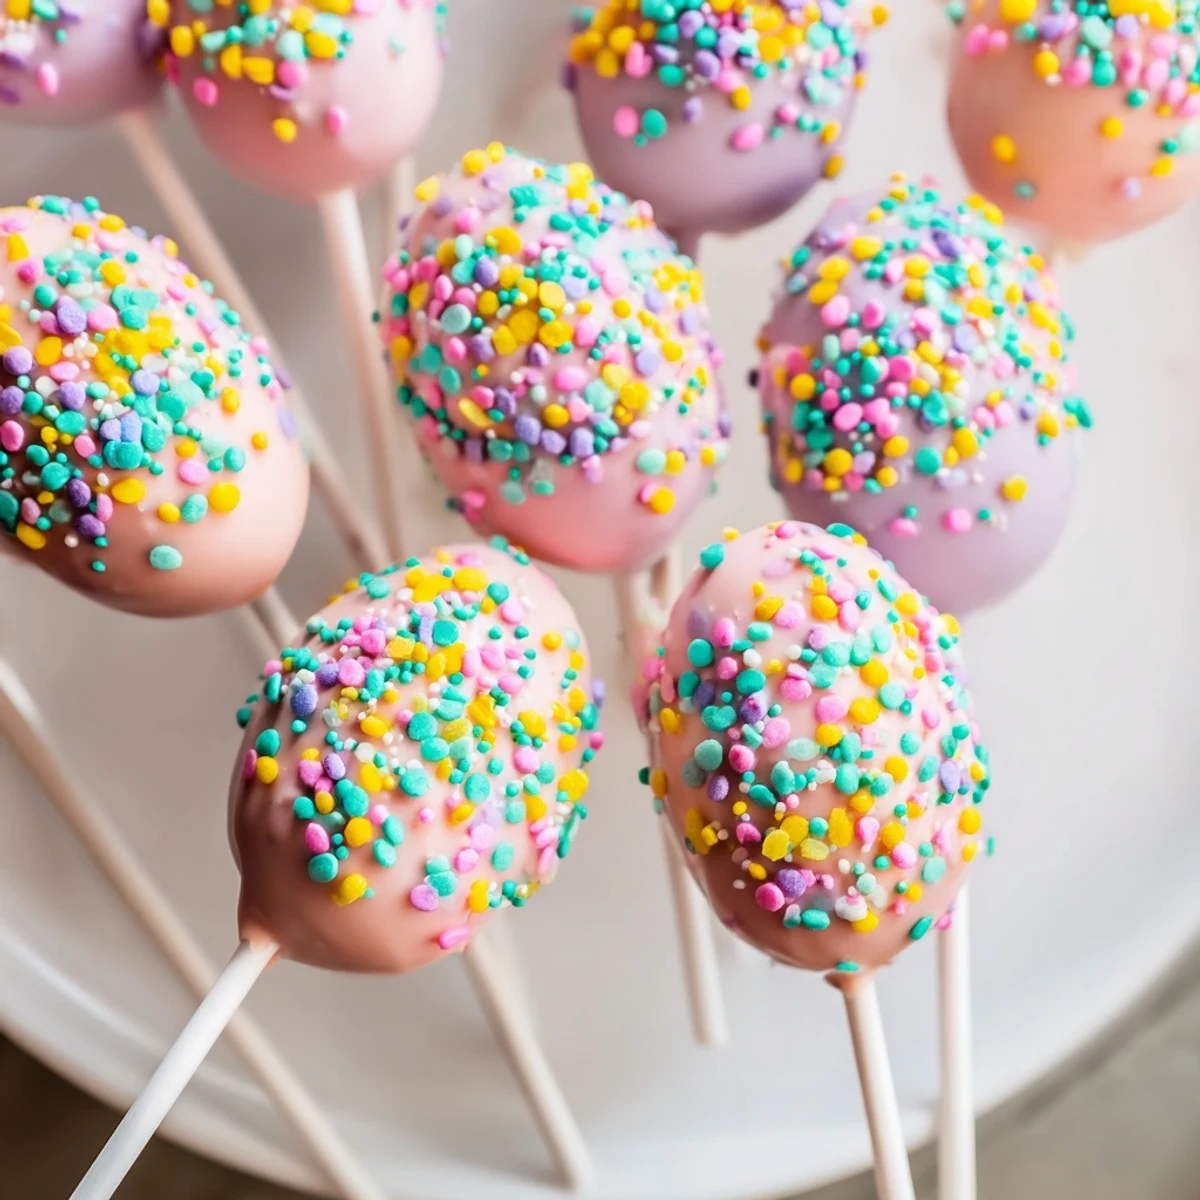
Save These delightful egg-shaped sweet bites combine tender cake with creamy frosting, chilled and dipped in vibrant candy coatings. Each pop is delicately decorated with sprinkles, providing a festive touch perfect for springtime or holiday gatherings. Preparation involves baking a moist base, blending with smooth frosting, shaping into eggs, chilling, and dipping in colorful melts. The assembly and decorating steps create charming handheld treats that are both visually appealing and delicious.
My kitchen counters looked like a pastel explosion had gone off, and I could not have been happier about it. These little egg-shaped cake pops started as an experiment to use up leftover cake from a failed attempt at making something fancy, but they ended up stealing the show at our Easter gathering that year. Now they are the one treat my niece actually asks for by name.
The first time I made these, I forgot to chill the cake balls long enough and ended up with a tragic sliding situation where half the cake eggs slipped right off their sticks into the chocolate coating. My kitchen was full of sprinkles and chocolate splatters, but we ended up eating the casualties with spoons and honestly it was still delicious.
Ingredients
- 1 1/2 cups all-purpose flour: The foundation that gives structure to those tender cake crumbs
- 1 cup granulated sugar: Sweetness that balances perfectly with the tang of frosting
- 1/2 cup unsalted butter, softened: Room temperature is non-negotiable here for proper creaming
- 2 large eggs: These bind everything together into a cohesive cake
- 1/2 cup whole milk: Creates tenderness in the crumb
- 1 1/2 tsp baking powder: The lift that makes the cake light rather than dense
- 1/4 tsp salt: Enhances all the other flavors
- 1 tsp vanilla extract: Pure vanilla makes such a difference here
- 1/3 cup unsalted butter, softened: For the frosting that holds the pops together
- 1 1/2 cups powdered sugar: Sweetens the frosting without making it too stiff
- 1 tbsp whole milk: Just enough to make the frosting spreadable
- 1/2 tsp vanilla extract: Another hit of vanilla never hurts
- Pinch of salt: Keeps the frosting from being cloyingly sweet
- 2 cups candy melts: Pastel colors feel essential for the Easter theme
- 2 tbsp vegetable oil: Thins the coating for that perfect dip
- Sprinkles, colored sugars, or edible glitter: This is where personality happens
- 24 lollipop sticks: Sturdy enough to hold the weight
Instructions
- Get your oven ready:
- Preheat to 350°F and grease an 8-inch round cake pan with butter and dust it with flour
- Cream the butter and sugar:
- Beat them together until the mixture turns pale and fluffy, then add eggs one at a time
- Combine your dry ingredients:
- Whisk flour, baking powder, and salt in a separate bowl so they are evenly distributed
- Bring it all together:
- Add the flour mixture and milk alternately to the butter mixture, starting and ending with the dry ingredients
- Bake the cake:
- Pour batter into the prepared pan and bake for 25 to 30 minutes until a toothpick comes out clean
- Make the frosting while it cools:
- Beat butter until creamy, then add powdered sugar, milk, vanilla, and salt until smooth
- Create the cake pop mixture:
- Crumble the completely cooled cake and mix in frosting gradually until it holds together
- Shape into eggs:
- Roll about a tablespoon of mixture into oval shapes and place on parchment paper
- Chill thoroughly:
- Freeze the shaped eggs for 15 minutes so they are firm enough to handle
- Prepare the coating:
- Melt candy melts with oil in the microwave, stirring every 30 seconds until smooth
- Attach the sticks:
- Dip stick tips in melted chocolate and insert halfway into each cake egg, then chill again
- Dip and decorate:
- Dip each pop into chocolate, tap off excess, and immediately add sprinkles before it sets
- Set them upright:
- Stick the pops in a foam block or tall glass to harden completely
 Save
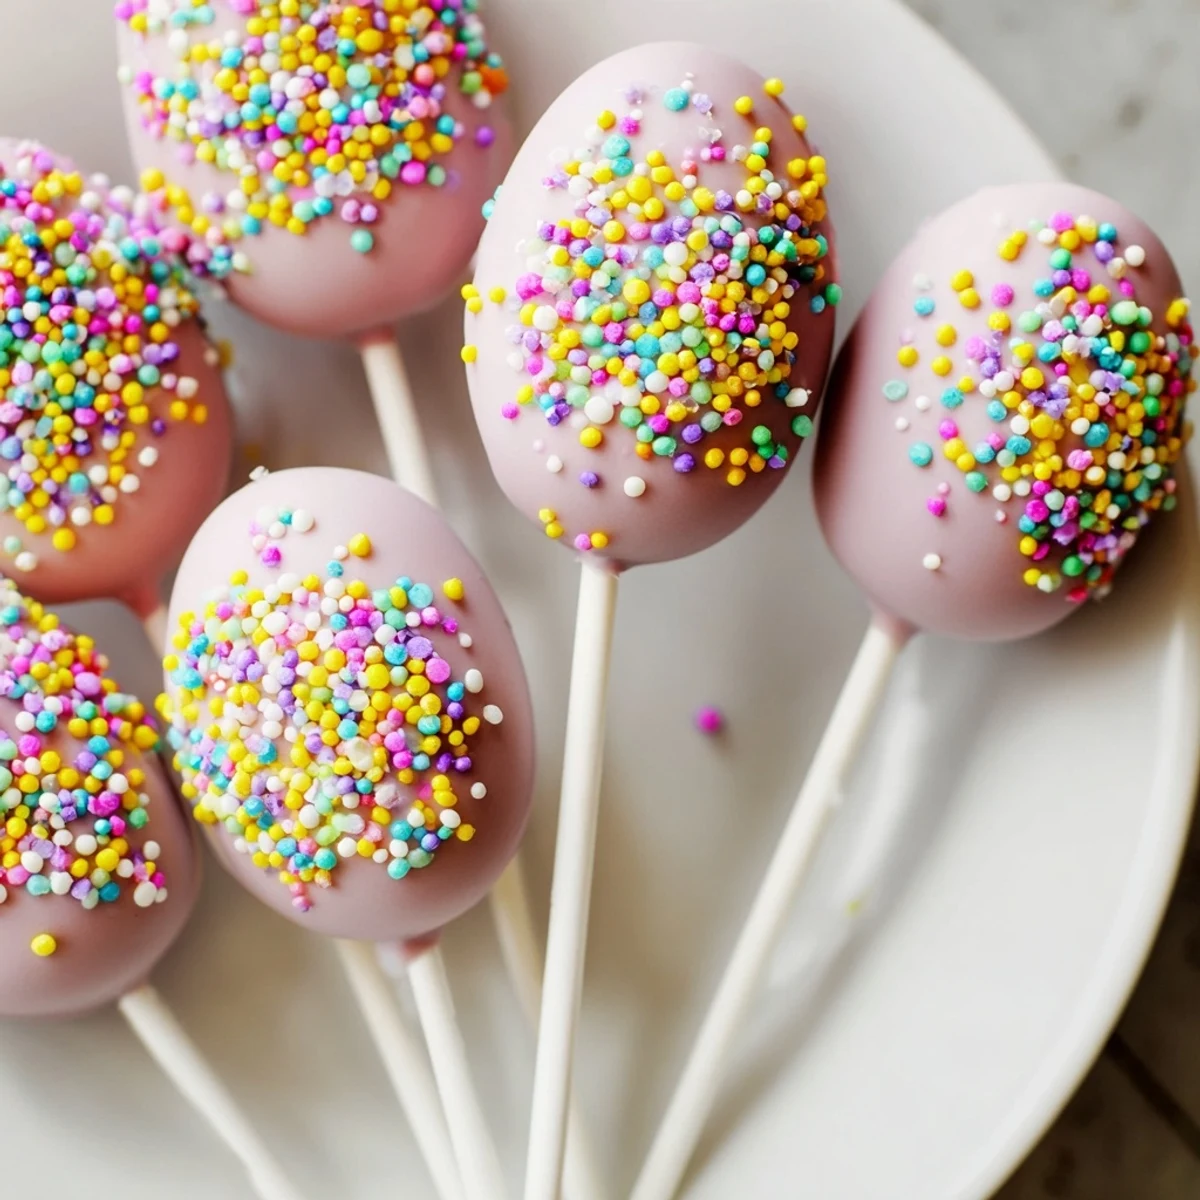
Save Last year my daughter insisted on making an entire batch bright pink because she said real Easter eggs should be colorful. They looked ridiculous but disappeared faster than any of the properly pastel ones I had carefully planned.
Choosing Your Colors
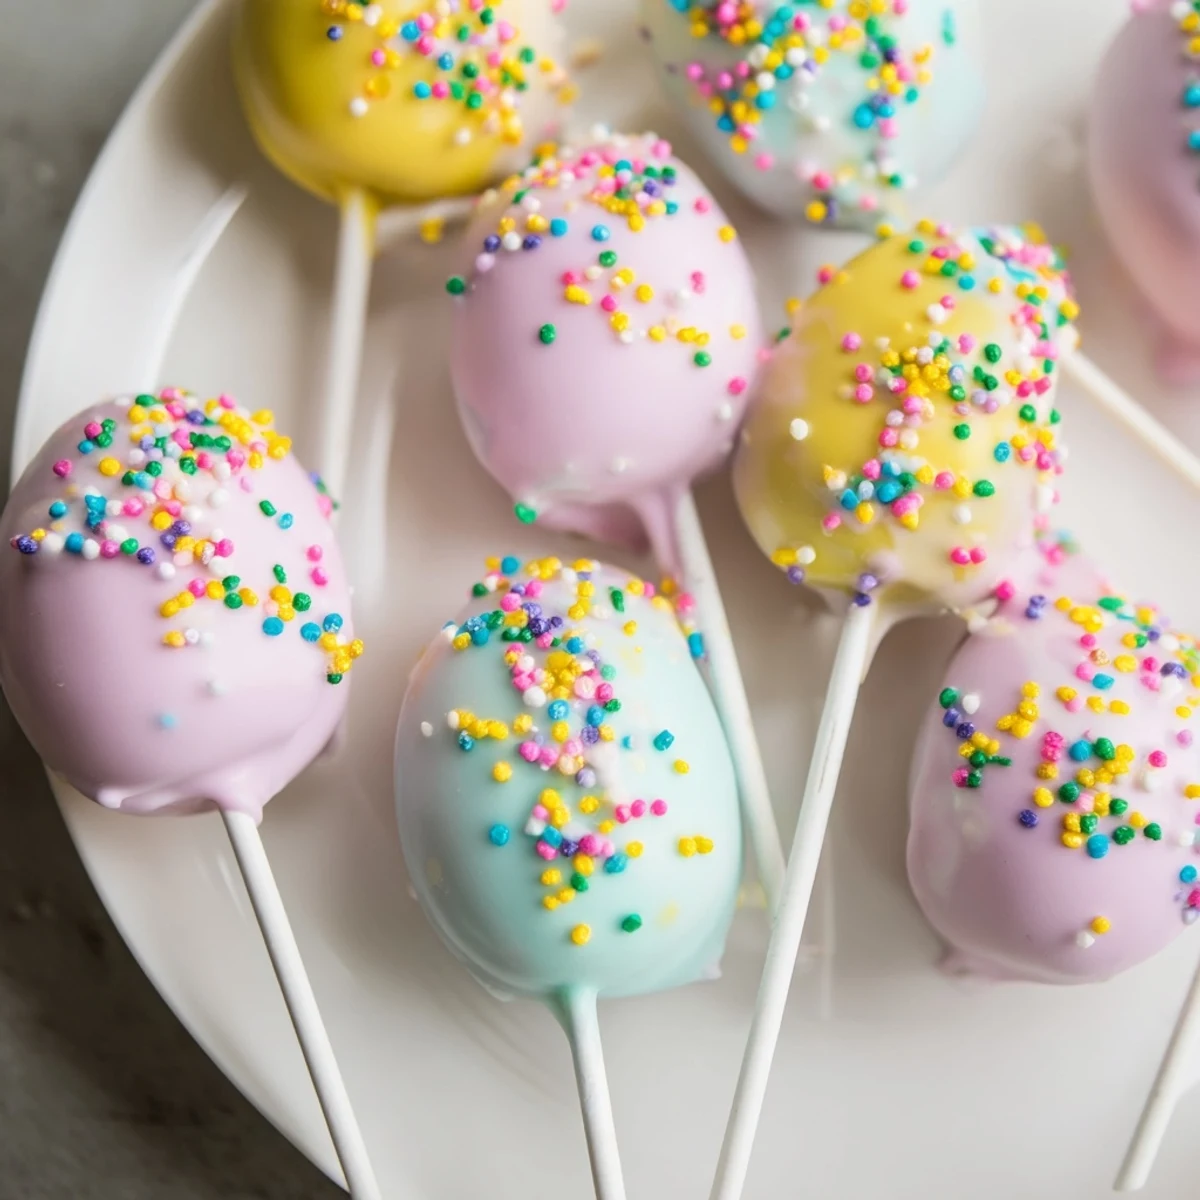
I have learned that soft pastels work better than bold neons for these because the lighter colors let the sprinkles pop without competing. A mix of mint green, lavender, butter yellow, and baby pink feels like spring on a stick.
Getting the Shape Right
The first few eggs I made came out looking suspiciously like footballs before I figured out that a gentle rolling motion between my palms works better than pressing. Slightly imperfect shapes actually look more charming and handmade.
Storage and Serving
These keep surprisingly well in an airtight container for up to three days, though they rarely last that long in my house. If you are making them ahead, store them without the sprinkles and add those just before serving for the freshest look.
- Stand them up in a piece of Styrofoam wrapped in decorative paper for easy serving
- Group them by color on a platter for maximum visual impact
- Wrap individually in clear bags tied with ribbon for party favors
 Save
Save There is something joyful about food on a stick that makes people happy before they even take a bite. These little eggs have become a spring tradition I look forward to all year.
Recipe FAQs
- → How do I shape the cake mixture into egg forms?
-
Crumble the cooled baked base, mix with frosting until moldable, then roll into small oval shapes resembling eggs.
- → What is the best way to coat the cake shapes evenly?
-
Melt candy melts with vegetable oil until smooth, dip each chilled egg-shaped ball fully, then gently tap off excess for a smooth coating.
- → Can I use other cake flavors for the base?
-
Yes, chocolate or lemon bases work wonderfully to add variety while maintaining the shape and texture.
- → How should I store the finished treats?
-
Keep them in an airtight container at room temperature for up to three days to maintain freshness and texture.
- → Are sprinkles necessary for decoration?
-
Sprinkles add festive color and texture, but edible glitter or colored sugars also create an attractive finish.
- → What tools are recommended for preparing these treats?
-
An 8-inch round cake pan, mixing bowls, electric mixer, lollipop sticks, and a foam block or cup for drying help streamline the process.
