 Save
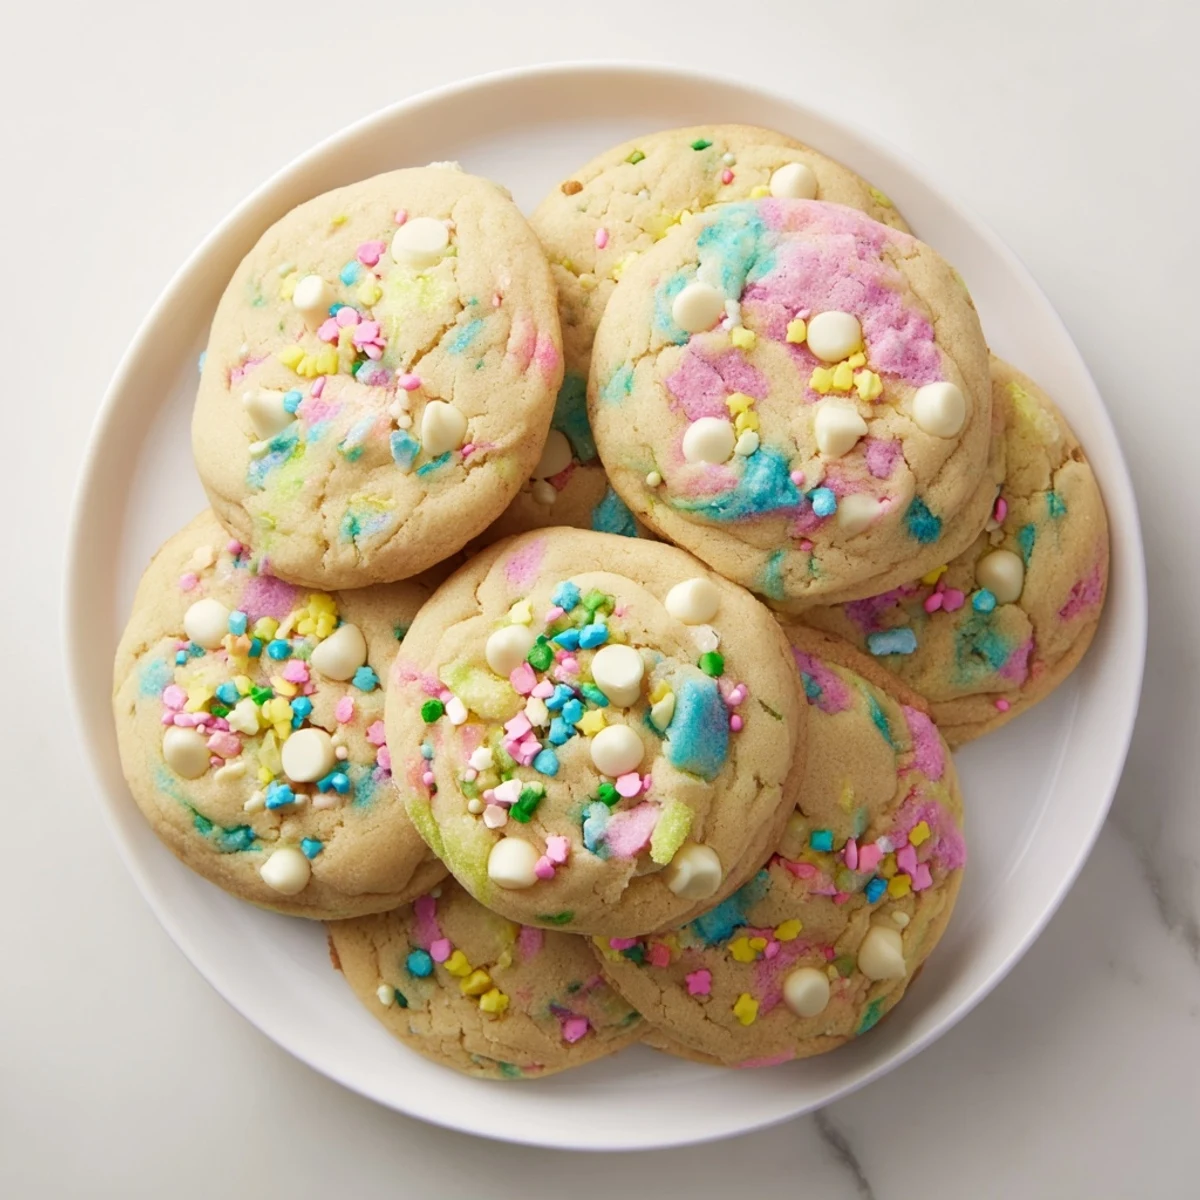
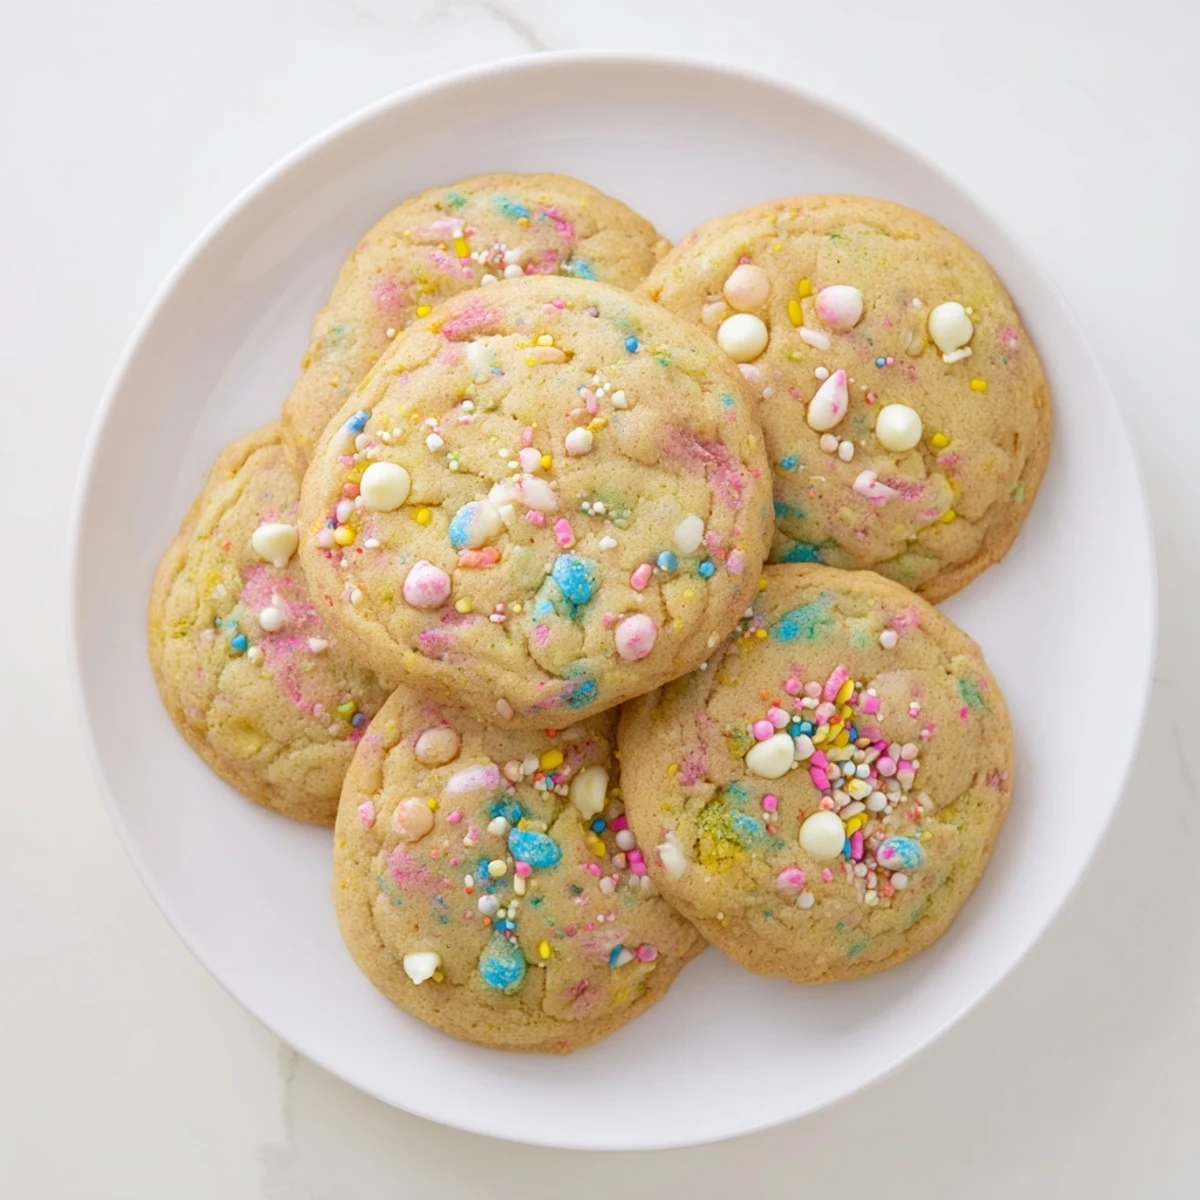
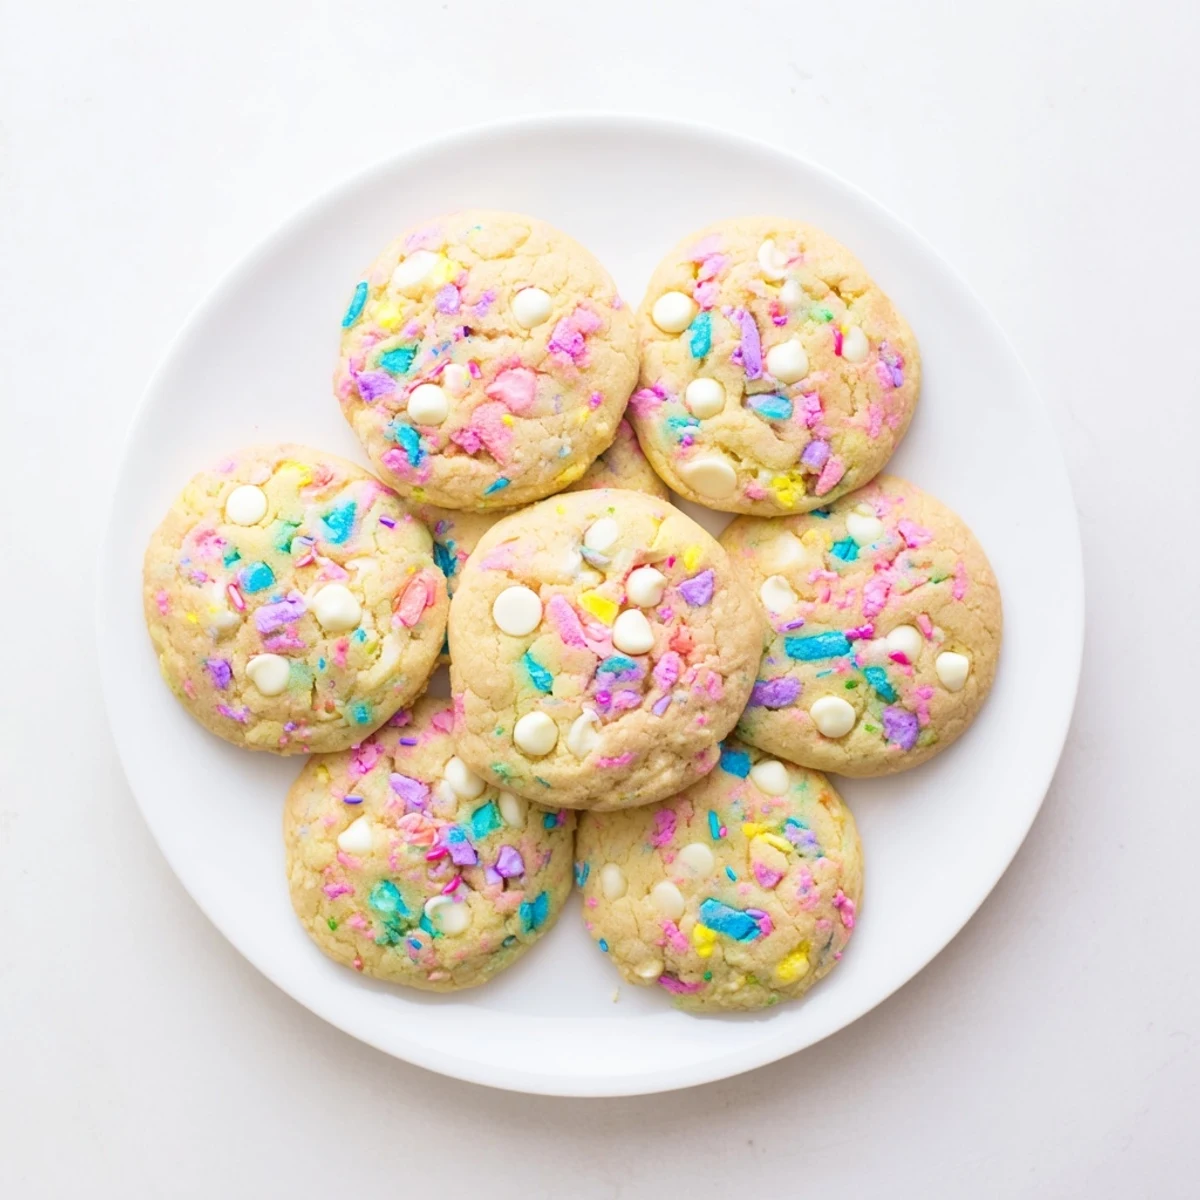
Save These soft, buttery Easter treats feature colorful pastel sprinkles throughout tender dough. The classic vanilla base creates the perfect canvas for festive jimmies that add crunch and celebration to every bite. Ready in just 30 minutes, these make ideal additions to spring gatherings, classroom parties, or holiday dessert spreads.
The dough comes together quickly using standard baking staples, while the sprinkles provide that signature confetti appearance everyone loves. Bake until edges are set but centers remain slightly soft for the perfect texture—crisp outside, chewy inside.
The kitchen smelled like pure joy the first time I made these for my niece's Easter egg hunt. She walked in mid-mix, eyes widening at the bowl of pastel sprinkles, and immediately asked if she could taste the rainbow. Those cookies disappeared faster than the hidden eggs, and I've learned to double the batch ever since.
Last spring, my neighbor's daughter spotted the cooling rack through my open kitchen window and actually knocked to ask what occasion I was celebrating. I told her sometimes you make festive cookies just because it's Tuesday, and she left with two in a napkin, grinning like she'd won the lottery.
Ingredients
- All-purpose flour: The foundation that gives these cookies their perfect tender crumb structure
- Baking soda: Essential for achieving those slightly puffy edges that everyone loves
- Salt: Just enough to make the sweetness sing without being obvious about it
- Unsalted butter: Use genuinely softened butter for that dreamy melt-in-your-mouth texture
- Granulated sugar: Creates the crisp exterior that makes the first bite so satisfying
- Light brown sugar: The secret to keeping centers soft and chewy for days
- Eggs: Room temperature eggs incorporate better and prevent that dreaded greasy spread
- Pure vanilla extract: Don't skimp here because quality vanilla shines in simple recipes
- Pastel sprinkles: Use jimmies rather than nonpareils which bleed color everywhere
- White chocolate chips: Optional but they add these creamy pockets that balance the sprinkles beautifully
Instructions
- Prepare your baking space:
- Preheat that oven to 350°F and line your baking sheets with parchment paper so nothing sticks
- Whisk the dry ingredients together:
- Combine flour, baking soda, and salt in a medium bowl until everything is evenly distributed
- Cream the butter and sugars:
- Beat softened butter with both sugars for 2 to 3 minutes until the mixture looks pale and fluffy
- Add the wet ingredients:
- Drop in eggs one at a time, beating well after each addition, then mix in that lovely vanilla
- Combine everything:
- Gradually stir in the dry ingredients just until you no longer see white streaks of flour
- Fold in the fun stuff:
- Gently fold in sprinkles and white chocolate chips until they're dotted throughout like little treasures
- Scoop the dough:
- Drop tablespoon-sized balls onto prepared sheets, giving each cookie about two inches of breathing room
- Bake until perfectly done:
- Bake 9 to 11 minutes until edges are set but centers still look slightly underbaked and soft
- Cool completely:
- Let them rest on the baking sheets for 5 minutes before moving to a wire rack to finish cooling
 Save
Save My sister called me at midnight last Easter, slightly panicked because she'd forgotten to make dessert for brunch the next morning. I talked her through these cookies over the phone, and she texted later that morning saying they saved the day and everyone wanted the recipe.
Getting That Perfect Texture
The key to bakery-style cookies is watching them like a hawk during those last two minutes of baking. I've learned that slightly underbaked centers continue cooking on the hot baking sheet, resulting in that perfect soft center everyone fights over.
Choosing Your Sprinkles
Not all sprinkles are created equal in the oven. Nonpareils melt into strange little dots that can give your cookies a gritty texture, while jimmies hold their shape and create those beautiful pockets of color throughout each bite.
Making Them Your Own
These cookies are incredibly forgiving and adaptable. I've made countless variations based on what's in my pantry or who I'm serving, and they always turn out wonderfully festive.
- Press extra sprinkles on top before baking for maximum visual impact
- Swap white chocolate chips for pastel M&Ms when you want even more color
- These disappear quickly so consider making a double batch for gatherings
 Save
Save There's something magical about pulling a tray of these from the oven and watching spring colors burst across your kitchen counter. Hope they bring as much joy to your table as they've brought to mine.
Recipe FAQs
- → Can I use regular rainbow sprinkles instead of pastel?
-
Yes, regular rainbow sprinkles work perfectly fine. The pastel colors simply enhance the Easter aesthetic, but any jimmies will create the same fun confetti effect throughout the dough.
- → Why should I avoid nonpareil sprinkles?
-
Nonpareils (the tiny round spheres) tend to bleed their color into the dough during baking, creating gray streaks. Jimmies hold their shape and color better, maintaining the festive appearance.
- → How do I know when they're done baking?
-
The edges should appear set and slightly golden while the centers still look soft and underbaked. They'll continue cooking on the hot baking sheet, so removing them at this stage ensures perfectly chewy results.
- → Can I freeze the dough?
-
Yes, scoop the dough into balls and freeze on a baking sheet until solid, then transfer to an airtight container. Bake from frozen, adding 1-2 minutes to the baking time. Frozen dough keeps for up to 3 months.
- → What's the best way to store these?
-
Keep in an airtight container at room temperature for up to 4 days. Place parchment paper between layers to prevent sticking. For longer storage, freeze baked treats in freezer bags for up to 3 months.
