 Save
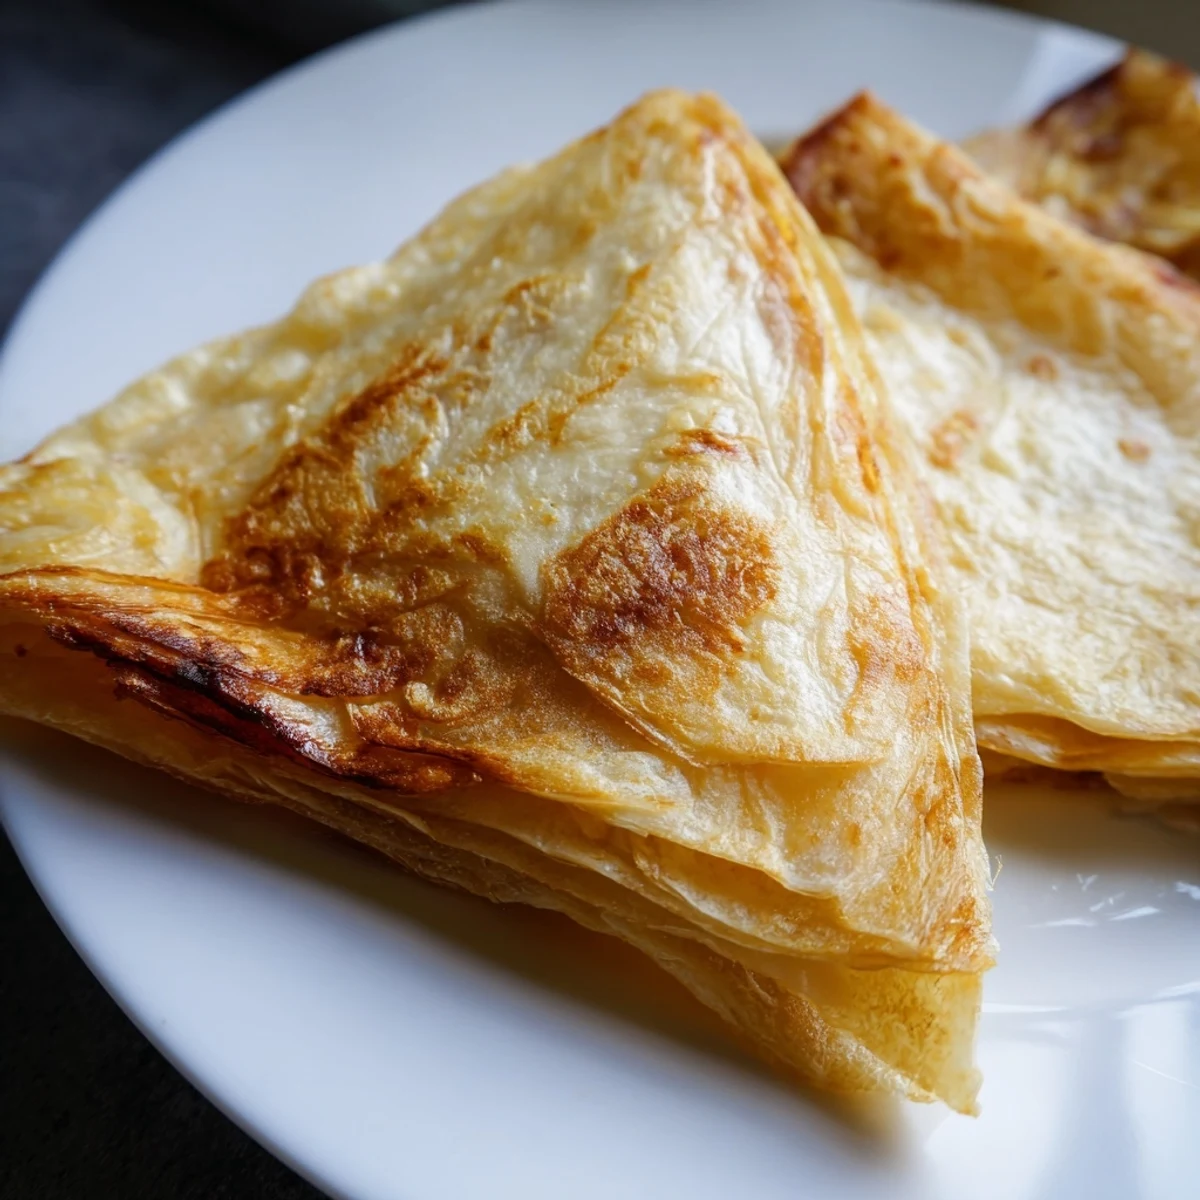
Save Create authentic Malaysian Roti Canai with perfectly crispy, golden layers and a tender, chewy interior. This beloved flatbread requires a simple dough of flour, condensed milk, and ghee, followed by essential resting time for optimal stretchiness. The unique folding and coiling technique creates those signature flaky layers that make Roti Canai irresistible.
Perfect alongside rich curries, dhal, or enjoyed plain with a sprinkle of sugar, this versatile bread brings the taste of Malaysian street food to your kitchen. The key lies in patient dough preparation and masterful stretching—practice makes perfect for achieving that paper-thin translucent texture before folding.
The morning air in Kuala Lumpur carries the unmistakable rhythm of roti men flipping dough against greased surfaces—a sound so distinct it wakes up your appetite before your eyes even open. I spent weeks trying to recreate that theatrical flakiness in my tiny apartment kitchen,utterly failing until an auntie whispered that the secret was patience not technique. Now this recipe lives in my back pocket for whenever I need to transport myself back to those steamy Malaysian mornings.
My roommate walked in midway through my first successful attempt and found me standing on a chair trying to get better leverage on the dough stretch. We ate six rotis straight from the pan burning our fingers and laughing at my flour-covered desperation. Now its our go-to comfort food whenever life feels too heavy.
Ingredients
- Allpurpose flour: Creates the structure needed for those signature layers while keeping the bread tender
- Condensed milk: The secret ingredient that adds subtle sweetness and helps achieve that gorgeous golden color
- Ghee: Using ghee instead of plain oil gives the roti an irresistible richness and authentic aroma
- Warm water: Essential for activating the flour and creating a pliable dough that stretches without tearing
Instructions
- Mix and knead the dough:
- Combine flour salt and sugar in a large bowl then stir in melted ghee condensed milk and warm water until a soft slightly sticky dough forms. Knead for 8 to 10 minutes until the dough becomes smooth elastic and bounces back when pressed.
- Rest the dough balls:
- Divide the dough into 6 equal portions coat each lightly with ghee or oil and arrange on a greased tray. Cover tightly with plastic wrap and let rest at room temperature for at least 2 hours—this relaxation period is nonnegotiable for achieving those paperthin layers.
- Stretch and fold:
- Grease your work surface and hands generously with oil then flatten one dough ball with your palms and gently pull it into a nearly translucent sheet about 18 inches wide. Fold the sides inward to form a rectangle roll it like a Swiss roll then coil into a spiral tucking the end underneath.
- Cook to golden perfection:
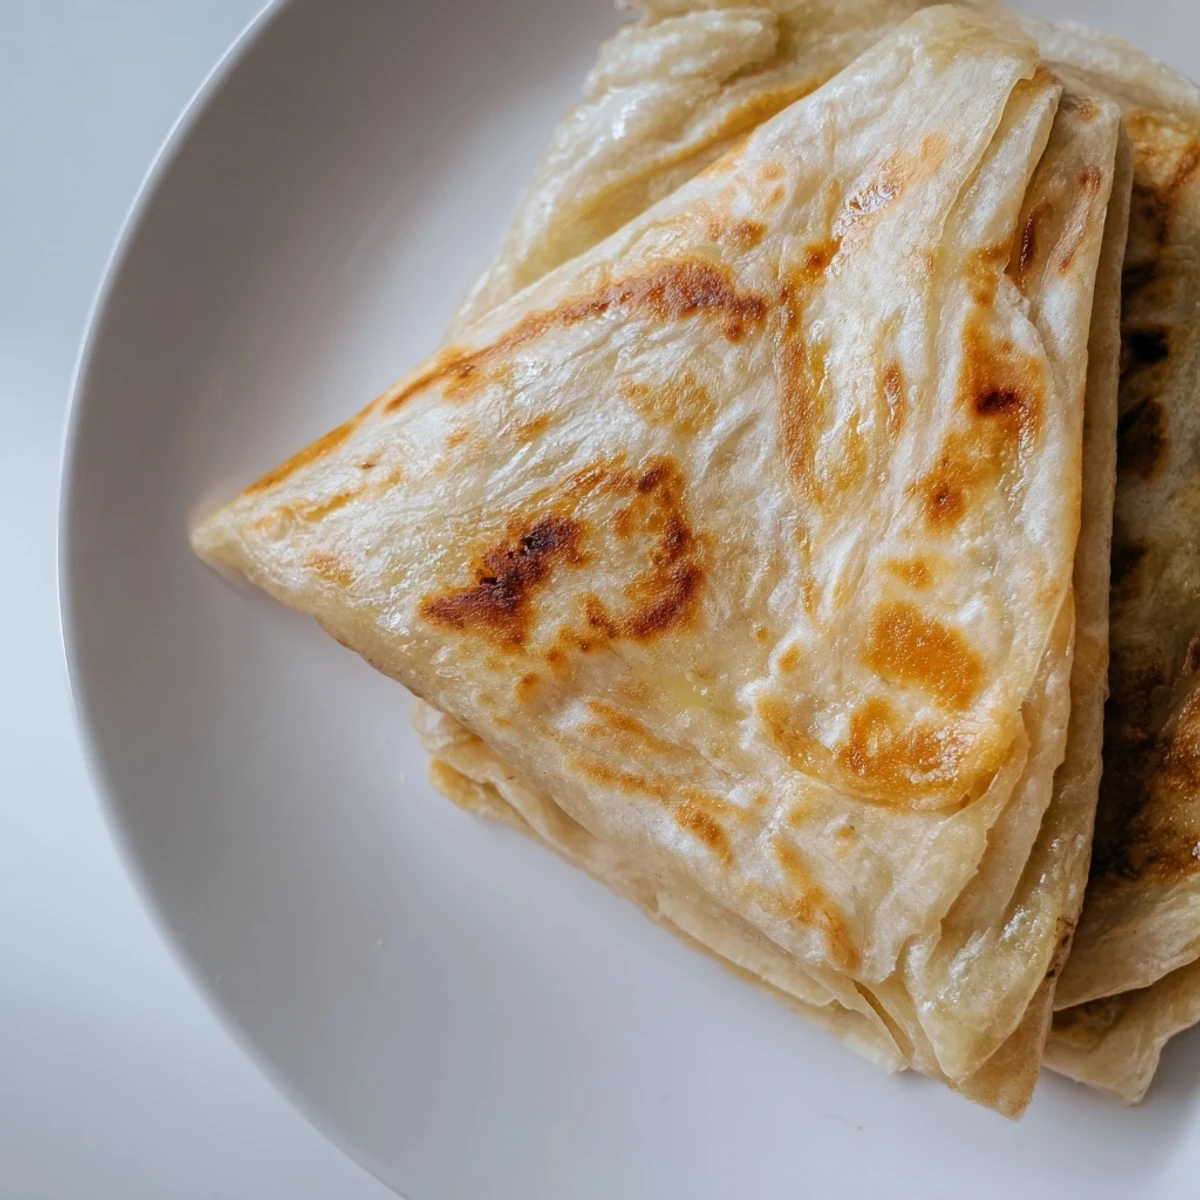
- Heat a nonstick skillet over medium heat brush lightly with ghee and press one spiral portion into a 6 to 7 inch round. Cook for 2 to 3 minutes per side until both sides develop deep golden spots and the layers visibly separate then clap the roti between your hands to fluff up the layers before serving.
 Save
Save I once served these at a dinner party where a Malaysian guest actually got teary eyed saying the taste reminded her of her grandmothers kitchen. Food memories hit different dont they?
Mastering The Stretch
The stretching technique takes practice but working on an oiled surface rather than a floured one gives you more control. The dough should become thin enough to see your hand through it without developing holes.
Temperature Matters
Keep your cooking surface at medium heat—too high and the outside burns before the inside cooks through too low and you lose those crispy edges. A wellseasoned cast iron skillet or nonstick pan works best.
Serving Suggestions
Roti Canai deserves to be eaten immediately while still hot and at its flakiest but having your sides ready is crucial.
- Pair with dhal curry for a classic combination
- Serve with chicken curry or beef rendang
- Sprinkle with sugar for a sweet version that kids love
 Save
Save Theres something deeply satisfying about creating such intricate layers from humble ingredients. May your kitchen always smell like warm ghee and your hands always be covered in flour.
Recipe FAQs
- → What makes Roti Canai flaky?
-
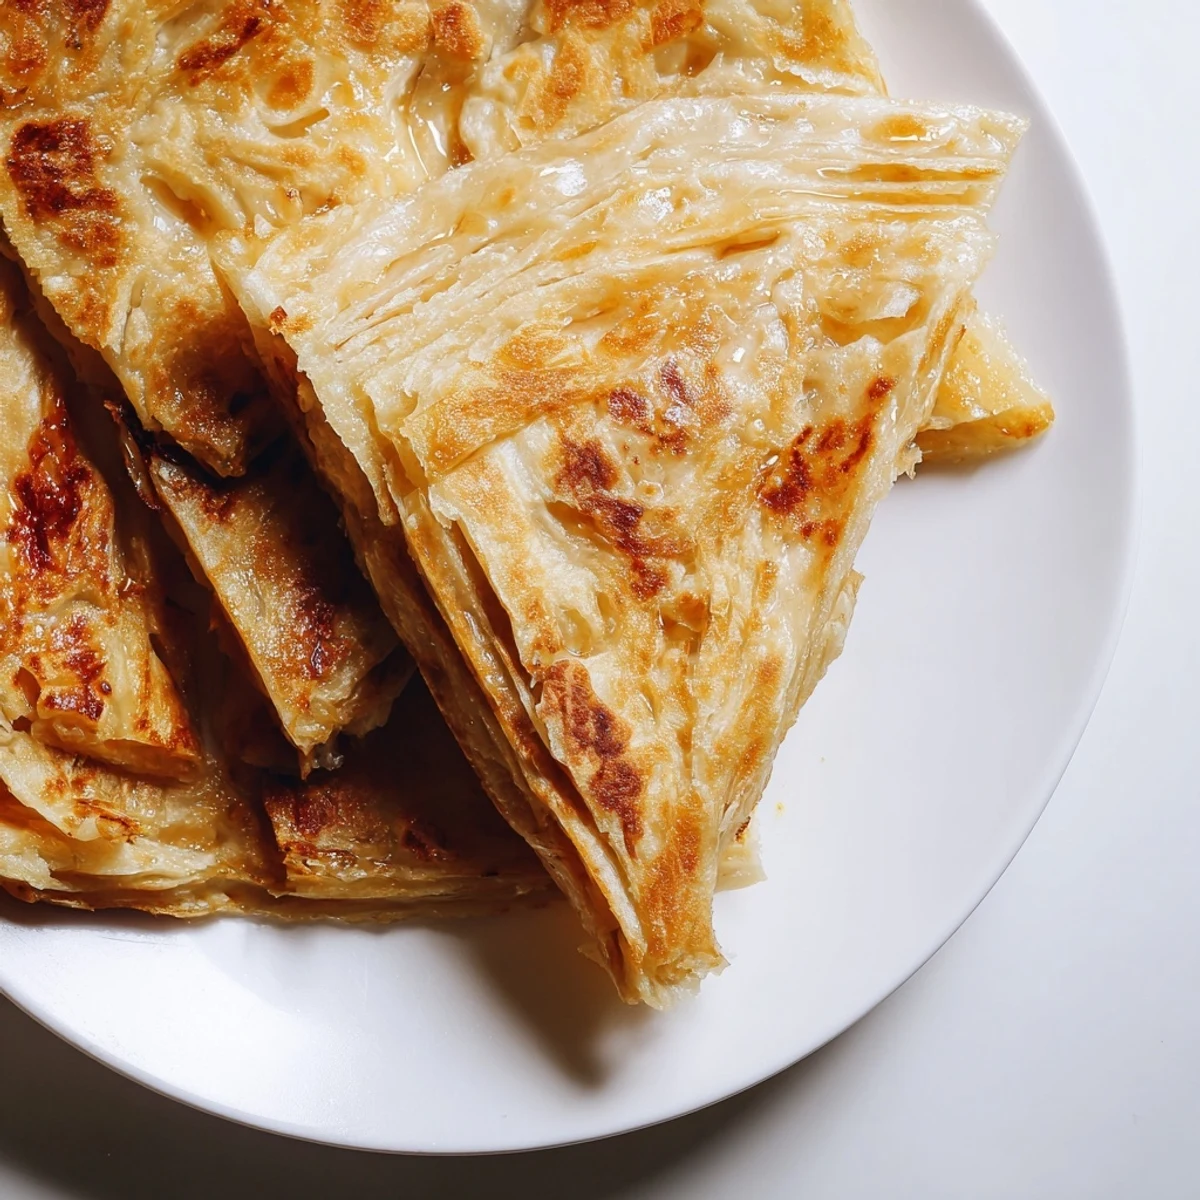
The flaky texture comes from the unique folding technique—stretching the dough paper-thin, folding into a rectangle, rolling like a Swiss roll, then coiling into a spiral. This creates multiple layers that separate during cooking, while the ghee between layers enhances the flakiness.
- → Why does the dough need to rest for 2 hours?
-
Resting allows the gluten to relax, making the dough more pliable and easier to stretch without tearing. This crucial step ensures you can achieve the thin, almost translucent sheet needed for proper layer formation and that signature light texture.
- → Can I make Roti Canai ahead of time?
-
The dough can be prepared and stored in the refrigerator for up to 24 hours before shaping and cooking. Bring to room temperature before stretching. Cooked rotis reheat well in a skillet for 1-2 minutes per side to restore crispiness.
- → What's the purpose of clapping the cooked roti?
-
Clapping the roti between your hands immediately after cooking separates the layers, creating that signature fluffy, airy texture. This traditional technique releases steam and ensures the layers don't stick together, resulting in maximum flakiness.
- → Can I substitute condensed milk?
-
While condensed milk provides authentic flavor and slight sweetness, you can substitute with equal parts coconut milk plus 1 tablespoon sugar. For a less traditional but dairy-free version, use plant-based milk sweetened with maple syrup or sugar.
- → What's the best way to stretch the dough without tearing?
-
Keep your hands and work surface well-greased with ghee or oil. Work gently using your palms to flatten first, then use the backs of your hands to stretch from the center outward. Let gravity help—drape the dough over your knuckles and let it stretch naturally. Patience is key.
