 Save
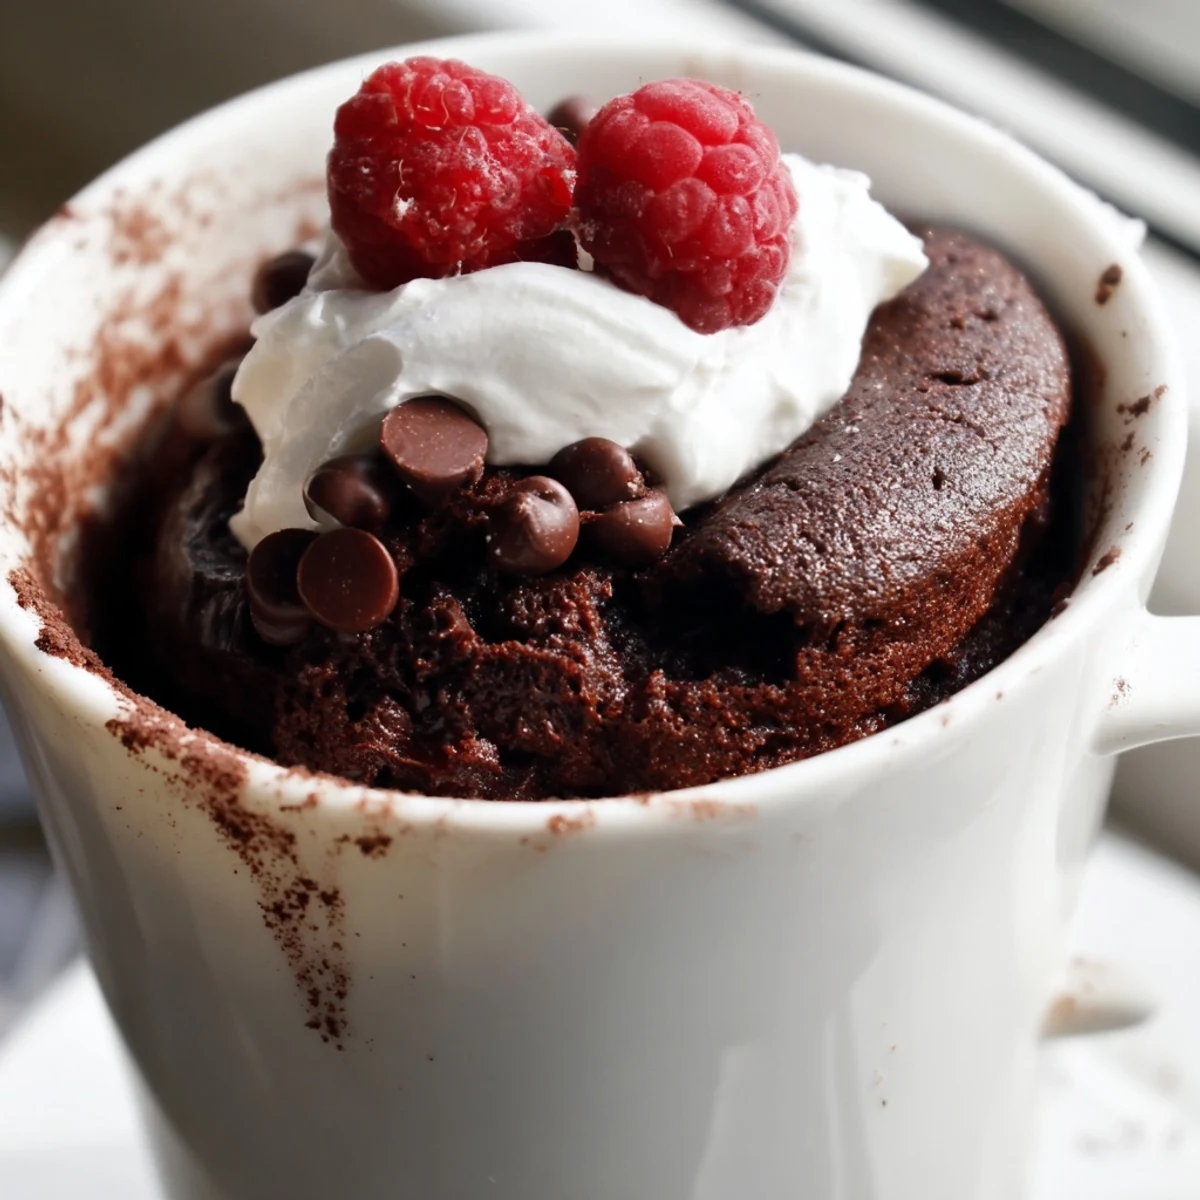
Save This gluten-free chocolate mug cake is the ultimate quick fix for intense chocolate cravings. Made with a simple blend of gluten-free flour, cocoa powder, sugar, and a splash of milk, it transforms into a rich, decadent dessert in under 2 minutes in the microwave.
Perfect for those avoiding gluten, this single-serving treat requires zero special equipment beyond a microwave-safe mug and basic measuring spoons. Customize it with chocolate chips, top it with whipped cream, or enjoy it straight from the mug.
With only 7 minutes from start to finish, it's an ideal solution for late-night sweet tooth moments or an effortless after-dinner indulgence.
There is something almost defiant about making a chocolate cake at eleven oclock on a Tuesday, standing in sock feet in a dim kitchen, knowing full well you will eat the entire thing yourself. The microwave hums its two minute song and suddenly your whole apartment smells like a bakery opened without permission. This gluten free chocolate mug cake is the kind of recipe that saved me during a rainy week when my flour canister was empty and my motivation was lower. It asks almost nothing of you and gives back everything a chocolate craving demands.
My neighbor Ana knocked on my door one evening asking if I had sugar, and I handed her a fork and this mug cake still warm from the microwave. She stood in the hallway eating it without ceremony, leaning against the doorframe, telling me about her day. That is the energy this dessert carries. It does not need a table or an occasion.
Ingredients
- Gluten free all purpose flour blend (3 tablespoons): The backbone of the cake, and the only tricky part since blends vary by brand. I have had the best luck with ones that contain xanthan gum already.
- Unsweetened cocoa powder (2 tablespoons): Use a brand you would drink in hot cocoa because that deep chocolate flavor is the whole personality of this cake.
- Granulated sugar (3 tablespoons): Just enough sweetness without tipping into cloying territory.
- Baking powder (1/4 teaspoon): A tiny amount that does critical lifting so make sure it is fresh and not the expired tin from the back of your pantry.
- Salt (pinch): Do not skip this because salt is what makes chocolate taste like itself.
- Milk (3 tablespoons): Dairy or non dairy both work beautifully, though oat milk gives a slight creaminess I have grown to prefer.
- Neutral oil (2 tablespoons): Canola or light olive oil keeps the crumb tender without adding competing flavors.
- Pure vanilla extract (1/4 teaspoon): A small splash that rounds out the chocolate and makes the whole thing taste considered.
- Chocolate chips (1 tablespoon, optional): Folded in for molten pockets, and absolutely worth the extra five seconds.
- Whipped cream or berries for serving: A crowning touch if you are feeling generous with yourself.
Instructions
- Build your dry foundation:
- Into a microwave safe mug of at least twelve ounces, add the flour, cocoa powder, sugar, baking powder, and salt. Give it a good stir with a fork so the cocoa breaks up and everything looks uniformly dusty and rich.
- Welcome the wet ingredients:
- Pour in the milk, oil, and vanilla, then stir with purpose until you have a smooth batter with no floury pockets hiding in the corners. The mixture should look glossy and dark, like loose brownie dough.
- Tuck in the extras:
- If you are using chocolate chips, fold them in now so they scatter through the center. For the truly indulgent approach, press one chip deep into the middle where it will melt into a hidden pool.
- Let the microwave work its magic:
- Cook on high for one minute and thirty seconds to two minutes, watching through the glass as the cake rises and sets. It is done when the top looks dry and springs back gently under your fingertip.
- Rest briefly then dive in:
- Let it sit for one to two minutes because the mug will be lava hot and the cake continues to settle during this pause. Top with whipped cream or berries if the moment calls for it.
 Save
Save There was a night my friend Marco was going through a terrible breakup and I texted him this recipe with the note that justice is slow but chocolate is fast. He made it at midnight and sent me a blurry photo of the mug, half eaten, with a single thumbs up emoji. Sometimes food does not need to be beautiful or shared at a table to matter.
What to Know About the Timing
The total time really is about seven minutes from cabinet to fork, but those two minutes in the microwave require your full attention. I once walked away to fold laundry and came back to a cake that had overflowed like a chocolate volcano onto the microwave plate. Stay close, watch through the door, and learn your particular microwaves temperament after the first attempt.
Choosing the Right Mug
A twelve ounce mug is the minimum but I have started using a fourteen ounce one to give the cake room to rise without anxiety. Straight sided mugs cook more evenly than tapered ones because the heat distributes uniformly through the batter. Ceramic works best since glass can heat unevenly and create hot spots that leave parts of your cake gummy while other parts overcook.
Making It Your Own
This recipe is a blank canvas dressed in chocolate and it welcomes improvisation with open arms.
- A spoonful of peanut butter swirled into the batter before microwaving turns it into something that tastes like a homemade candy bar.
- A pinch of espresso powder amplified alongside the cocoa will deepen the chocolate without making it taste like coffee.
- Crushed graham crackers scattered on top after cooking give a s mores vibe that feels unnecessary in the best possible way.
 Save
Save Keep this recipe taped inside your cabinet door for the nights when only chocolate will do and patience will not. You deserve warm cake at eleven oclock and now you have no excuse not to make it happen.
Recipe FAQs
- → Can I make this mug cake dairy-free as well?
-
Absolutely. Simply swap the milk for almond, soy, or oat milk, and use a dairy-free chocolate chip option. The texture and flavor remain wonderfully rich and fudgy.
- → Why did my mug cake turn out rubbery?
-
Overcooking is the most common culprit. Microwaves vary in power, so start with 1 minute 30 seconds and check for doneness. The cake should still look slightly moist on top and spring back gently when touched.
- → What gluten-free flour blend works best?
-
A store-bought gluten-free all-purpose flour blend that contains xanthan gum yields the best texture. If your blend doesn't include it, add a small pinch of xanthan gum to help with structure and moisture retention.
- → Can I prepare the dry mix ahead of time?
-
Yes, you can pre-mix the dry ingredients and store them in a small airtight container or zip-top bag. When ready to enjoy, just add the wet ingredients, stir, and microwave for a nearly instant dessert.
- → What size mug should I use?
-
Use a microwave-safe mug that holds at least 12 ounces to allow the cake to rise without overflowing. A standard 14–16 ounce mug works perfectly and gives a little extra room for toppings.
- → How should I store leftovers?
-
Mug cakes are best enjoyed fresh and warm immediately after cooking. However, you can cover the mug with plastic wrap and refrigerate for up to 1 day, then reheat briefly in the microwave for 15–20 seconds.
