 Save
Save Transform simple whole milk into thick, luxurious Greek yogurt through the ancient art of culturing. This straightforward method requires only milk and a yogurt starter, plus patience for the culturing process. The result is a velvety, tangy yogurt that rivals store-bought versions.
The secret to authentic Greek texture lies in the straining step, which removes whey and concentrates the creamy consistency. Your homemade creation contains no additives or preservatives—just pure, cultured dairy goodness.
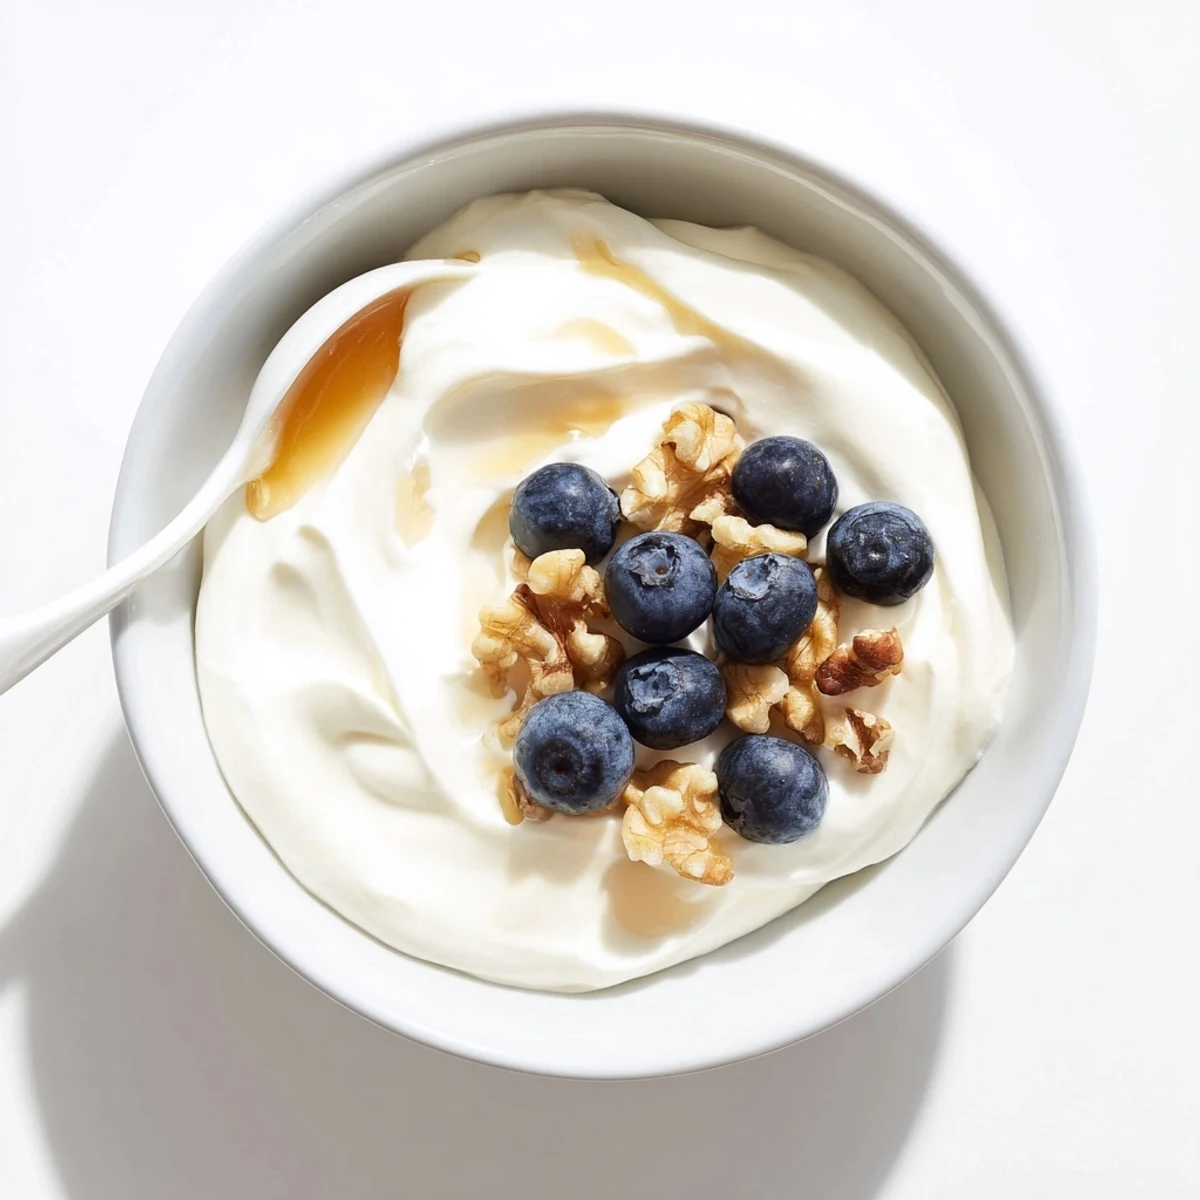
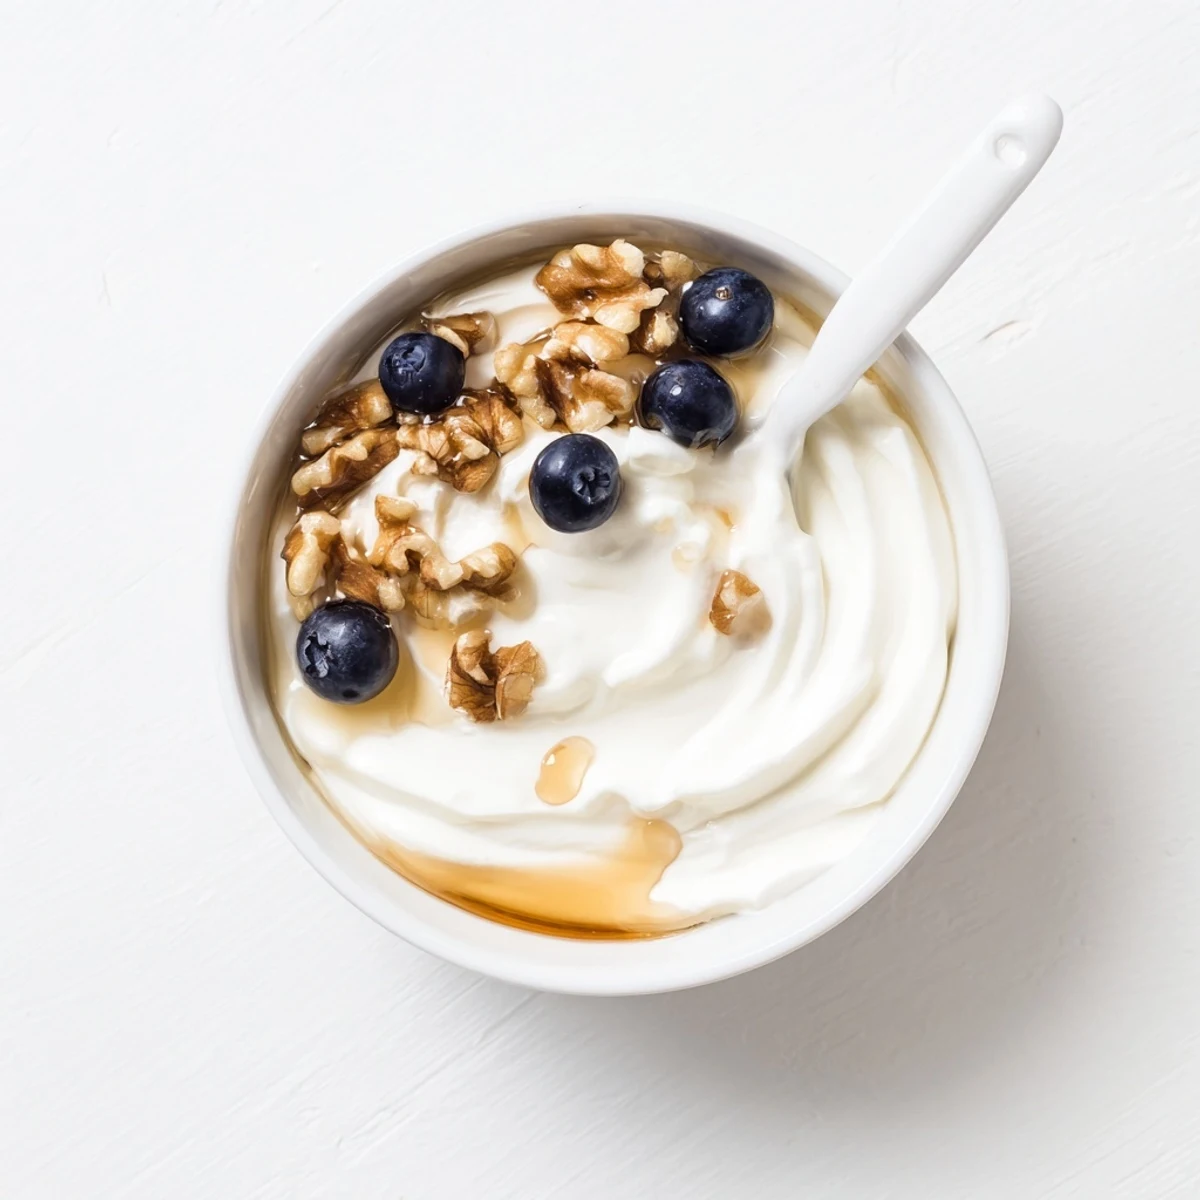
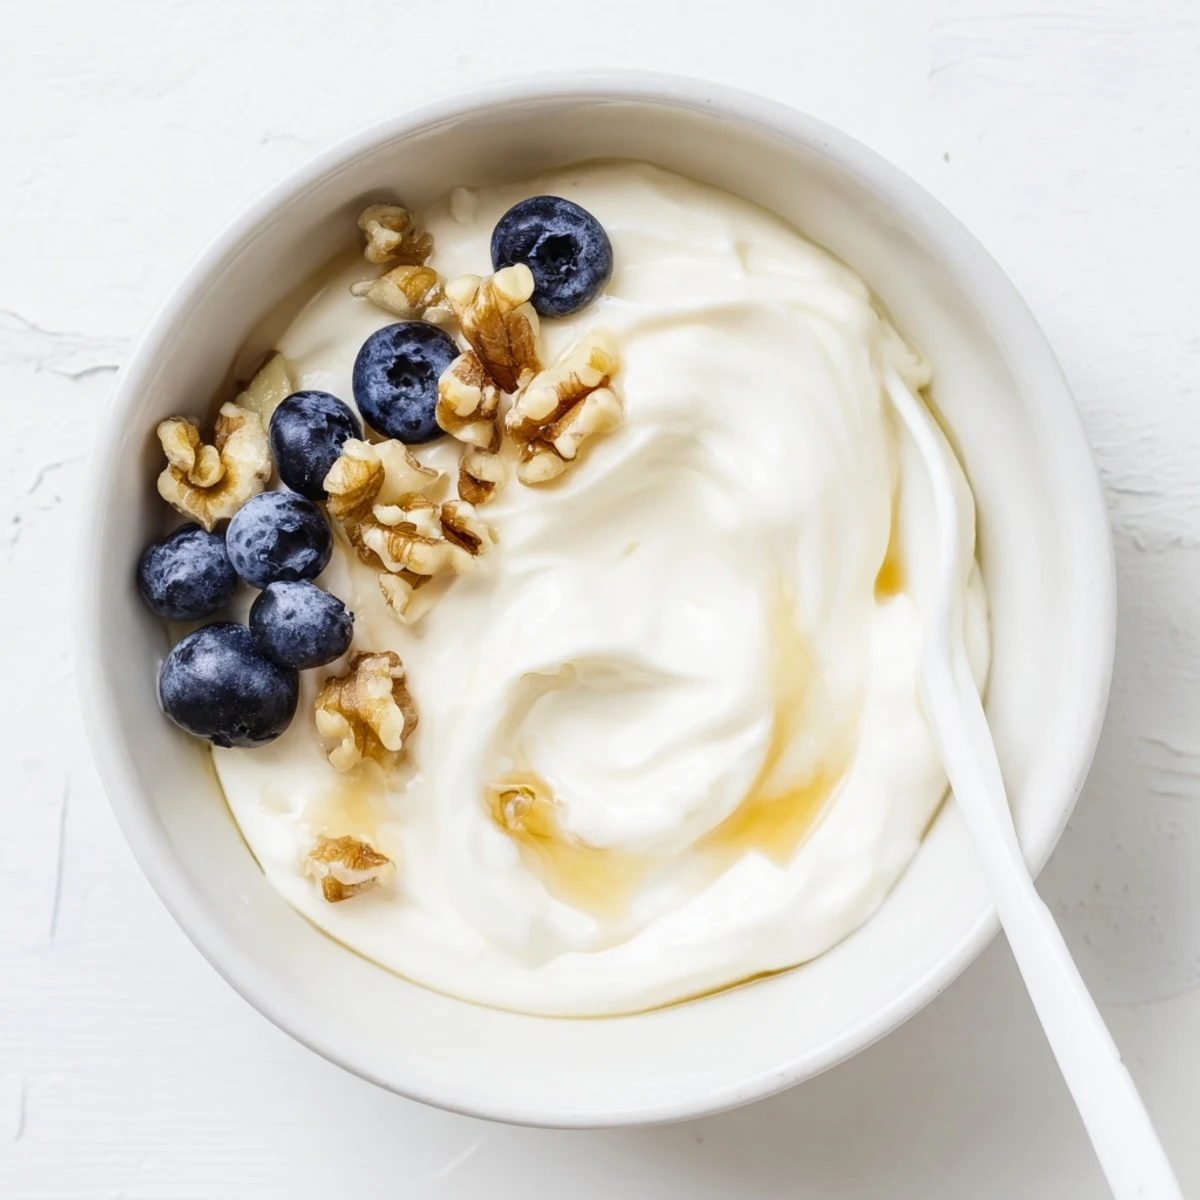
Use it as a protein-rich breakfast base, swirl into sauces, or enjoy with honey and fresh fruit. The whey byproduct adds nutritional value to smoothies and baked goods.
My grandmother kept a thermos of homemade yogurt on her counter always, and when I asked why she never bought it from the store, she dipped a spoon into that creamy white perfection and said taste this, then tell me why anyone would pay for something so alive. I was hooked after one bite, and now my kitchen has its own always going batch.
Last summer my daughter helped me strain our first batch together, and watching her eyes light up when she saw the whey dripping through the cheesecloth was better than any cooking show moment. We ate it with local honey and stolen berries from the garden, standing right there at the kitchen counter.
Ingredients
- 1 liter whole milk: Whole milk creates that luxurious Greek yogurt texture, and I have tried every milk alternative but nothing compares to the rich body you get from full fat dairy.
- 2 tablespoons plain yogurt with live cultures: This starter is literally the seed of your entire batch, so grab a plain quality yogurt from the store with nothing added and live active cultures listed on the label.
Instructions
- Heat the milk to the perfect temperature:
- Pour your milk into a heavy saucepan and warm it gently over medium heat, stirring now and then so nothing sticks to the bottom, until it reaches 82 degrees Celsius. This step kills any bacteria that might compete with your yogurt culture.
- Let it cool down:
- Take the pan off the heat completely and let the milk cool until it hits 43 degrees Celsius, which takes patience but rushing this will kill your starter. I usually check the temperature every fifteen minutes and do other kitchen prep while I wait.
- Prepare your starter:
- Scoop a couple tablespoons of the cooled milk into a small bowl and whisk in your yogurt starter until it dissolves completely and looks smooth. This tempering step prevents shocking the live cultures.
- Combine everything:
- Pour the starter mixture back into your main pot of cooled milk and stir gently but thoroughly to distribute those cultures evenly throughout every drop of milk.
- Create the perfect incubation environment:
- Transfer your milk into a clean glass container, cover it, and wrap it in a thick towel or place it in a yogurt maker to maintain that steady warmth while it works.
- Let the magic happen:
- Leave your yogurt undisturbed in a warm spot for six to eight hours, and try not to check it too often though I know the temptation is real. You will know it is done when the whole container has set into that perfect wobbly consistency.
- Strain for Greek thickness:
- Line a mesh strainer with several layers of cheesecloth and set it over a bowl, then pour your yogurt in and refrigerate it for an hour or two until it reaches your desired thickness.
- Store your creation:
- Scoop your thickened Greek yogurt into a clean container and keep it refrigerated until you are ready to eat, though good luck waiting that long once you see how gorgeous it looks.
 Save
Save My neighbor came over unexpectedly while I was straining a batch once, and I ended up sending her home with a tiny container of the finished yogurt. She texted me that night saying she cancelled her grocery delivery order because she was never going back to store bought again.
Temperature Precision
I learned the hard way that overheating your milk creates a cooked flavor that no amount of honey can fix, while underheating leaves you with runny disappointing results. A good instant read thermometer costs less than two containers of premium yogurt and pays for itself immediately.
Finding Your Warm Spot
Not everyone has a yogurt maker, and I spent years improvising with everything from oven lights to heating pads before discovering that my microwave with the door closed holds the perfect steady temperature. Just turn off the microwave light after you put your yogurt inside, and never open that door until time is up.
Serving Ideas
This homemade Greek yogurt is so incredibly thick and rich that it stands on its own with just a drizzle of good honey and some chopped walnuts, but it also transforms overnight oats into something restaurant worthy.
- Save the last tablespoon of each batch as your starter for the next one.
- Try sheep or goat milk if you want to experiment with different tangy flavor profiles.
- The texture keeps getting better over a few days in the refrigerator.
 Save
Save There is something deeply satisfying about making your own staples, and yogurt might just be the most rewarding place to start because the difference in quality is so immediately obvious.
Recipe FAQs
- → What makes Greek yogurt different from regular yogurt?
-
Greek yogurt undergoes straining to remove whey, resulting in a thicker, creamier texture with higher protein content. The straining process concentrates the dairy solids, creating that signature velvety consistency perfect for both sweet and savory applications.
- → Can I use low-fat or skim milk instead of whole milk?
-
While possible, whole milk produces the richest, creamiest results. Lower fat milk yields thinner yogurt that may become overly tangy during straining. For best texture and flavor, stick with full-fat dairy or experiment with goat and sheep milk for unique variations.
- → How long does homemade Greek yogurt stay fresh?
-
Properly stored in an airtight container, your homemade Greek yogurt keeps for 1-2 weeks in the refrigerator. The tangy flavor may intensify slightly over time, which is natural for cultured dairy products. Always use clean utensils when serving to extend freshness.
- → What can I do with the leftover whey from straining?
-
Don't discard the nutrient-rich whey! Blend it into smoothies for extra protein, use it as a liquid in bread dough, add to soups for depth, or substitute for buttermilk in baking. It freezes well for future use in both sweet and savory dishes.
- → Do I need a yogurt maker to make this at home?
-
No special equipment is required. A yogurt maker provides consistent temperature, but you can achieve excellent results by wrapping your cultured milk in towels and placing it in a warm spot like an oven with the light on, or near a heating pad. The key is maintaining a steady warm temperature during culturing.
- → Why did my yogurt not set properly?
-
Several factors affect setting: the milk may have been too hot when adding starter, killing the cultures; the culturing temperature might have fluctuated; or the starter wasn't active. Ensure milk cools to 43°C before mixing, and maintain a consistently warm environment during the 6-8 hour culturing period.
