 Save
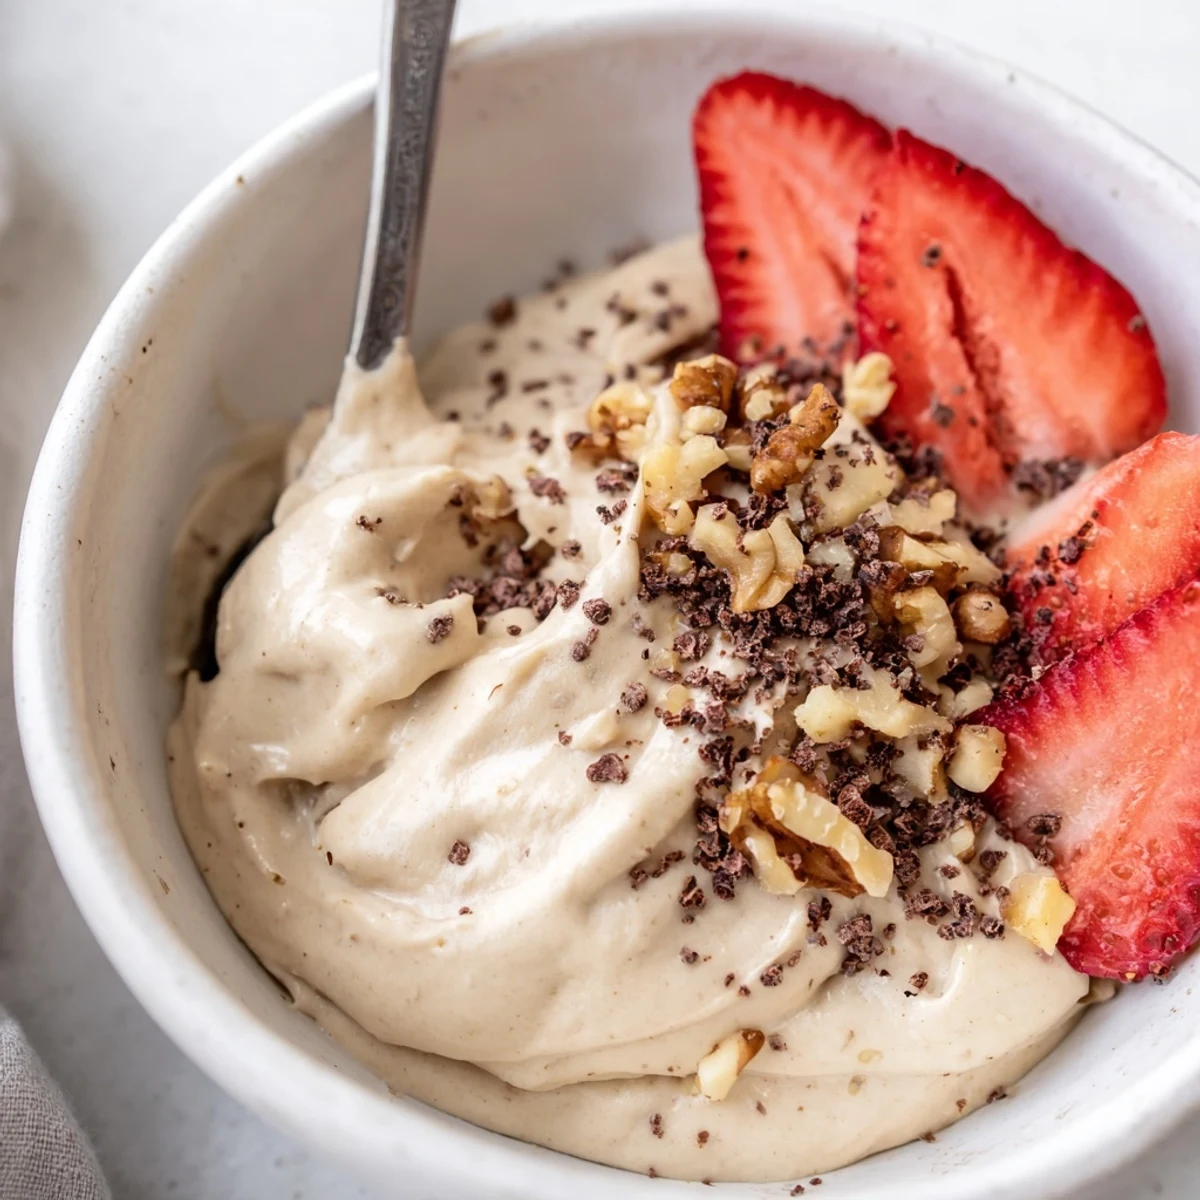
Save Transform frozen bananas into a lusciously creamy frozen delight that rivals traditional ice cream. This versatile treat comes together in just 5 minutes using ripe frozen bananas as the base, creating a naturally sweet and satisfying dessert without any added sugar or dairy.
Customize your bowl with vanilla, cocoa powder, or mixed berries for endless flavor variations. The result is incredibly smooth and creamy, perfect for anyone seeking a healthier alternative to store-bought frozen desserts. Keep it simple or dress it up with nuts, cacao nibs, and fresh fruit for an extra special treat.
My blender was loud enough at midnight to make my neighbor knock on the wall, but halfway through the first spoonful of banana nice cream, I genuinely did not care. The inside of the machine had turned frozen banana slices into something so impossibly smooth and custardy that I stood in my kitchen laughing at the simplicity of it. No cream, no sugar, no churning, just fruit doing something magical on its own.
I started making this every afternoon last July when the heat made everything else feel like too much effort, and my roommate got so hooked we started hiding our personal stashes of frozen bananas from each other in the back of the freezer.
Ingredients
- 3 large ripe bananas, sliced and frozen: The bananas must be genuinely overripe, covered in brown spots, because that is where all the sweetness and creamy body comes from.
- 1 tsp pure vanilla extract: This lifts the flavor from plain banana into something that reads as genuinely desserty.
- 2 tbsp unsweetened cocoa powder: Optional, but it transforms the whole bowl into a rich chocolate treat that tastes far more indulgent than it is.
- 1/2 cup frozen berries: Another optional addition that gives you a beautiful pink color and a tangy brightness.
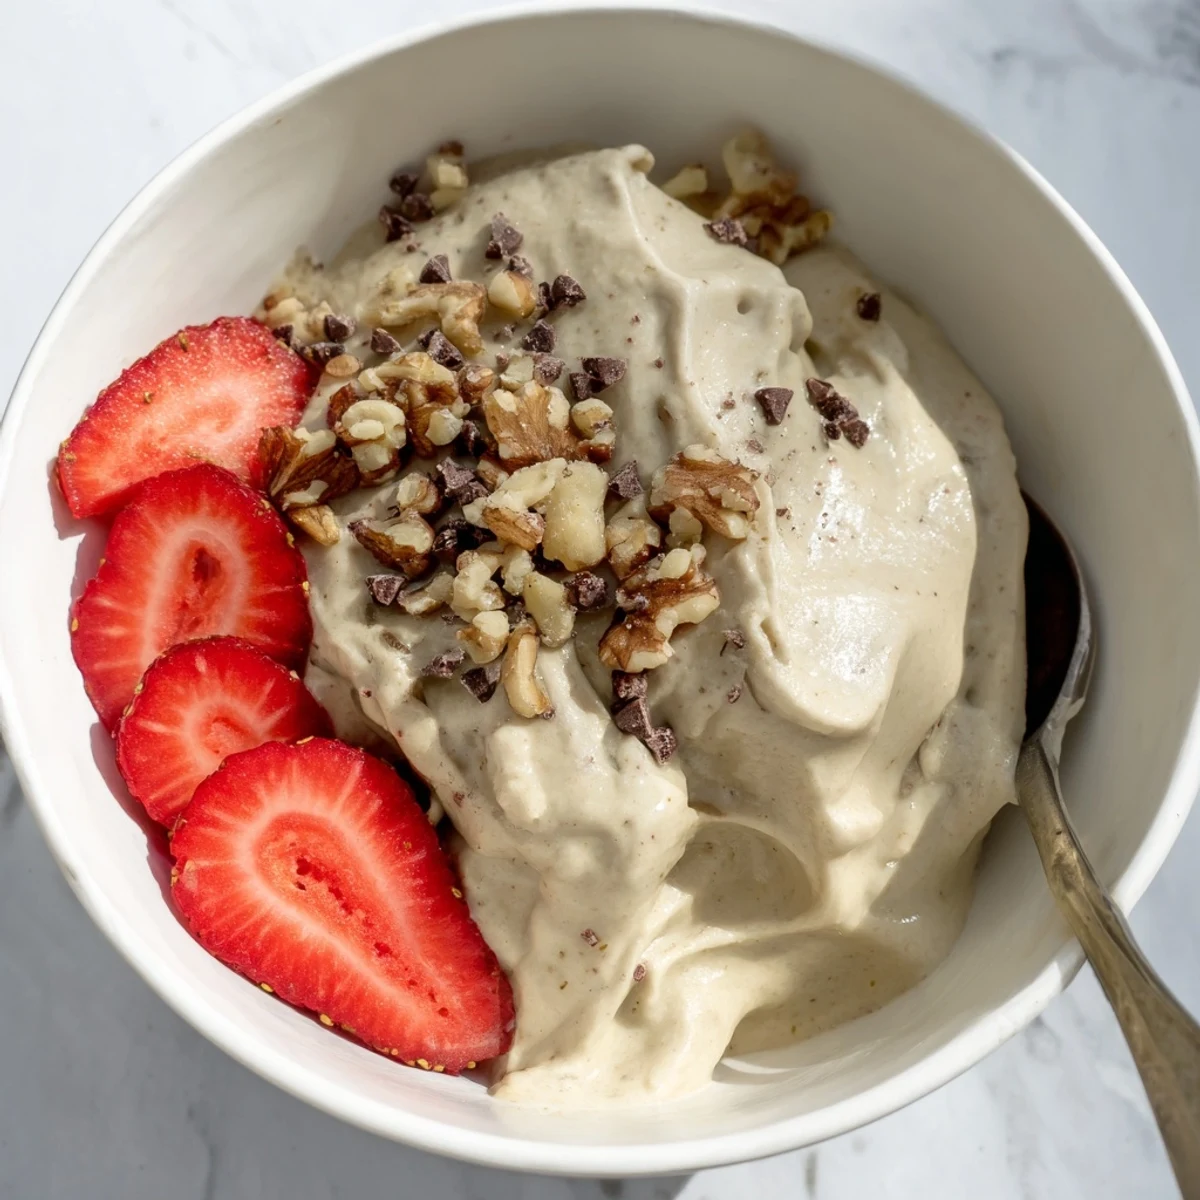
- Toppings such as chopped nuts, cacao nibs, or fresh fruit slices: These add texture and crunch that make each bowl feel finished and special.
Instructions
- Load the blender:
- Toss your frozen banana slices into a high powered blender or food processor and let them sit for just a minute so they are not rock solid.
- Blend and scrape:
- Run the machine on high, stopping every thirty seconds to scrape down the sides with a rubber spatula until everything turns thick and creamy.
- Add your flavors:
- Drop in the vanilla extract or whichever variation you are using, then blend again until fully incorporated and silky smooth.
- Chill if needed:
- If you want a firmer scoopable texture, transfer the nice cream to a freezer safe container and let it set for one to two hours before serving.
- Serve and enjoy:
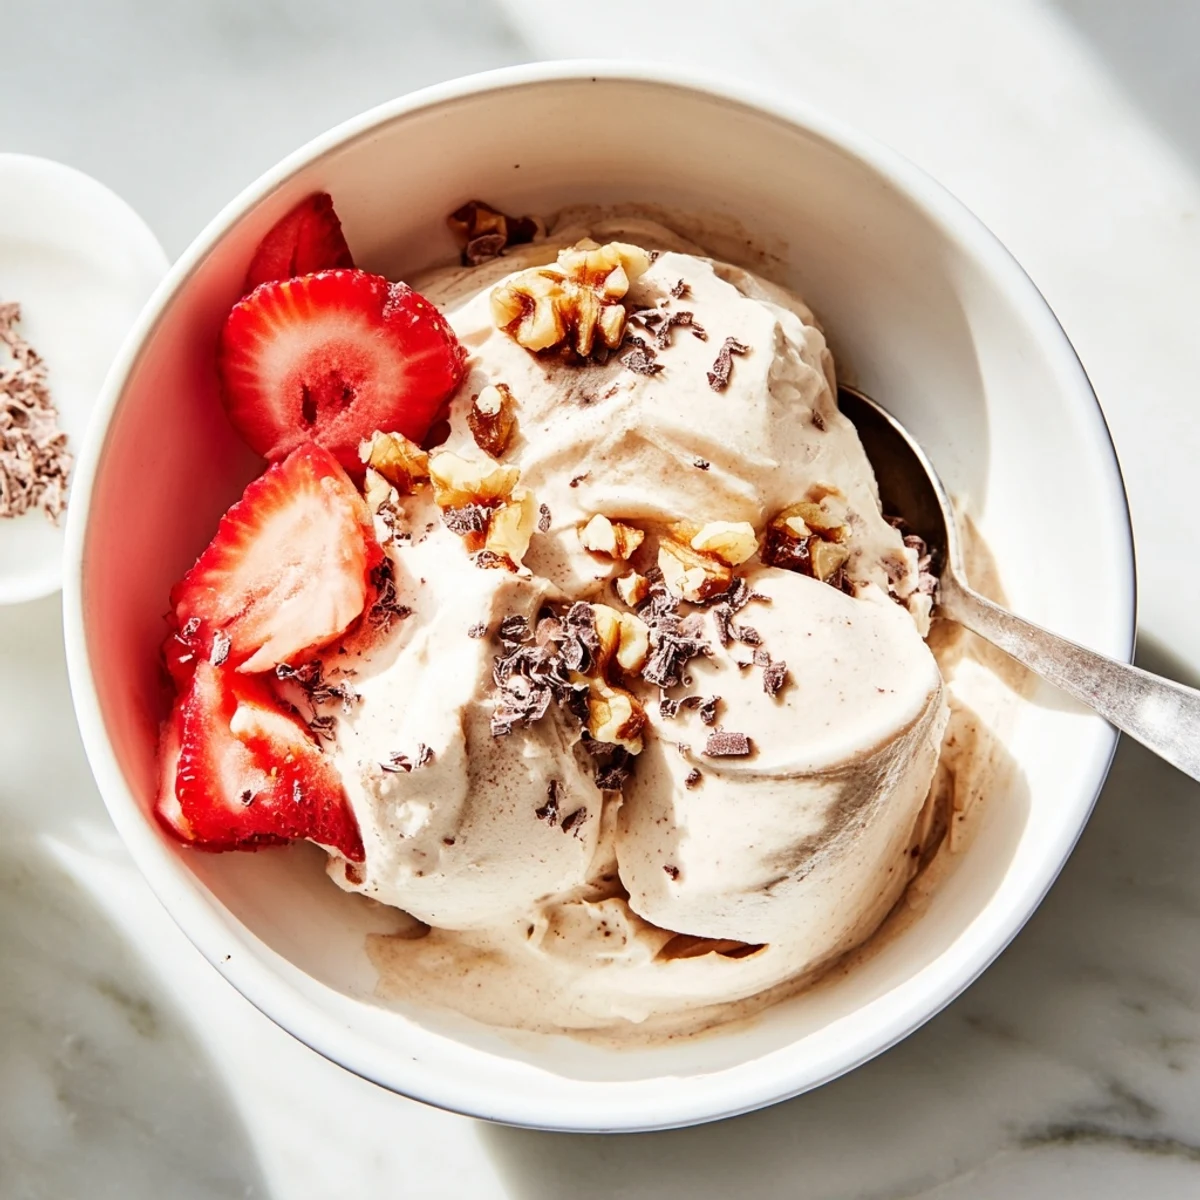
- Scoop into bowls, scatter your favorite toppings over the surface, and eat immediately because this stuff waits for no one.
 Save
Save The night I served this to my friends who had just finished a ten mile run, they sat on my living room floor passing the bowl around in complete silence, and I realized this simple little recipe had become my most reliable party trick.
Choosing and Storing Your Bananas
I peel and chop bananas the moment they get too spotty for anyone in the house to eat plain, then lay the coins flat on a tray before transferring them to a bag. They keep well for up to three months in the freezer, which means you can always be two minutes away from dessert.
Fun Variations to Try
Once you master the basic version, the flavors you can create are almost endless. A tablespoon of peanut butter blended in makes it taste like a frozen peanut butter banana sandwich, and a half teaspoon of matcha powder turns the whole bowl a gorgeous green with an earthy sweetness.
Allergen and Dietary Notes
This recipe is naturally free from gluten, dairy, eggs, and nuts unless you choose to add nut toppings, making it one of the safest desserts to serve a crowd with mixed dietary needs.
- Always double check the labels on any mix ins like cocoa powder or nut butter for hidden allergens.
- For a lower sugar version, blend in a quarter cup of frozen peeled zucchini or avocado along with the bananas.
- Remember that even natural fruit sugar adds up, so keep portions reasonable if you are watching intake.
 Save
Save Keep a steady stash of frozen banana slices in your freezer and you will always be five minutes away from the most wholesome dessert imaginable. Your future self will thank you at eleven oclock on a Tuesday night.
Recipe FAQs
- → What is nice cream made of?
-
Nice cream is primarily made from frozen ripe bananas that are blended until creamy and smooth. The natural sugars in overripe bananas create sweetness without any added sugar, while the high pectin content gives it that luxurious ice cream-like texture.
- → Do I need an ice cream maker?
-
No ice cream maker required! A high-powered blender or food processor works perfectly to break down the frozen bananas into silky smooth perfection. Just blend, scrape down the sides as needed, and you're done in minutes.
- → Can I make this ahead of time?
-
Absolutely! After blending, transfer your nice cream to a freezer-safe container and freeze for 1-2 hours for a firmer, scoopable texture. It keeps well for up to a week, though it's best enjoyed within the first few days.
- → Why use overripe bananas?
-
Overripe bananas with brown spots are naturally sweeter and creamier than their yellow counterparts. The starches have converted to sugars, meaning you get maximum sweetness without any additional sweeteners needed.
- → What toppings work best?
-
Chopped nuts, cacao nibs, fresh fruit slices, shredded coconut, or a drizzle of nut butter all make excellent toppings. Get creative with granola, seeds, or even a dusting of cinnamon for extra flavor and texture contrast.
- → Is this suitable for special diets?
-
Yes! This treat is naturally vegan, gluten-free, and dairy-free, making it perfect for almost any dietary restriction. Just be mindful of your toppings if you have nut allergies or other specific sensitivities.
