 Save
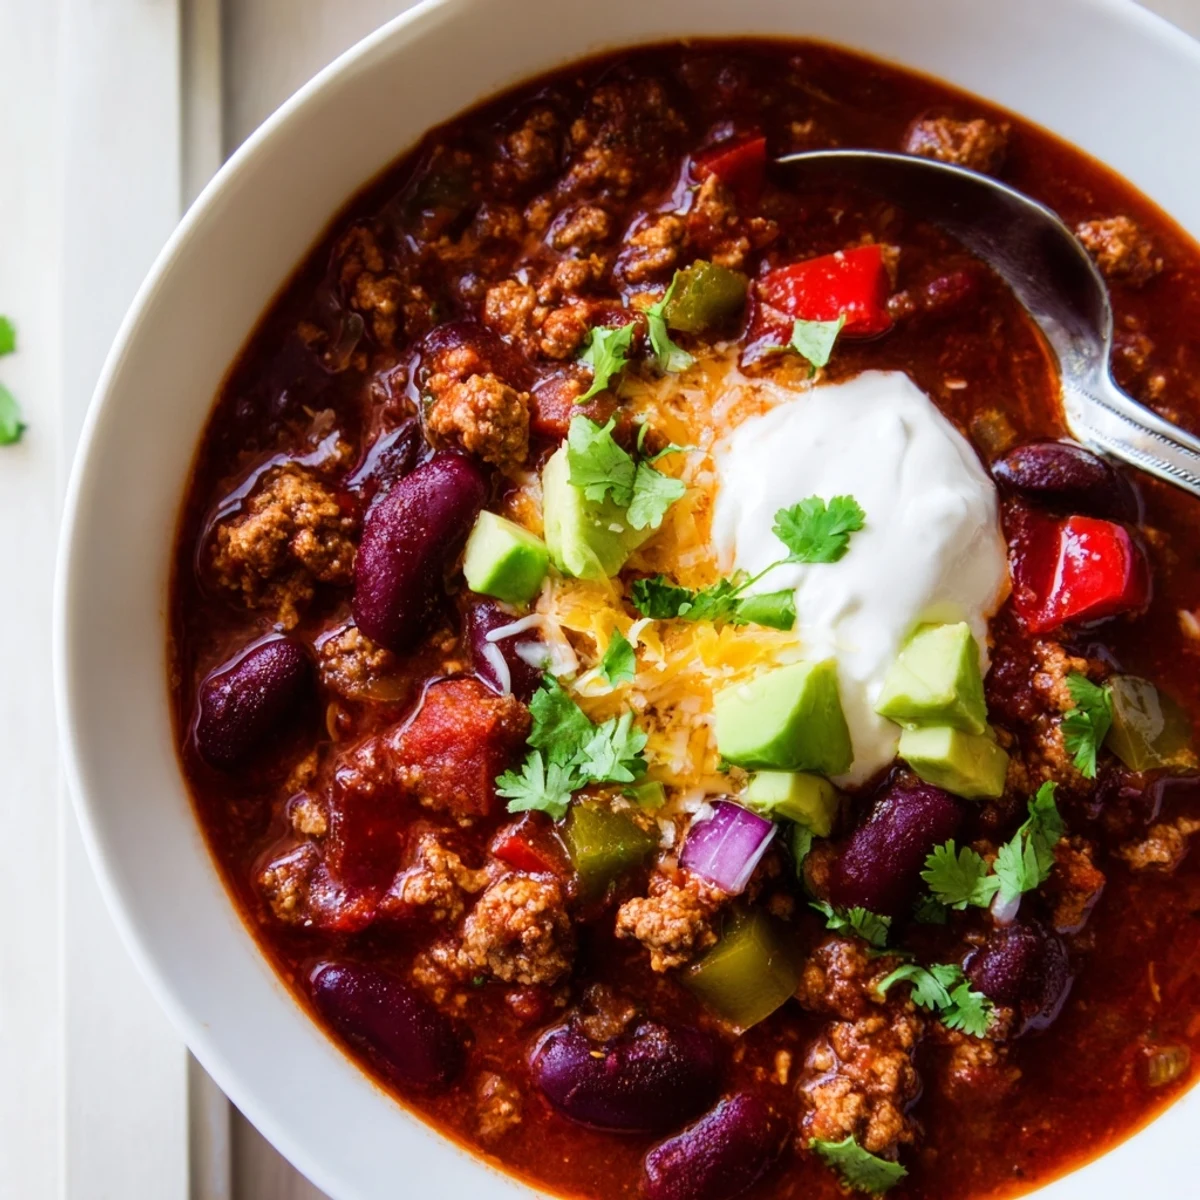
Save This hearty beef and bean chili brings together ground beef, kidney beans, and black beans in a rich tomato-based sauce seasoned with chili powder, cumin, and smoked paprika.
Ready in under two hours, it feeds six and pairs beautifully with cornbread, rice, or tortilla chips.
Customize the heat level with jalapeño and cayenne, and top with cheddar, sour cream, or avocado.
The rain was hammering against the kitchen window the afternoon I finally cracked the code on chili that actually tasted like something worth remembering. My pot had been bubbling for an hour and the whole apartment smelled like cumin and possibility. That batch changed everything for me, and honestly, it is the one recipe I reach for whenever the temperature drops below fifty degrees.
I brought a dutch oven full of this chili to a neighborhood potluck last October and watched three strangers go back for seconds before I even got a bowl. My friend David stood over the pot with a ladle, guarding it like a dragon, and declared it the only acceptable chili in his life from that point forward.
Ingredients
- 500 g (1 lb) ground beef: Use 80/20 for the best balance of flavor and texture, and do not skip draining the fat.
- 1 large onion, diced: Yellow or white onion both work beautifully here.
- 2 cloves garlic, minced: Fresh garlic makes a noticeable difference, so avoid the jarred stuff if you can.
- 1 red bell pepper, diced: Adds a subtle sweetness that rounds out the heat.
- 1 green bell pepper, diced: The slight bitterness balances the tomatoes perfectly.
- 1 jalapeño, seeded and minced (optional): Remove every seed if you want warmth without fire.
- 400 g (14 oz) can kidney beans, drained and rinsed: Rinsing removes the starchy liquid that can make chili murky.
- 400 g (14 oz) can black beans, drained and rinsed: These add a creamier texture the kidney beans cannot quite deliver.
- 800 g (28 oz) can diced tomatoes: Do not drain them, because you want that liquid in your pot.
- 2 tbsp tomato paste: This concentrates the tomato flavor and thickens the broth.
- 250 ml (1 cup) beef broth: Low sodium gives you more control over the final salt level.
- 2 tbsp chili powder: This is the backbone of the entire flavor profile.
- 1 tsp ground cumin: Toasting it briefly in the pot releases an earthy warmth.
- 1 tsp smoked paprika: This is the secret ingredient that makes people ask what you did differently.
- 1/2 tsp dried oregano: A small amount adds a surprising herbal depth.
- 1/2 tsp salt and 1/4 tsp black pepper: Adjust the salt at the very end after everything has reduced.
- 1/4 tsp cayenne pepper (optional): A little goes a long way, so taste before adding more.
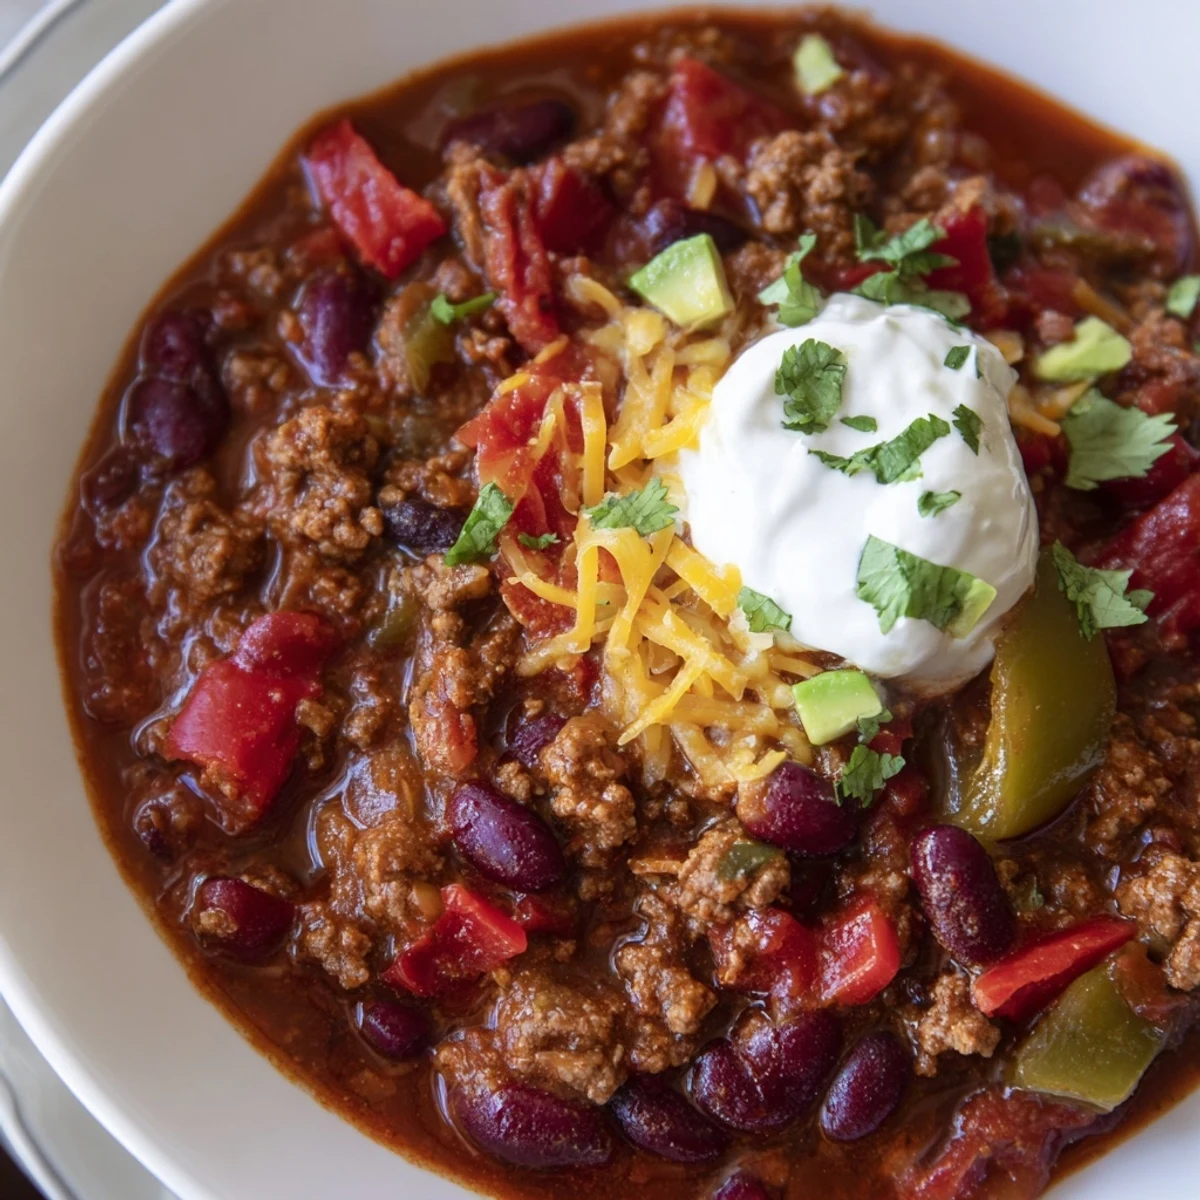
- Garnishes (optional): Chopped cilantro, sour cream, grated cheddar, and diced avocado all belong here.
Instructions
- Wake up the aromatics:
- Heat a splash of oil in your largest pot or dutch oven over medium heat, then add the diced onion and let it soften for about five minutes until it turns translucent and fragrant. Toss in the garlic and stir for one minute until you can smell it from the next room.
- Brown the beef:
- Add the ground beef, breaking it apart with a wooden spoon as it cooks, and let it brown for six to eight minutes. Drain off any excess fat so your chili does not end up greasy.
- Build the vegetable base:
- Stir in both bell peppers and the jalapeño, cooking for about three minutes until they soften slightly but still hold their shape.
- Bloom the spices:
- Sprinkle in the chili powder, cumin, smoked paprika, oregano, salt, pepper, and cayenne, stirring to coat every piece of meat and vegetable. Let the spices toast for about thirty seconds until your kitchen smells incredible.
- Bring it all together:
- Stir in the tomato paste and cook for one minute, then pour in the diced tomatoes with their juice and the beef broth. Add both cans of rinsed beans, stir everything well, and bring the pot to a full boil.
- Let it simmer low and slow:
- Reduce the heat to low, cover the pot, and let it simmer for one hour, stirring every fifteen minutes or so so nothing sticks. Remove the lid for the last fifteen minutes if you want a thicker, heartier consistency.
- Taste and serve:
- Give it a final taste and adjust the salt, pepper, or heat to your liking, then ladle it into bowls and pile on whatever garnishes make you happy.
 Save
Save There is something about a pot of chili on the stove that turns a regular Tuesday into an event. People gather in the kitchen without being asked, hovering over the pot with bread in hand, and for a little while everything feels exactly right.
Swaps and Variations That Actually Work
Ground turkey or chicken works beautifully if you want something lighter, though you may want to add an extra pinch of smoked paprika to compensate for the leaner meat. For a vegetarian version, double the beans or add a can of lentils, and use vegetable broth instead of beef. I once made it with leftover shredded pork and it was unrecognizable in the best possible way.
What to Serve Alongside
Cornbread is the obvious answer and it is the correct one, especially if you bake it with a handful of cheddar folded into the batter. Tortilla chips give you something to crunch on between spoonfuls, and a simple bowl of white rice underneath turns this into a meal that stretches for days. A fruity Zinfandel or a malty amber ale alongside makes the whole evening feel intentional.
Storage and Reheating
This chili keeps beautifully in the refrigerator for up to four days, and the flavor deepens overnight in a way that makes the wait worthwhile. Freeze individual portions in airtight containers for up to three months for those nights when cooking feels impossible.
- Let frozen chili thaw overnight in the fridge before reheating for the best texture.
- Reheat gently on the stove with a splash of broth to bring back the original consistency.
- Always store garnishes separately so nothing gets soggy.
 Save
Save Some recipes earn their place in your rotation through convenience, and others earn it through the way they make your house smell and the people they draw to your table. This chili does both without even trying.
Recipe FAQs
- → How do I store leftover chili?
-
Let the chili cool completely, then transfer it to an airtight container. Refrigerate for up to 4 days or freeze for up to 3 months. The flavors deepen as it sits, so leftovers often taste even better.
- → Can I make chili ahead of time?
-
Yes, chili is an excellent make-ahead dish. Prepare it a day in advance, refrigerate, and gently reheat on the stovetop or in a slow cooker. The resting time allows the spices to fully meld.
- → What can I substitute for ground beef?
-
Ground turkey or chicken works well for a lighter version. For a vegetarian option, replace the beef with an extra can of beans, lentils, or crumbled tofu. Adjust cooking time accordingly.
- → How can I thicken my chili?
-
Remove the lid during the last 15 minutes of simmering to reduce excess liquid. You can also mash a portion of the beans against the pot wall, or stir in a tablespoon of cornmeal mixed with water.
- → Is this chili spicy?
-
The base heat is moderate from chili powder and paprika. The jalapeño and cayenne are optional—omit them for a milder pot or increase them for a bolder kick. Adjust to your preference.
- → What should I serve with chili?
-
Classic pairings include cornbread, white rice, or tortilla chips. For garnishes, try chopped cilantro, sour cream, grated cheddar cheese, or diced avocado to add freshness and creaminess.
