 Save
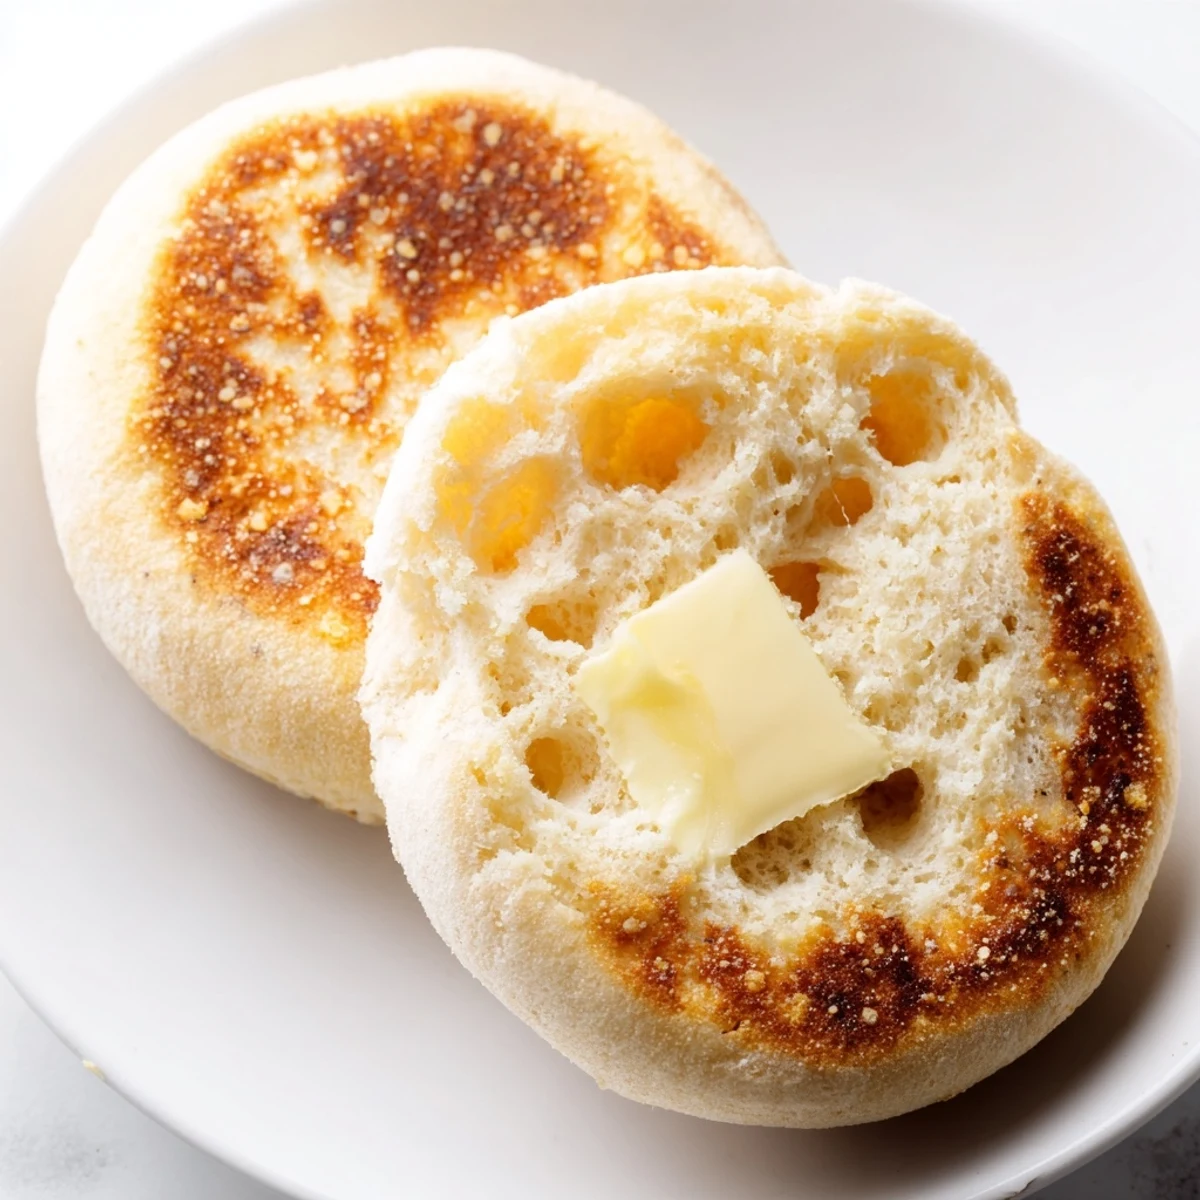
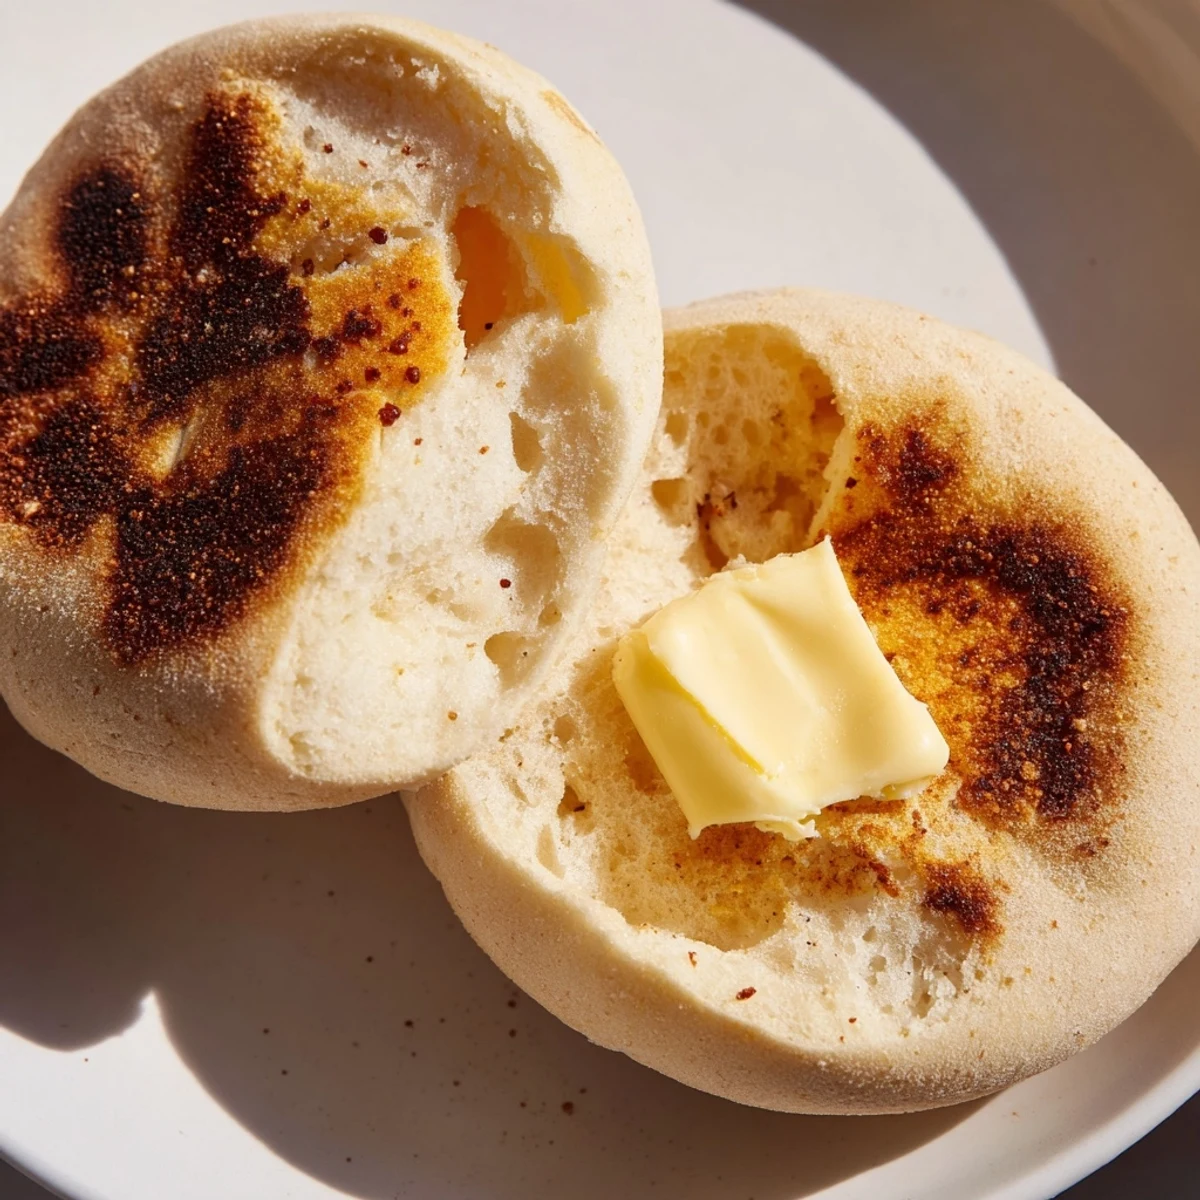
Save Craft these beloved British breakfast staples in your own kitchen. These homemade English muffins deliver the perfect combination of soft interiors, golden crusts, and those characteristic nooks and crannies that cradle melted butter and jam beautifully. The dough requires simple pantry staples and a bit of patience for rising, but the result far exceeds anything store-bought.
The process involves mixing a yeast-enriched dough, letting it rise until doubled, then cutting and griddling the rounds on a skillet until golden brown and cooked through. The key is cooking them slowly over medium-low heat to ensure the centers bake completely without burning the exterior.
Split them with a fork to preserve their texture, toast until warm, and serve with butter, jam, or any topping you desire. They freeze beautifully for quick breakfasts anytime.
My tiny London apartment kitchen became an accidental bakery one rainy Sunday when I decided nothing store-bought could ever compare to fresh English muffins. The whole building smelled like warm yeast and butter, and by afternoon my neighbor actually knocked to ask what bakery Id secretly opened.
I served these at my first proper brunch party, still warm from the griddle, and watched five friends go completely silent just biting into them. Someone actually asked if I could start a weekend delivery service, which I took as the highest possible compliment.
Ingredients
- Bread flour: Higher protein creates that signature chewy texture and helps the muffins develop their famous interior structure
- Whole milk: Adds richness and tenderness that water alone cannot achieve, plus the natural sugars help with browning
- Active dry yeast: Gives the dough its rise and those wonderful air pockets that catch melted butter
- Granulated sugar: Feeds the yeast for better rising and adds just a touch of sweetness to balance the salt
- Fine sea salt: Essential for flavor and strengthens the gluten structure for better texture
- Unsalted butter: Adds richness and helps create that tender, slightly sweet crumb
- Cornmeal or semolina: Prevents sticking and adds that classic crunchy exterior that sets these apart from other breads
Instructions
- Wake up the yeast:
- Dissolve the yeast and sugar in lukewarm milk and watch it foam up, which tells you its alive and ready to work
- Build the foundation:
- Mix flour and salt in a large bowl, create a well in the center, then pour in the yeasty milk and melted butter
- Bring it together:
- Knead by hand for 8 to 10 minutes until the dough transforms from shaggy to smooth and elastic, or let your mixer do the work for 5 to 6 minutes
- Let it rest and rise:
- Place the dough in an oiled bowl, cover it, and find the warmest spot in your kitchen for 1 to 1.5 hours until it has doubled
- Shape your muffins:
- Roll the dough to three-quarter inch thickness and cut circles with a three-inch round cutter, rerolling scraps to get about 8 muffins
- Dust and proof again:
- Place them on a cornmeal-dusted sheet, sprinkle more on top, cover loosely, and let them puff for 25 to 30 minutes
- Cook to golden perfection:
- Heat your skillet over low-medium heat and cook each muffin 7 to 9 minutes per side until deeply golden and reaching 200°F inside
 Save
Save Now whenever I make these, I think about that first rainy day in London and how something so simple became such a cherished ritual in my home.
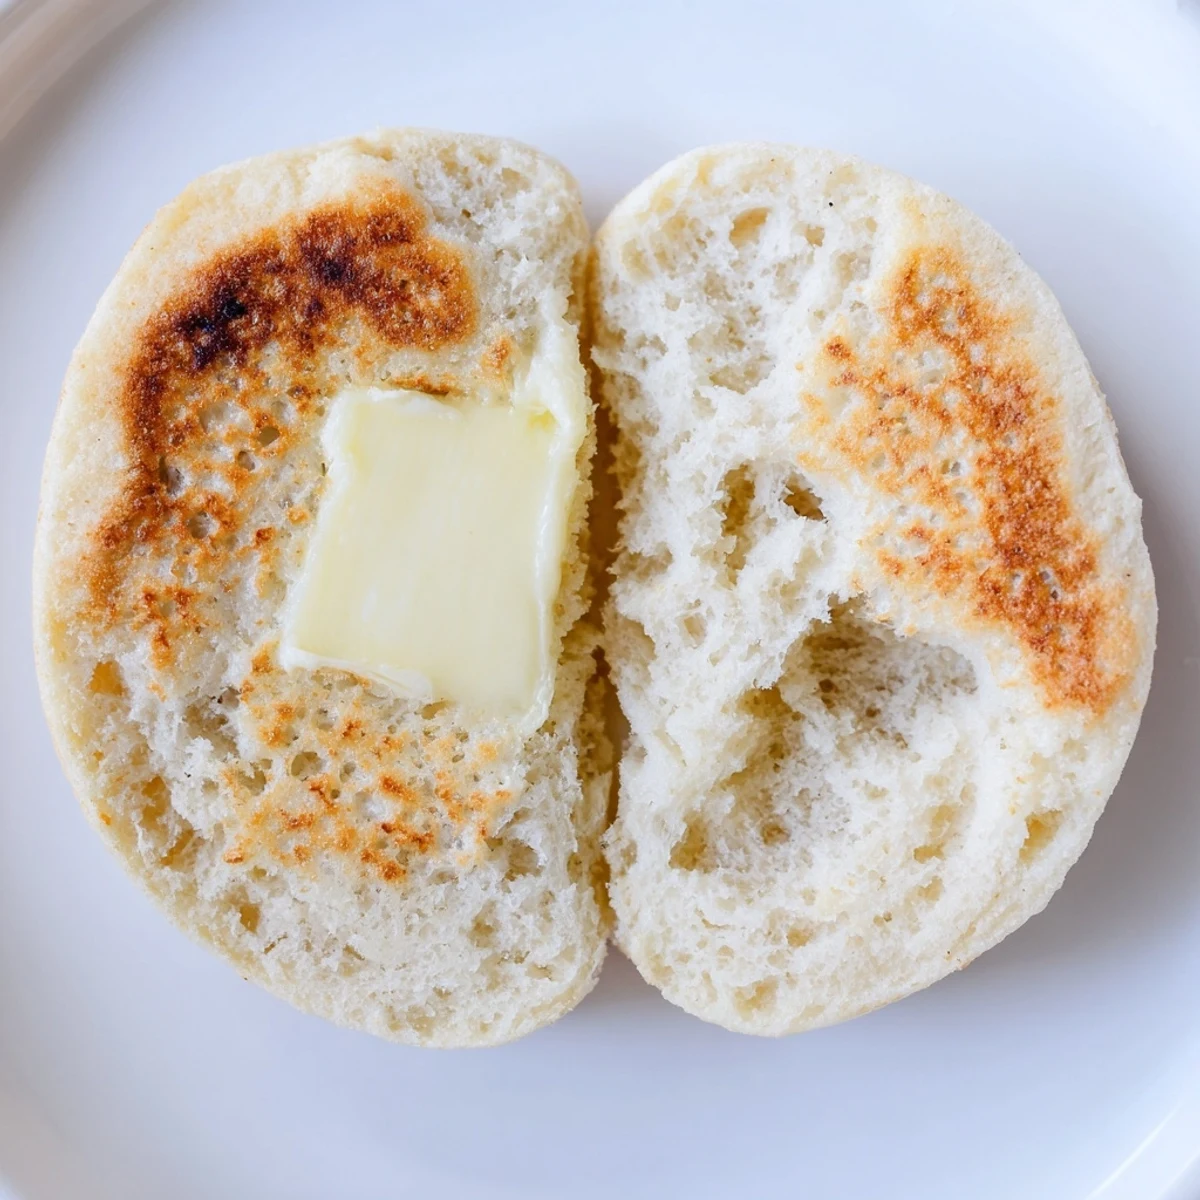
The Fork-Split Secret
Using a fork to split your muffins instead of a knife creates those rough interior surfaces that butter and jam absolutely love. The tines tear through the craggy crumb naturally, exposing all those beautiful pockets that catch toppings perfectly.
Temperature Matters
I have learned that keeping my milk at proper lukewarm temperature, around 100°F, makes the difference between sluggish and enthusiastic yeast activity. Too hot and you kill the yeast, too cold and it will take forever to wake up and get to work.
Make Them Your Own
Once you have mastered the basic recipe, try mixing in cinnamon and raisins for a sweet version or adding herbs and shredded cheddar for something savory. The dough is remarkably forgiving and welcomes creativity.
- Try freezing extras and popping them directly in the toaster for an instant breakfast
- A warm griddle is better than a hot one because these need gentle, even cooking
- Homemade muffins freeze beautifully and taste just as good after thawing
 Save
Save There is nothing quite like pulling a warm English muffin apart in your own kitchen, watching steam rise, and knowing you created something this wonderful with your own hands.
Recipe FAQs
- → What makes these muffins different from store-bought versions?
-
Homemade versions offer superior texture with more pronounced nooks and crannies, fresher flavor, and no preservatives. The dough yields a softer interior and better ability to crisp when toasted compared to commercial varieties.
- → Why do I split them with a fork instead of a knife?
-
Using a fork preserves the signature nooks and crannies by creating rough edges that hold butter and jam beautifully. A knife creates smooth surfaces that can't trap toppings as effectively.
- → Can I make the dough ahead of time?
-
Yes, after the first rise, punch down the dough and refrigerate overnight. Let it come to room temperature for 30 minutes before rolling and cutting. This can actually develop more complex flavors.
- → How do I know when they're cooked through?
-
The muffins should feel firm when pressed and have a deep golden color on both sides. An instant thermometer inserted into the center should read 200°F (93°C). If they brown too quickly, reduce the heat and cook longer.
- → What's the purpose of cornmeal or semolina?
-
Cornmeal or semolina prevents sticking and adds subtle texture to both the bottom and top surfaces. It creates that classic dusted appearance and helps achieve an authentic bakery-style finish.
- → Can I freeze these for later?
-
Absolutely. Cool completely, then store in freezer bags for up to 2 months. Thaw at room temperature or toast directly from frozen. They reheat beautifully and maintain their texture.
