 Save
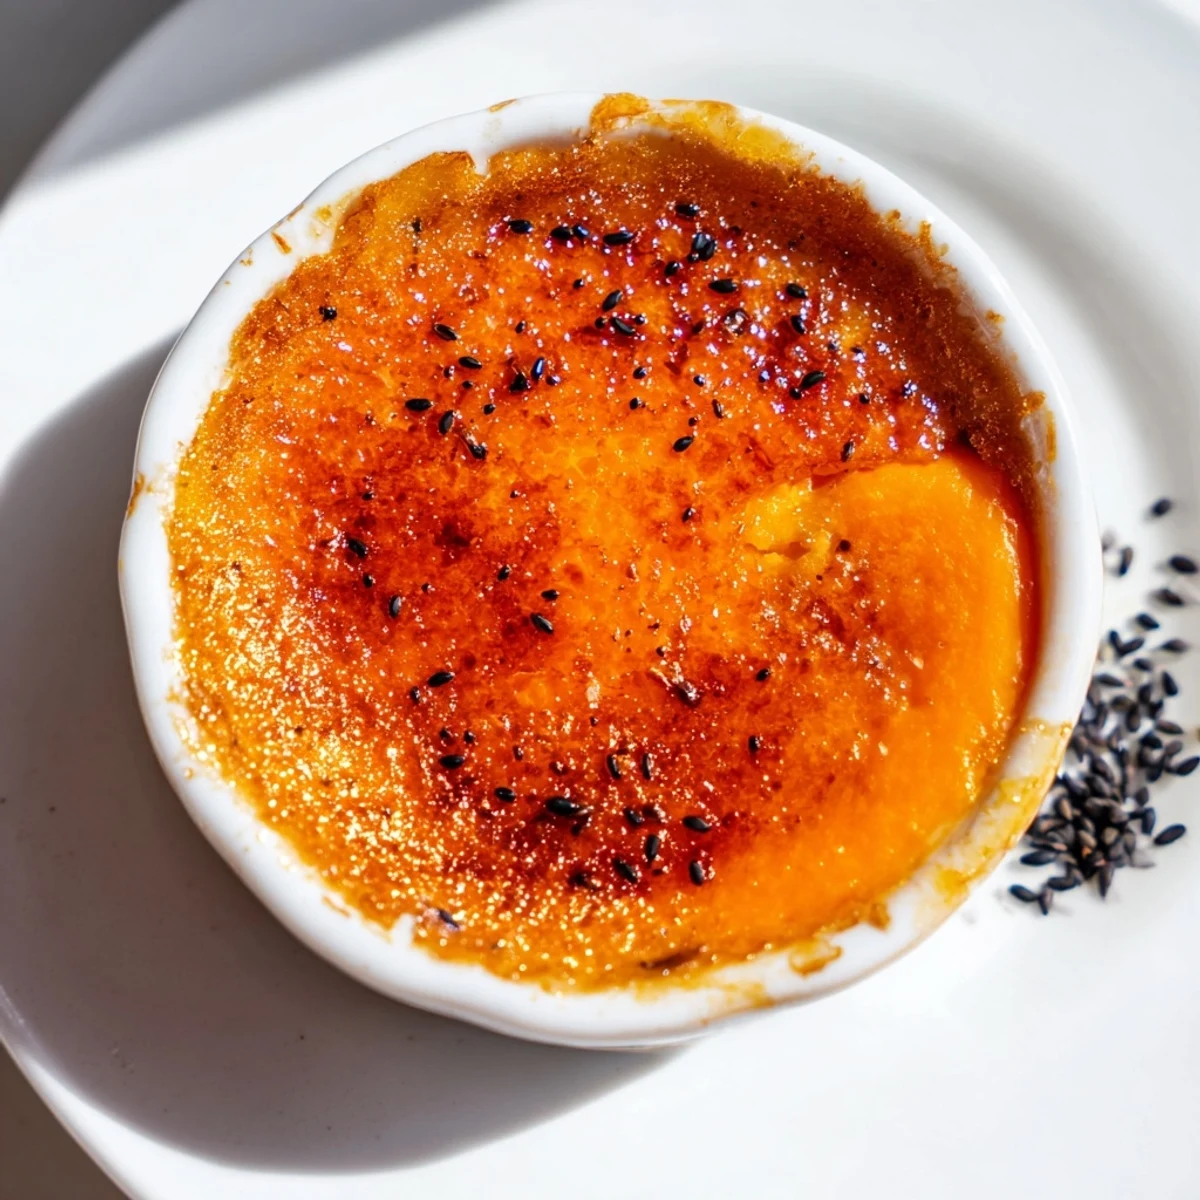
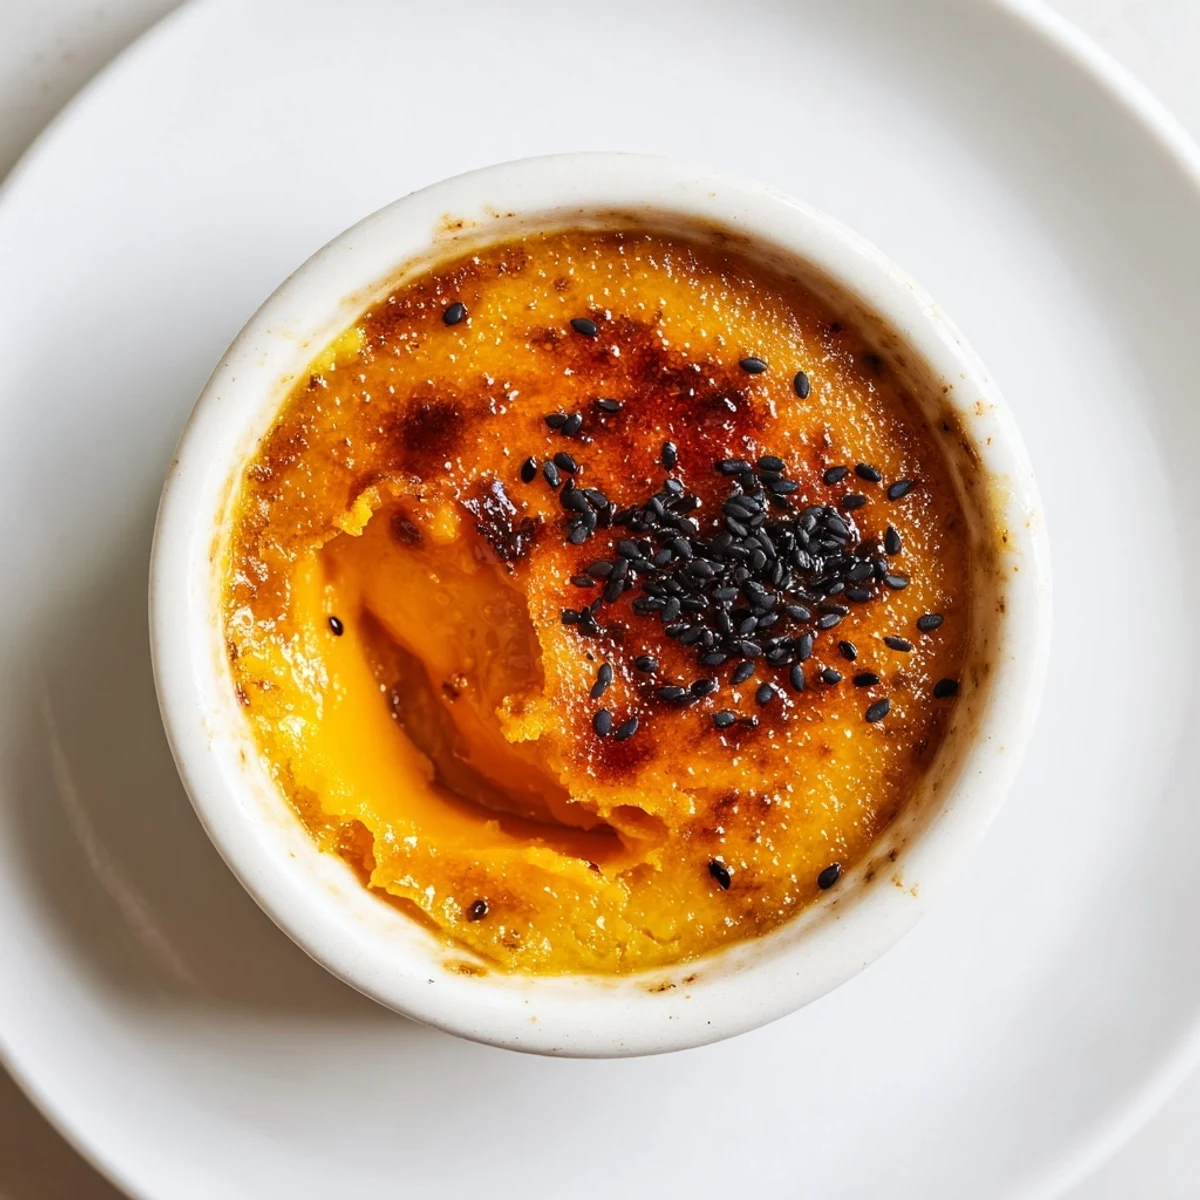
Save This elegant fusion dessert marries the velvety smoothness of classic French custard with the naturally sweet, nutty profile of Japanese sweet potato. The result is a beautifully balanced treat with a silky texture and subtle earthy undertones. After baking in a gentle water bath until just set, the chilled custards receive the signature brûlée treatment—a crackling layer of caramelized sugar that contrasts perfectly with the creamy interior. The preparation involves steaming the potato until tender, blending it into a luxuriously smooth base with cream and milk, then combining with egg yolks for richness. A quick chill allows flavors to meld before torching the sugar topping for that satisfying crunch.
The first time I spotted satsumaimo at my local market, the dusty purple skins caught my eye and I couldn't resist buying a few. That impulse purchase led to one of those happy kitchen accidents where curiosity pays off beautifully. Now this custard lives in my regular dessert rotation, especially during colder months when something warm and comforting feels essential.
Last autumn, I served these at a dinner party where one guest claimed she disliked crème brûlée. She actually asked for seconds and the recipe before the night ended. Watching skeptical faces turn delighted is exactly why I keep experimenting with unexpected flavor combinations.
Ingredients
- Japanese sweet potato: These purple-skinned beauties have a naturally sweet, nutty flavor that regular sweet potatoes just can't match
- Heavy cream and whole milk: The combination creates the perfect silky texture without being overly heavy
- Egg yolks: Four yolks give the custard that luxurious richness we're all chasing
- Granulated sugar: You'll need some for the custard and extra for that essential caramelized top
- Vanilla extract: Just a quarter teaspoon enhances without overpowering the sweet potato flavor
- Salt: Even a pinch makes all the difference in balancing sweetness
Instructions
- Preheat your oven to 150°C (300°F) and put a kettle on:
- Start boiling water now so it's ready when you need it for the bath
- Cook the sweet potato until very tender:
- Steam or boil those cubes for about 15 minutes until they surrender completely to a fork poke
- Blend the potato with cream and milk:
- Get this mixture absolutely silky smooth because any lumps will ruin the final texture
- Whisk your yolks with sugar, vanilla, and salt:
- Keep going until the mixture turns pale and looks slightly thickened
- Combine the mixtures slowly:
- Pour that sweet potato blend into your eggs gradually while whisking constantly to prevent scrambling
- Strain through a fine mesh sieve:
- This extra step ensures the silkiest custard possible and catches any stubborn bits
- Divide among four ramekins:
- Fill them evenly and place in your deep baking pan
- Create the water bath:
- Pour your hot water carefully until it reaches halfway up the sides of those ramekins
- Bake until just set:
- Check at 30 minutes but you want that center to still wobble slightly when you gently shake the pan
- Chill thoroughly:
- Let them cool completely first, then refrigerate for at least two hours though overnight is even better
- Caramelize the tops just before serving:
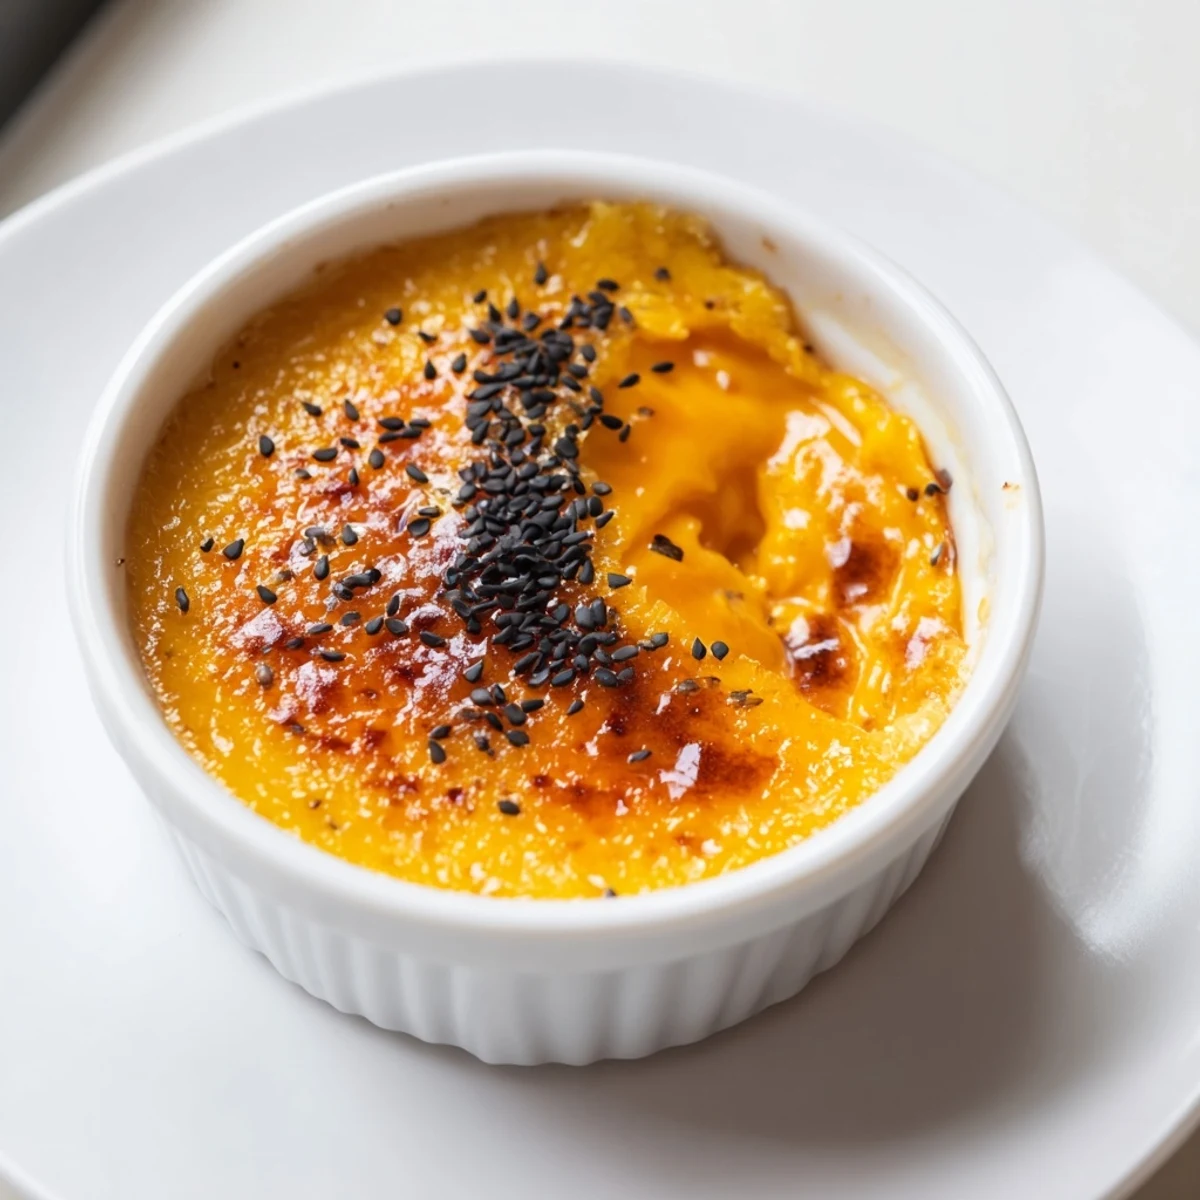
- Sprinkle a tablespoon of sugar on each and torch until golden and crisp
- Wait three crucial minutes:
- This resting period lets that caramel shell harden into the satisfying crack we all love
 Save
Save My daughter now requests these for her birthday instead of cake, which feels like the ultimate compliment to a recipe born from market curiosity. There's something special about seeing a dish become part of family tradition without any planning at all.
Making It Dairy-Free
Coconut cream works surprisingly well as a substitute, though it does add a subtle coconut note that some people actually prefer. The texture remains velvety, and the sweet potato flavor still shines through beautifully.
Getting That Perfect Crack
The key is an even, thin layer of sugar and keeping your torch moving in steady circles. Patience beats rushing here, because patches of burnt sugar will ruin the delicate balance you've worked so hard to achieve.
Serving Suggestions
Sprinkle some black sesame seeds over that caramelized top for a striking color contrast and nutty crunch. A few small pieces of candied sweet potato make this feel even more special and honor the star ingredient.
- Use room temperature eggs for easier whisking
- Warm your ramekins slightly before filling to prevent thermal shock
- Leftovers rarely happen but they keep well for a day
 Save
Save Some recipes become favorites because they're convenient, but this one earns its place through pure comfort and unexpected sophistication. Hope you find as much joy in the first crack of that caramelized top as I still do.
Recipe FAQs
- → What makes Japanese sweet potato different from regular varieties?
-
Japanese sweet potatoes (satsumaimo) have a naturally sweet, nutty flavor with a creamier, denser texture than orange-fleshed varieties. Their subtle earthiness pairs beautifully with rich custard bases.
- → Can I prepare these ahead of time?
-
Absolutely. The custards can be made up to 2 days in advance and stored covered in the refrigerator. Add the caramelized sugar topping just before serving for the best texture and crunch.
- → Do I need a kitchen torch for the caramelized top?
-
While a kitchen torch gives you the most control and best results, you can use your oven's broiler setting. Place the ramekins on a baking sheet and broil for 1-2 minutes, watching constantly to prevent burning.
- → Why is straining the custard mixture important?
-
Straining through a fine mesh sieve removes any bits of sweet potato or egg that didn't incorporate fully, ensuring an impeccably smooth, professional-quality custard texture.
- → Can I make this dairy-free?
-
Yes. Substitute full-fat coconut cream for the heavy cream and use your favorite plant-based milk for the whole milk. The flavor profile will shift slightly, but the texture remains deliciously creamy.
- → How do I know when the custard is properly baked?
-
The custard is done when the edges are set but the center still has a slight wobble when gently shaken. It will continue firming as it cools, so avoid overbaking to prevent a rubbery texture.
