 Save
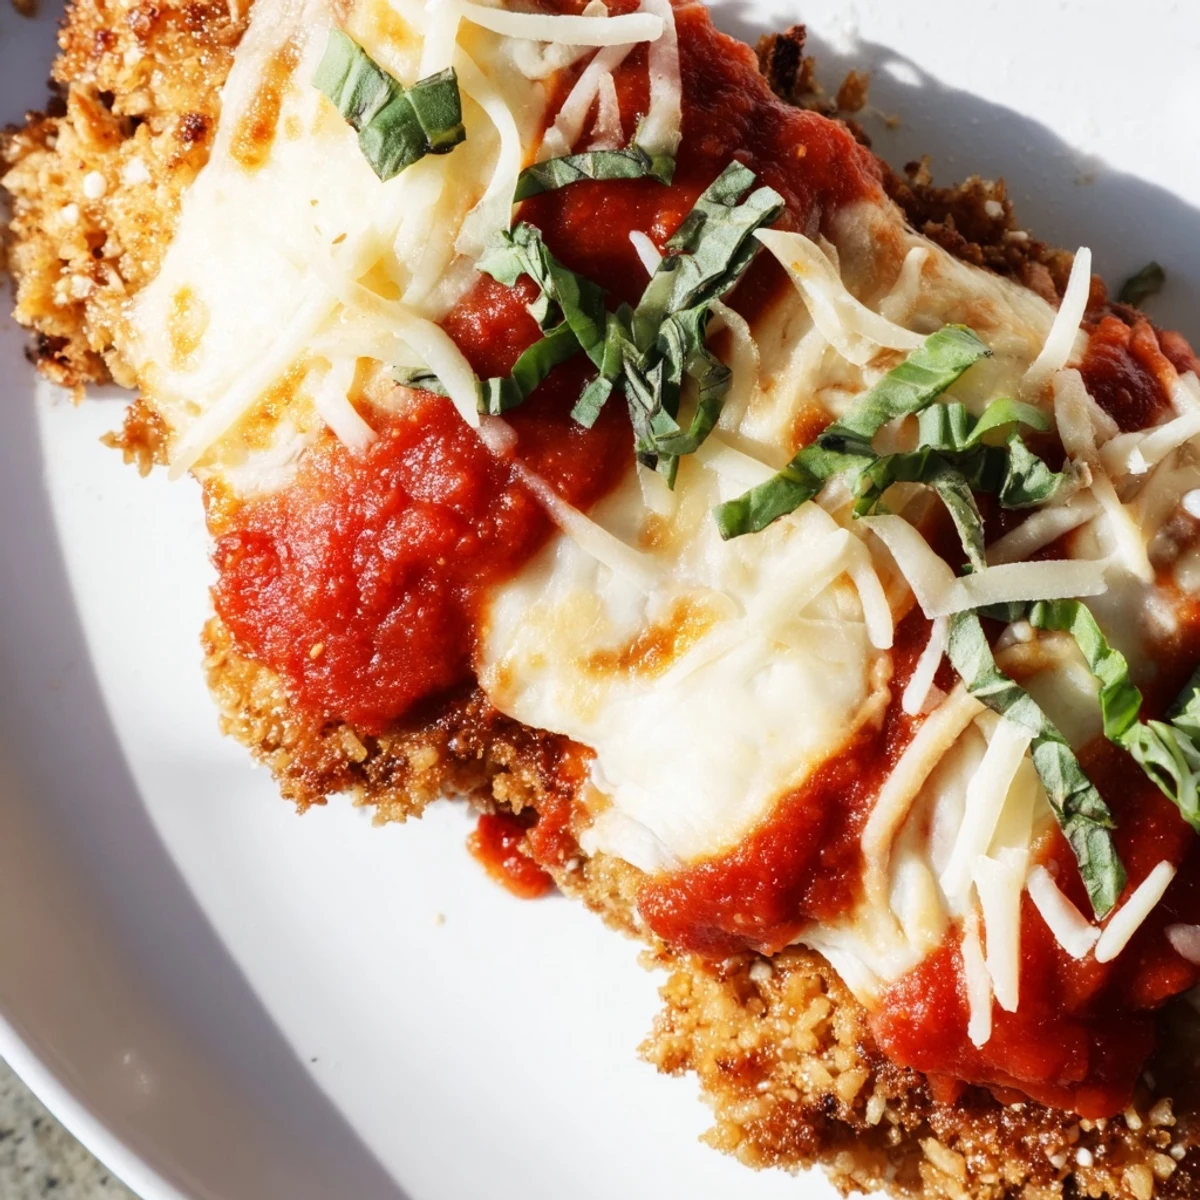
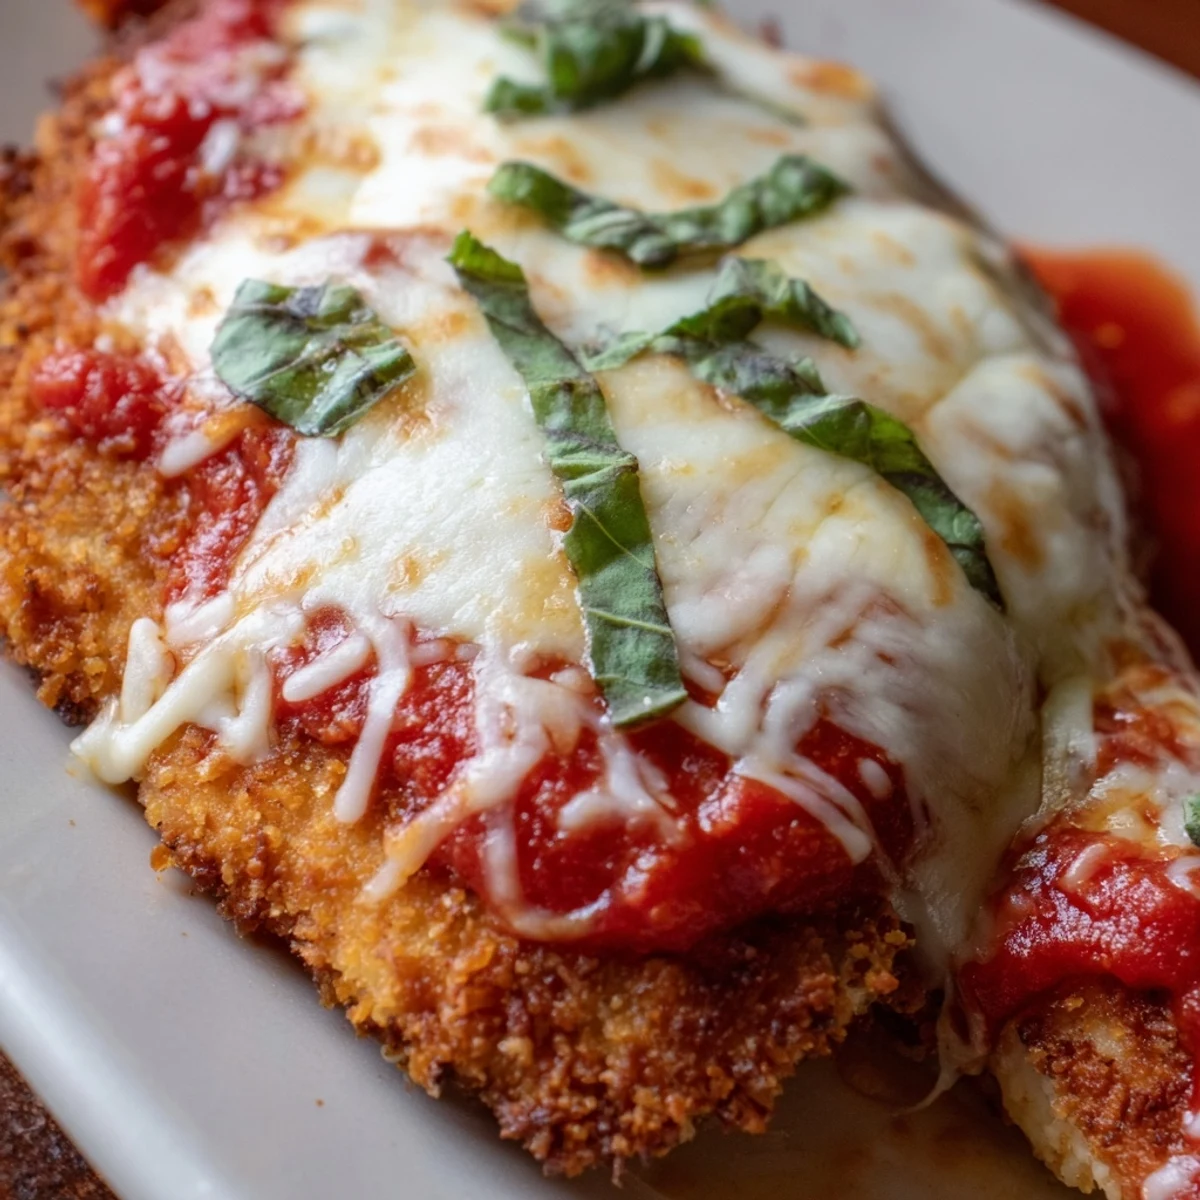
Save Transform classic Italian comfort food into a keto-friendly masterpiece with this clever crispy coating technique. The combination of almond flour, crushed pork rinds, and Parmesan creates an irresistible crunch that rivals traditional breadcrumbs, while keeping carbs at just 3 grams per serving. Each chicken breast is seared to golden perfection, then smothered in sugar-free marinara and baked under a blanket of melted mozzarella.
The entire dish comes together in under an hour, making it perfect for weeknight dinners. Serve with zucchini noodles or a crisp green salad for a complete low-carb meal that satisfies cravings without breaking your diet.
The first time I attempted keto chicken parmesan, I was skeptical about how pork rinds could possibly replace breadcrumbs. But when that sizzling hit the pan and the most incredible golden crust formed, I literally laughed out loud in my kitchen. Now it's the low-carb dinner that actually makes me forget I'm watching carbs at all.
Last winter, I made this for my Italian-American father-in-law who swears by traditional chicken parm. He took one bite, looked at me suspiciously, and asked what kind of breadcrumbs I used. When I told him it was pork rinds, he just shook his head and went back for seconds. That's when I knew this recipe was a permanent fixture in our rotation.
Ingredients
- Chicken breasts: Pounding them to an even half-inch thickness ensures every piece cooks at the same speed, so you don't end up with dried-out edges while the center is still raw
- Almond flour: This creates a tender, nutty base for the crust that browns beautifully without getting grainy
- Crushed pork rinds: The secret weapon for that shatteringly crispy crunch you normally only get with traditional breadcrumbs
- Grated Parmesan: Don't use the stuff in the green shaker canister, buy a wedge and grate it yourself for the best flavor and melting ability
- Italian seasoning and garlic powder: These aromatics bloom in the oven, making the crust taste like it's been seasoned for hours
- Beaten eggs: Let them come to room temperature first so they coat the chicken evenly without sliding right off
- Sugar-free marinara: Read your labels carefully here, some brands sneak in surprising amounts of added sugar
- Shredded mozzarella: Part-skim melts better than full-fat on top, creating those gorgeous cheesy bubbles
- Fresh basil: Add it at the very end so it stays bright and fragrant, not wilted and sad
Instructions
- Get your oven ready:
- Preheat to 400°F and line a baking sheet with parchment paper, which saves you from scrubbing baked-on cheese later
- Prep the chicken:
- Place each breast between plastic wrap and pound to an even half-inch thickness, then season generously with salt and pepper on both sides
- Make the magic crust mixture:
- Whisk together almond flour, crushed pork rinds, half a cup Parmesan, Italian seasoning, and garlic powder in a shallow bowl until well combined
- Set up your breading station:
- Place beaten eggs in one shallow bowl and the crust mixture in another, keeping them close together for easy dipping
- Coat each piece thoroughly:
- Dredge chicken through the egg first, letting excess drip off, then press firmly into the crust mixture to get an even, thick coating
- Sear for maximum crispiness:
- Heat olive oil in an oven-safe skillet over medium heat and fry chicken for 3-4 minutes per side until deeply golden
- Transfer to the baking sheet:
- Move the seared chicken carefully to your prepared baking sheet, leaving space between each piece
- Add the cheesy topping:
- Spoon marinara over each piece, then pile on mozzarella and the remaining Parmesan in generous amounts
- Bake until bubbly:
- Cook for 15-18 minutes until the cheese is melted and bubbly and the chicken reaches 165°F internally
- Finish with fresh basil:
- Scatter chopped basil over the top right before serving for a bright, fresh contrast to all that rich cheese
 Save
Save This recipe became a Tuesday night staple during our first month of keto, when we were both missing our favorite Italian takeout. Something about standing at the stove, smelling that garlic and cheese filling the kitchen, made the whole lifestyle change feel doable instead of restrictive.
Making It Extra Crispy
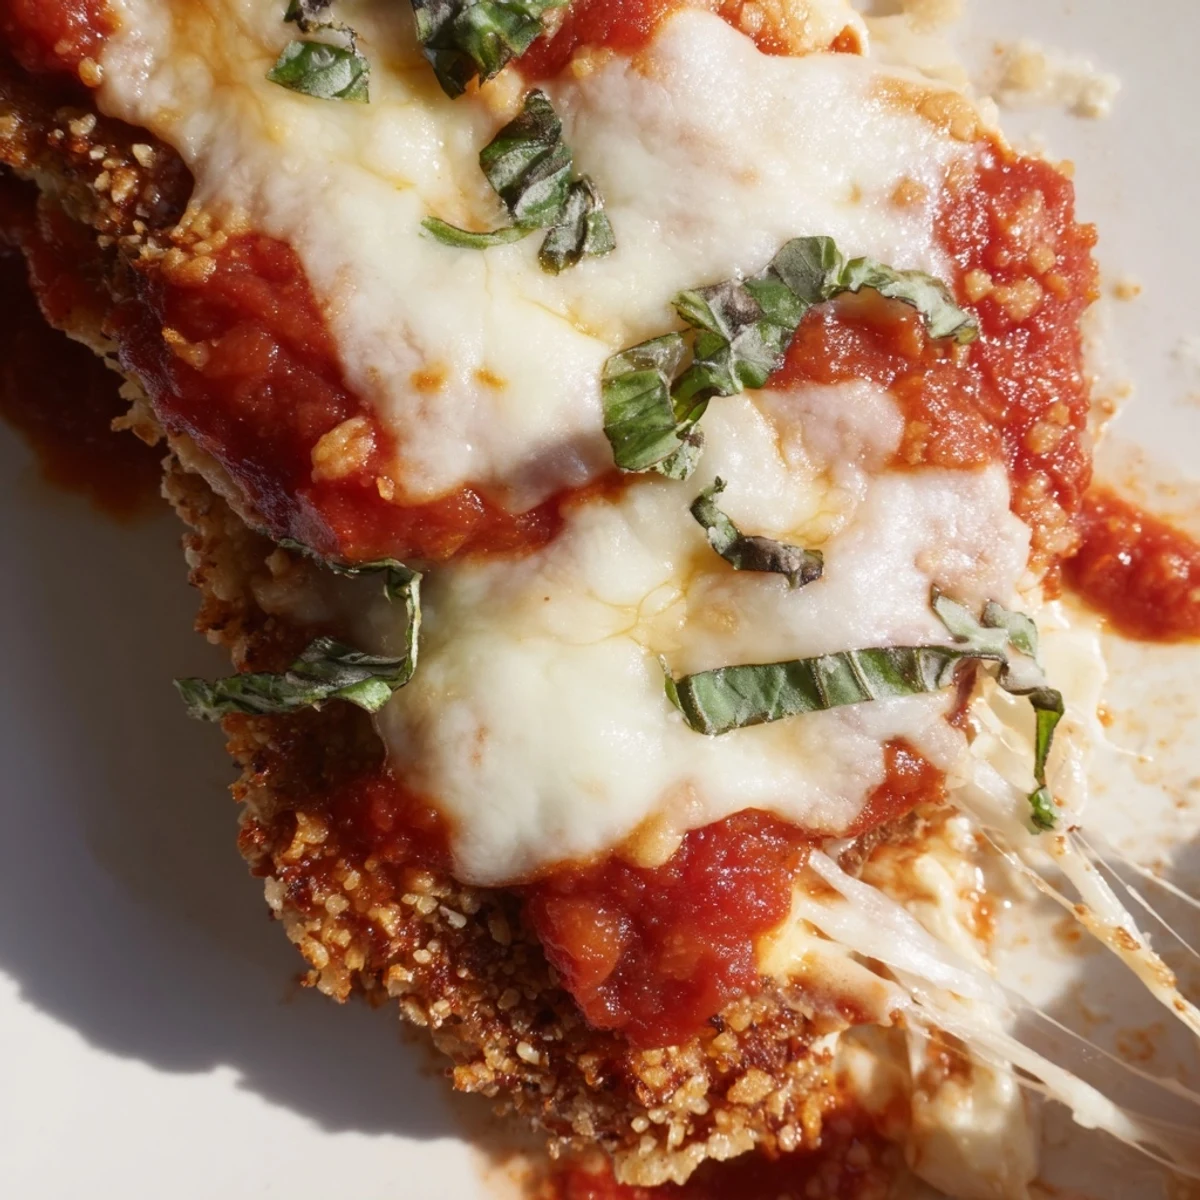
After baking, switch your oven to broil for 1-2 minutes but don't walk away. Watch through the oven door like a hawk until those cheese spots turn golden brown in places. That extra pass under high heat creates those irresistible crispy cheese edges that everyone fights over.
Perfect Pairings
Zucchini noodles sautéed with garlic and olive oil are the natural choice here, but sometimes I just serve it with a massive arugula salad dressed with lemon and olive oil. The bitterness cuts through all that rich cheese and keeps the meal feeling light. Roasted broccoli with Parmesan is another winner that roasts alongside the chicken without any extra effort.
Make Ahead Strategy
You can bread the chicken up to 24 hours in advance and store it on a parchment-lined baking sheet in the refrigerator, covered tightly with plastic wrap. The crust actually firms up slightly overnight, making it even less likely to slide off during cooking.
- Let the breaded chicken sit on the counter for 20 minutes before searing so it cooks more evenly
- If you're freezing extras, bake them completely first, then reheat at 350°F until hot throughout
- Never bake frozen breaded chicken directly or the crust will steam instead of crisp
 Save
Save This is the recipe that proves comfort food and keto aren't mutually exclusive. After the first bite, nobody at my table is missing the breadcrumbs.
Recipe FAQs
- → What makes the crust crispy without breadcrumbs?
-
The crust combines almond flour, finely crushed pork rinds, and grated Parmesan cheese. This trio creates an ultra-crispy coating that browns beautifully and holds up perfectly under the sauce and cheese.
- → Can I make this dairy-free?
-
Substitute the Parmesan in the crust with nutritional yeast or additional crushed pork rinds. Use dairy-free mozzarella-style shreds for topping and skip the extra Parmesan garnish.
- → How do I store and reheat leftovers?
-
Store cooled portions in an airtight container for up to 4 days. Reheat in a 350°F oven for 10-12 minutes to restore crispiness. The microwave makes the coating soggy, so avoid if possible.
- → What marinara sauce works best?
-
Look for sugar-free marinara with no added sugars or starches. Rao's, Primal Kitchen, and Yo Mama's make excellent low-carb options. Always check labels for hidden carbs and added sugars.
- → Can I bake this without frying first?
-
Yes, but you'll sacrifice some crunch. Skip the skillet step and bake at 425°F for 20-25 minutes, flipping halfway through. The coating won't be as crispy but still delicious.
- → What sides pair well with this dish?
-
Serve over zucchini noodles, cauliflower mash, or alongside a crisp arugula salad with lemon vinaigrette. Steamed broccoli or garlic-roasted asparagus also complement the rich flavors beautifully.
