 Save
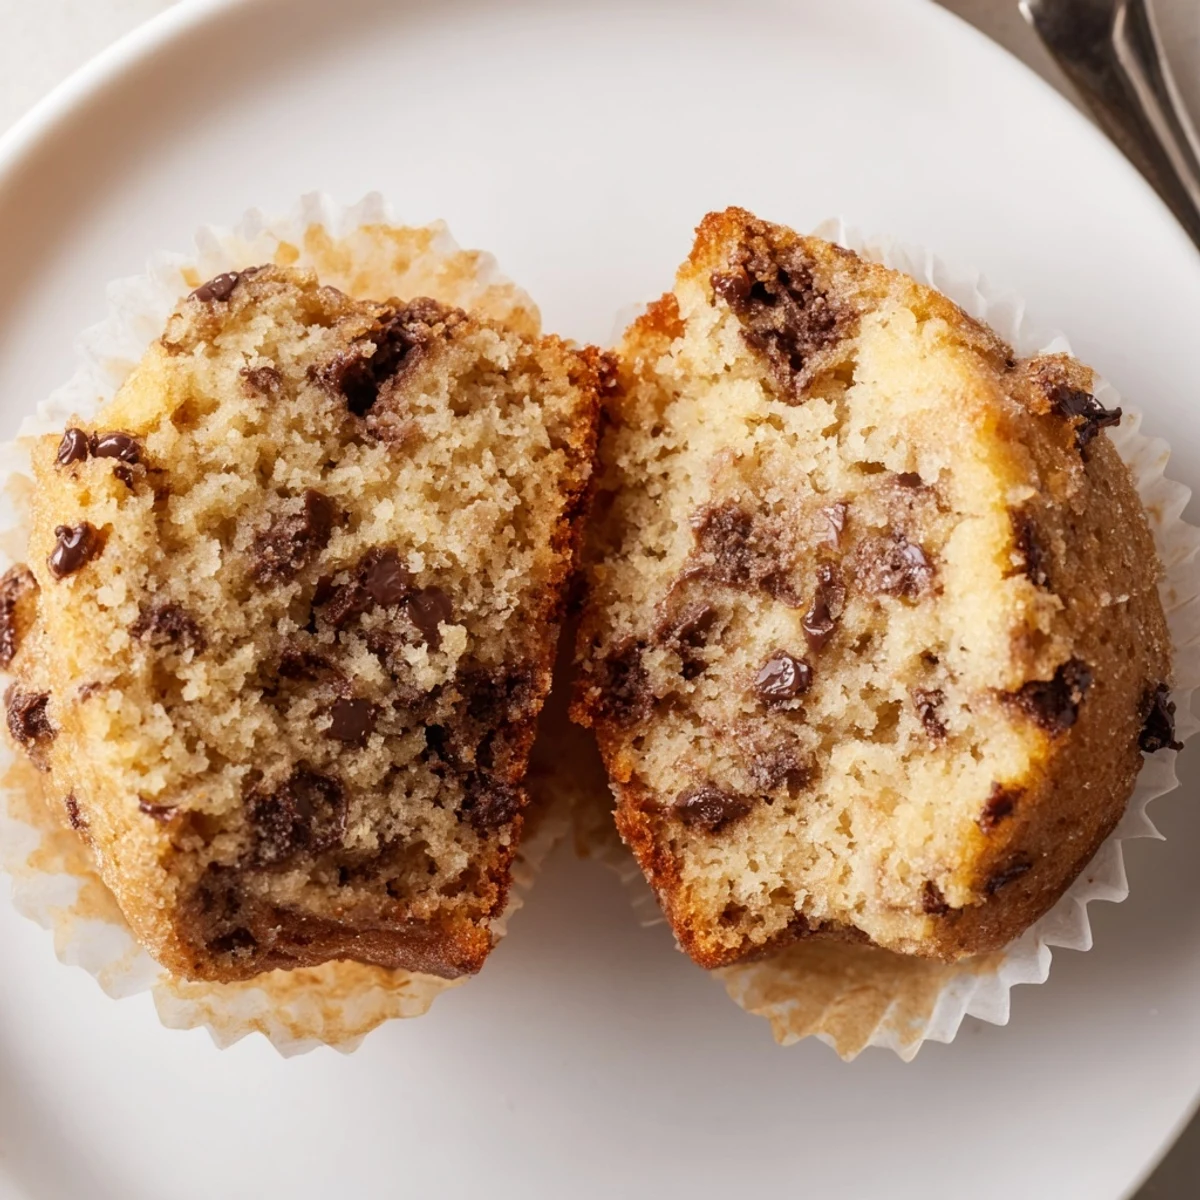
Save Little Bites Mini Muffins yield 24 tender, bite-sized muffins in about 27 minutes total (15 min prep, 12 min bake). Whisk flour, sugar, baking powder, baking soda and salt; combine melted butter, milk, egg and vanilla; fold wet into dry until just combined, add mini chips or blueberries, and spoon into a lined mini tin. Bake until a toothpick comes out clean, cool briefly in the tin, then transfer to a rack. Variations include lemon zest, cinnamon or chopped dried fruit. Store airtight up to 3 days or freeze for 2 months.
The batter barely made it into the tin before my youngest swiped a fingerful and declared it perfect, which is honestly the only review I trust anymore. These mini muffins are the kind of thing you whip up on a Tuesday afternoon when the house smells like butter and everything feels manageable. They disappear fast, so I have learned to hide a few behind the coffee mugs if I want any left for breakfast. Small, soft, and endlessly adaptable, they have become my quiet little kitchen trick for turning an ordinary day into something sweeter.
I started making these on Sunday evenings as a lunchbox strategy, filling little bags for the week ahead while the kitchen went quiet and the oven hummed its familiar tune. Now the kids expect it, and honestly so do I, because the ritual of it has become its own small comfort that I did not see coming.
Ingredients
- All purpose flour (1 1/4 cups, 155 g): Spoon and level rather than scooping straight from the bag, because packed flour is the quickest way to turn tender muffins into something dense and disappointing.
- Granulated sugar (1/2 cup, 100 g): Just enough sweetness without making them cloying, so they work as both a breakfast bite and an after school treat.
- Baking powder (1 tsp): Check the date on your canister because expired leavening is the silent killer of good muffins and you will never see it coming.
- Baking soda (1/4 tsp): Works alongside the baking powder to give these tiny muffins a gentle lift without any weird aftertaste.
- Salt (1/4 tsp): Do not skip this, because salt is what makes the sweetness taste like something instead of just sweet.
- Unsalted butter, melted and cooled (1/3 cup, 75 g): Let it cool so you do not scramble the egg, a lesson I learned the hard way with curdled batter and a frustrated sigh.
- Whole milk (1/2 cup, 120 ml): Whole milk gives the best texture, though any milk you have on hand will work in a pinch.
- Large egg (1): Bring it to room temperature if you can remember, because it blends more smoothly into the wet mixture.
- Pure vanilla extract (1 tsp): Use the real stuff if you have it, because that warm floral note is what makes the kitchen smell like home while they bake.
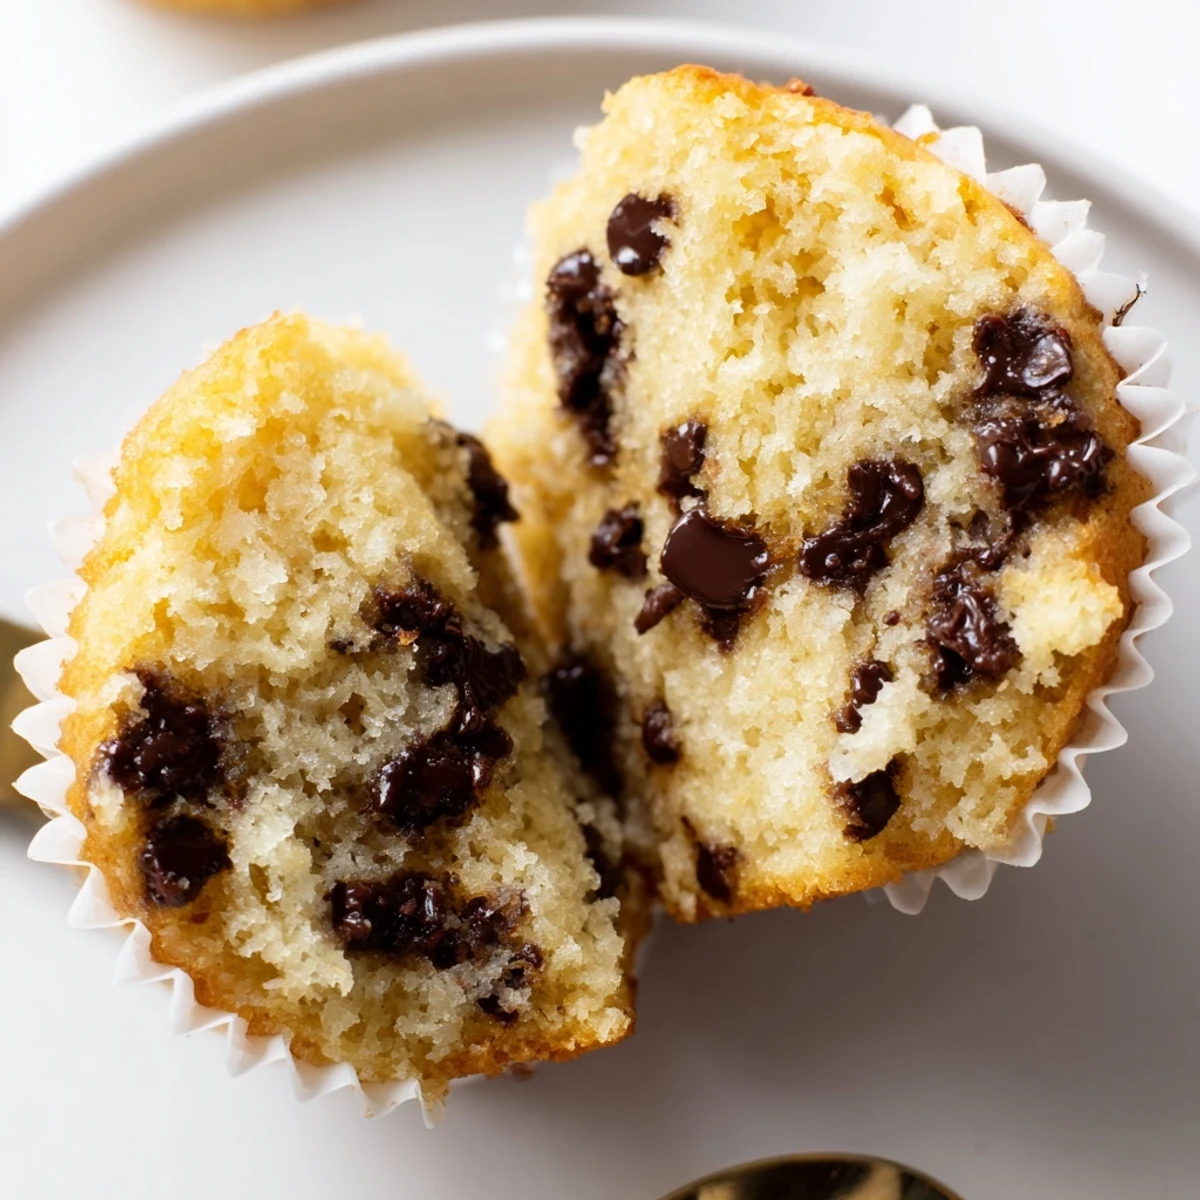
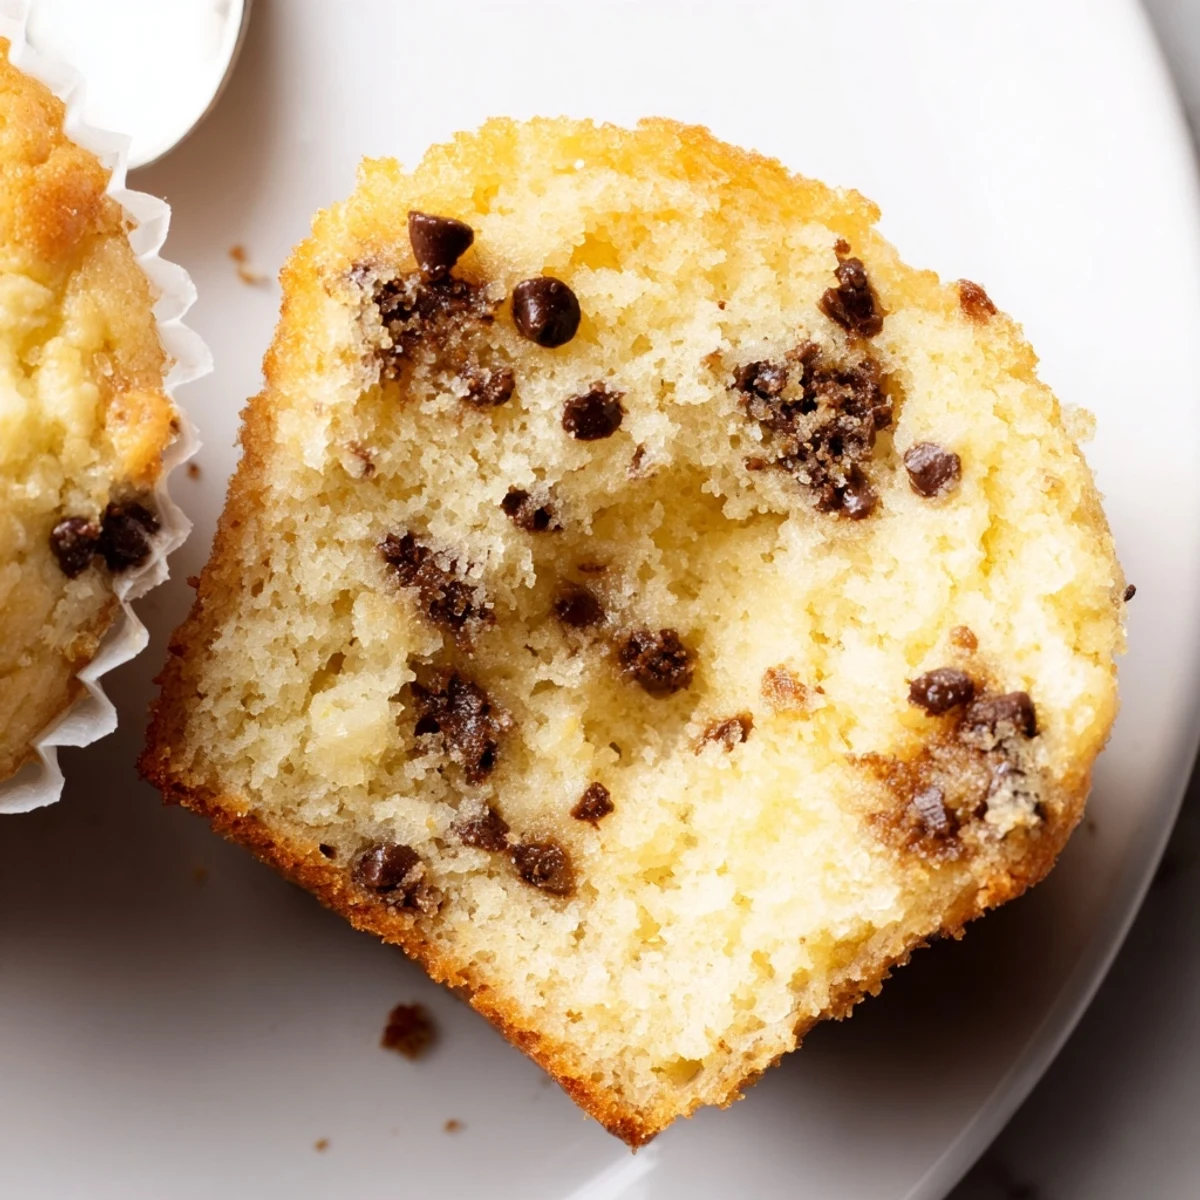
- Mini chocolate chips or blueberries (1/3 cup, 60 g, optional): Mini chips distribute better than regular ones in these small cups, and blueberries add a juicy little burst that feels almost virtuous.
Instructions
- Set the stage:
- Preheat your oven to 350°F (175°C) and line a mini muffin tin with paper liners or give each cup a generous grease. This is the part where you turn on the oven light so you can peek later without opening the door.
- Whisk the dry team:
- In a medium bowl, whisk together the flour, sugar, baking powder, baking soda, and salt until evenly distributed. You want no pockets of baking powder hiding in corners, so take an extra ten seconds to be thorough.
- Blend the wet crew:
- In a separate bowl, whisk the cooled melted butter, milk, egg, and vanilla until smooth and combined. The mixture should look creamy and unified, not streaky or separated.
- Bring it together gently:
- Pour the wet ingredients into the dry and stir with a spatula just until you stop seeing dry flour. A few lumps are not just okay, they are exactly what you want, because overmixing is the enemy of tenderness.
- Fold in the fun:
- Gently fold in your chocolate chips or blueberries with just a few turns of the spatula. Distribute them kindly but do not keep stirring, because the batter knows what it is doing.
- Fill the cups:
- Spoon the batter evenly into the prepared tin, filling each cup about three quarters full. A small cookie scoop makes this tidy, but a regular spoon and a steady hand work just as well.
- Bake and watch:
- Bake for 10 to 12 minutes until the tops are just set and a toothpick comes out clean from the center. They bake fast at this size, so start checking at the ten minute mark to avoid dry little domes.
- Cool with patience:
- Let them rest in the tin for five minutes so they firm up enough to handle, then transfer to a wire rack to cool completely. Warm ones are tempting but fragile, so give them that brief moment of composure.
 Save
Save The first time I packed these into a school lunch, my daughter came home and told me her friend traded an entire sandwich for two of them, which remains my greatest culinary achievement to date.
Storage and Freezing
Keep leftover muffins in an airtight container at room temperature for up to three days, though in my house they rarely last past day two. For longer storage, spread them in a single layer on a baking sheet to freeze initially, then transfer to a freezer bag so they do not stick together in a sad clump.
Variations Worth Trying
Add a teaspoon of lemon zest to the dry ingredients for brightness, or swap the vanilla for almond extract when you want something that smells like a bakery. Cinnamon works beautifully too, and chopped dried fruit or a sprinkle of turbinado sugar on top gives each one a crackly little crown that makes them feel fancy.
Tools and Allergen Notes
You really only need two bowls, a whisk, a mini muffin tin, and a wire rack to pull this off successfully. The ingredient list is vegetarian friendly and the method is straightforward, but there are a few things worth keeping in mind before you start.
- These contain wheat, dairy, and egg, so adjust accordingly for any allergies in your household.
- Check your chocolate chips packaging for possible nut cross contamination if that is a concern.
- Paper liners make cleanup almost nonexistent, which is reason enough to use them.
 Save
Save Some recipes become favorites because they are impressive, but these earn their spot because they are easy, reliable, and they make people happy without asking much from you. Keep this one close, because you will reach for it more often than you expect.
Recipe FAQs
- → How can I tell when mini muffins are done?
-
Insert a toothpick into the center of a muffin — it should come out clean or with a few moist crumbs. Tops should be lightly golden and spring back when touched.
- → Any tips to avoid overmixing the batter?
-
Stir the wet into the dry ingredients until just combined; a few streaks of flour are okay. Overmixing develops gluten and leads to dense, tough muffins.
- → Can I swap ingredients for dietary needs?
-
Use plant-based milk and vegan butter for dairy-free; substitute oil for melted butter for a softer crumb. For egg-free, try a flax egg (1 tbsp ground flax + 3 tbsp water) but expect a slightly different texture.
- → How do I convert this to full-size muffins?
-
Use a standard muffin tin, filling cups about 3/4 full. Bake at 350°F (175°C) for 18–22 minutes, or until a toothpick comes out clean. Yield will be roughly one-third of the mini count.
- → Best way to store and freeze the mini muffins?
-
Cool completely, then store in an airtight container at room temperature up to 3 days. For longer storage, freeze in a sealed bag up to 2 months; thaw at room temperature or warm briefly in a low oven.
- → What mix-ins and flavor tweaks work well?
-
Mini chocolate chips or blueberries are classic. Try lemon zest, a pinch of cinnamon, or chopped dried fruit. Fold additions in gently to avoid breaking berries and overworking the batter.
