 Save
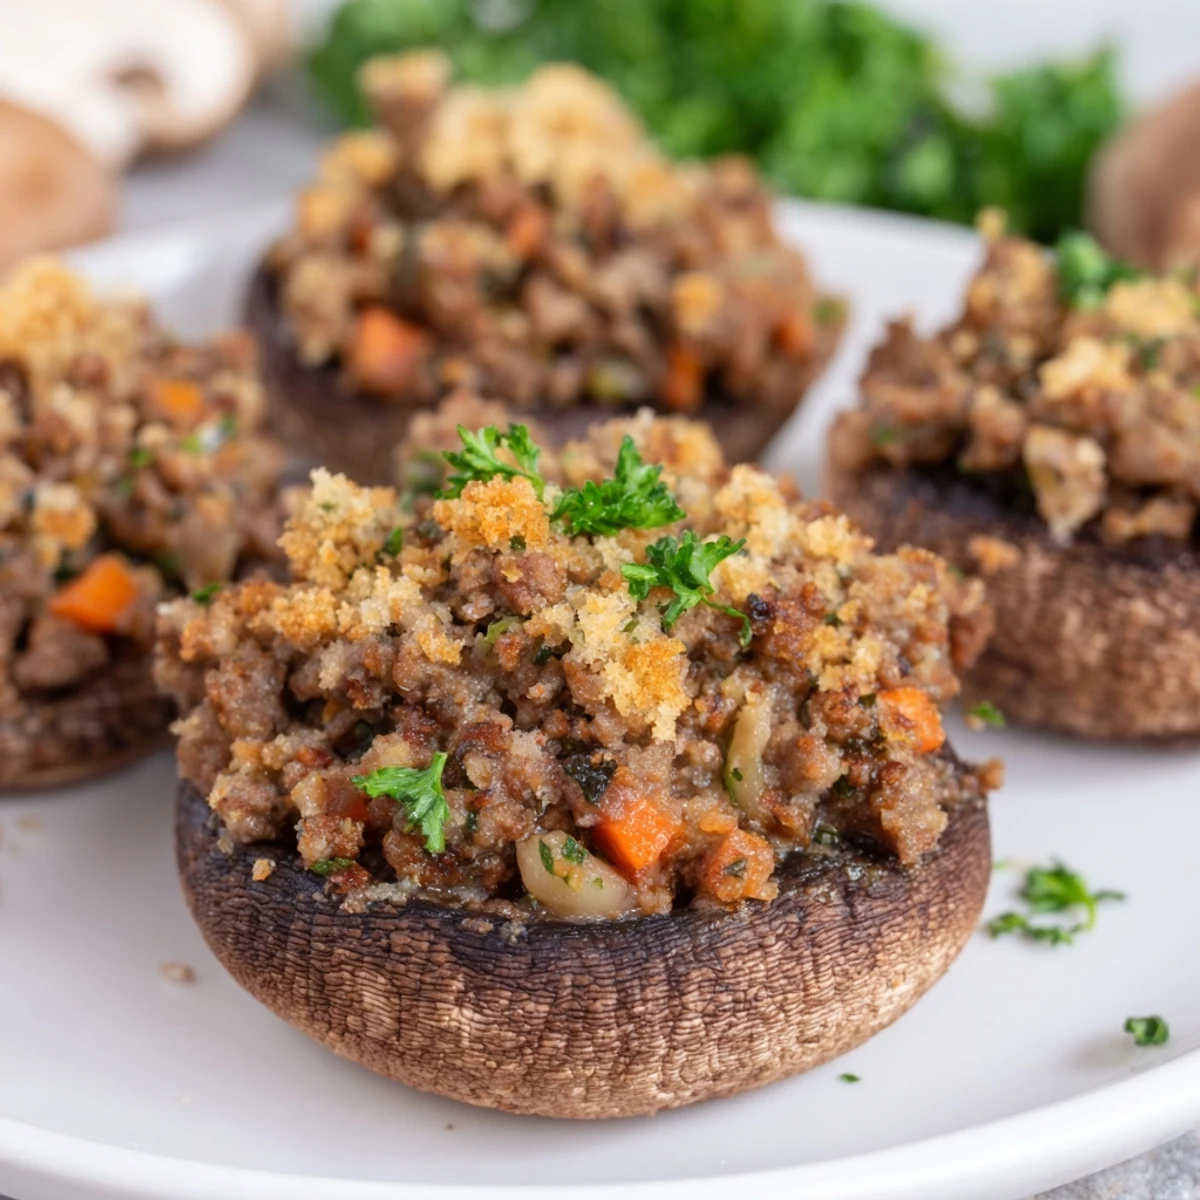
Save These impressive stuffed mushrooms feature tender portobello caps filled with a rich, savory beef mince mixture. The filling combines finely chopped vegetables, aromatic herbs, and Worcestershire sauce for depth of flavor. A golden breadcrumb topping adds irresistible texture and visual appeal.
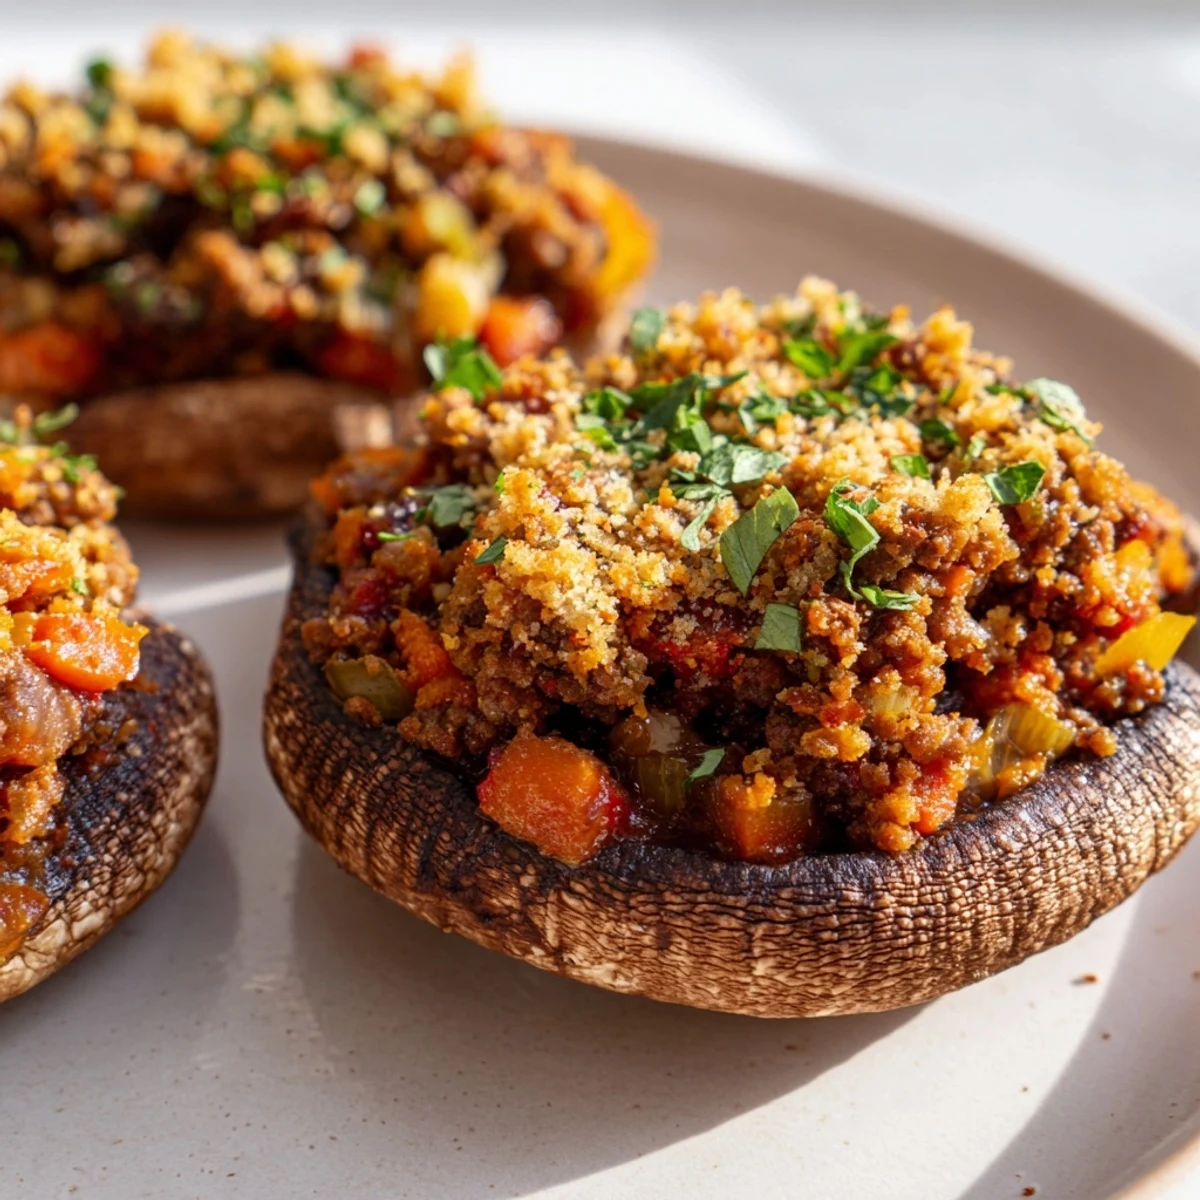
Preparation involves removing mushroom stems, sautéing vegetables with ground beef until browned, then seasoning with tomato paste and dried herbs. The mixture simmers briefly to develop flavor before being spooned into the mushroom caps.
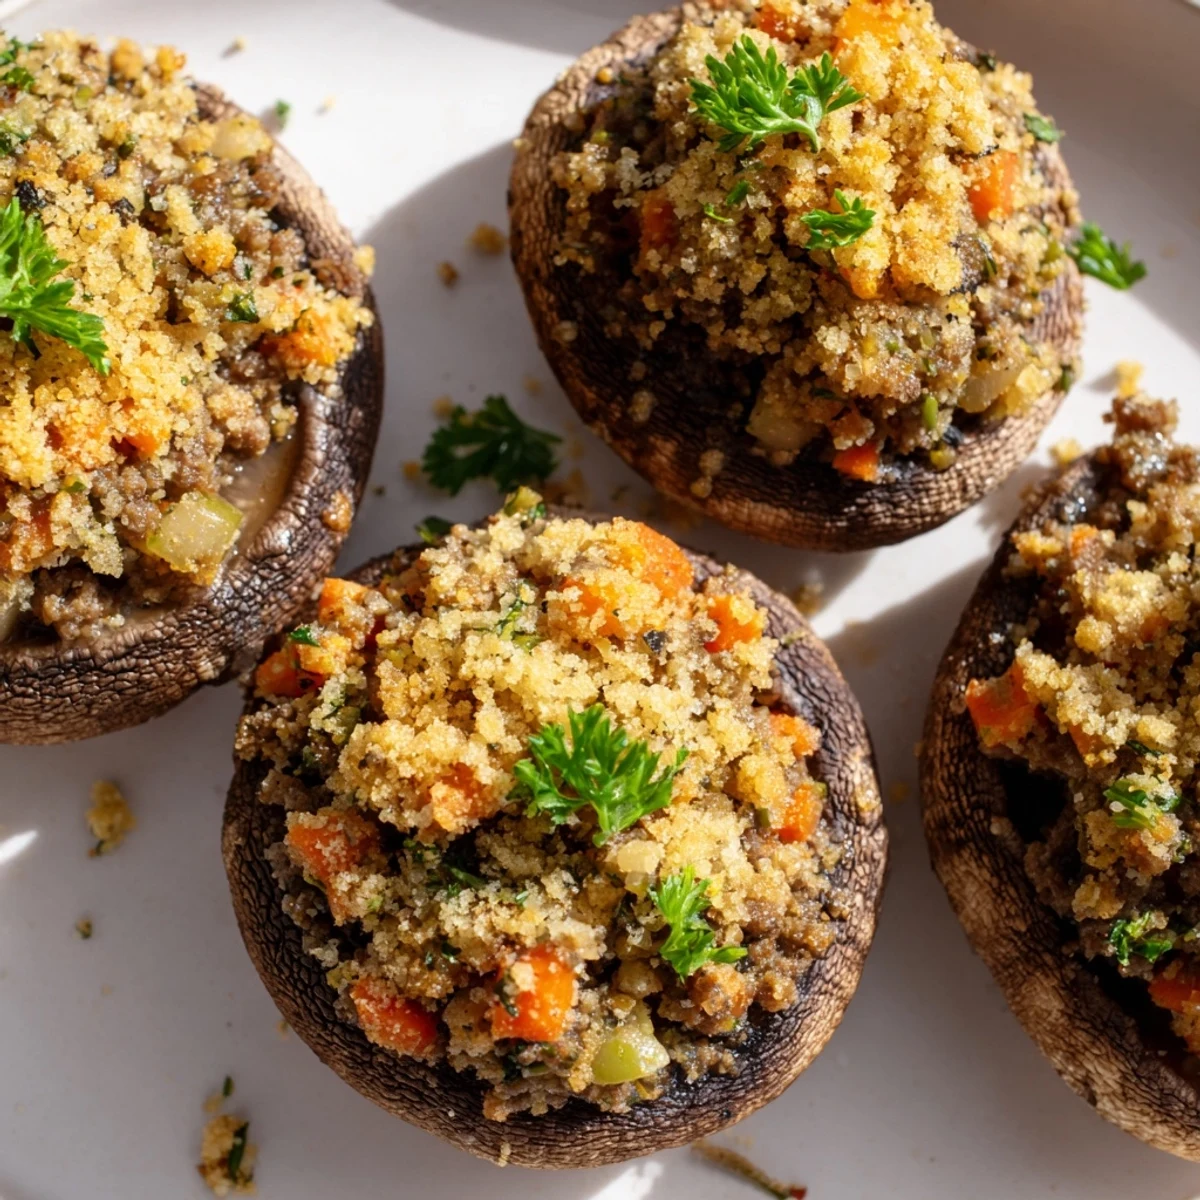
After 20-25 minutes in the oven, the mushrooms become tender while the topping turns beautifully golden brown. Serve them warm as a starter at dinner parties or enjoy as a substantial snack. The dish adapts easily—swap beef for turkey or use plant-based mince for vegetarian options.
These mushrooms showed up at my dinner party completely by accident one rainy Tuesday. I had a pound of ground beef thawing and a carton of portobellos that needed using, so I just started chopping and sautéing without a real plan. My friends polished off every single mushroom and actually licked the breadcrumb crumbs off their plates.
Last Christmas I made three batches because my family kept eating them straight from the baking tray. My brother caught me sneaking one while they were still too hot to eat properly, and instead of judging me, he grabbed his own.
Ingredients
- 8 large portobello mushrooms: Look for caps with deep wells and no slimy spots. The bigger they are, the more filling they can hold without collapsing.
- 2 tablespoons olive oil: Use a mild one here so it does not overpower the delicate mushroom flavor.
- 1 small onion: Finely chopped so it disappears into the filling rather than creating chunky bits.
- 2 garlic cloves: Freshly minced is best. The jarred stuff can taste a bit metallic in such a simple dish.
- 300 g lean ground beef: The 10 percent fat ratio gives you flavor without too much grease. Drain any excess after browning.
- 1 medium carrot and 1 celery stalk: These add sweetness and depth that make the filling taste like it simmered for hours.
- 1 tablespoon tomato paste: This is the secret ingredient that gives the mince that rich, concentrated depth.
- 1 teaspoon dried oregano and 1/2 teaspoon dried thyme: Rub them between your fingers before adding to wake up their oils.
- 1 teaspoon Worcestershire sauce: Adds that perfect umami punch that makes people wonder what the secret ingredient is.
- 40 g fresh breadcrumbs: Tear up good bread and pulse it yourself. The store stuff is too fine and sandy.
Instructions
- Get your oven ready:
- Preheat to 200°C and line a baking sheet with parchment paper. This saves you from scrubbing baked-on juices later.
- Prep the mushrooms:
- Wipe them with a damp paper towel instead of running under water. Pull out the stems and chop them finely.
- Build the flavor base:
- Heat the olive oil in a large skillet over medium heat. Add the onion and garlic and let them soften for about 2 minutes.
- Add the vegetables:
- Stir in the chopped mushroom stems, carrot, and celery. Cook for 3 to 4 minutes until they have softened and released some moisture.
- Brown the beef:
- Add the ground beef and break it up with your spoon. Let it cook undisturbed for a minute between stirs so it gets some nice brown bits.
- Season and simmer:
- Stir in the tomato paste, herbs, Worcestershire sauce, and beef stock. Let it bubble for 3 to 4 minutes until it thickens nicely.
- Fill the caps:
- Spoon the mixture into each mushroom cap. Pack it in gently but do not overfill or the filling will spill out during baking.
- Add the golden topping:
- Mix the breadcrumbs, parsley, and olive oil in a small bowl. Sprinkle it over the stuffed mushrooms.
- Bake until golden:
- Slide the tray into the oven for 20 to 25 minutes. The mushrooms should be tender and the crumbs should be a beautiful golden brown.
 Save
Save My neighbor now requests these for every neighborhood gathering. I have learned to double the recipe automatically because the platter always comes back empty.
Making Them Your Own
I have found that ground turkey or chicken work beautifully if you want something lighter. The filling stays just as juicy and you can bump up the herbs a bit to compensate for the milder meat.
Timing Is Everything
The filling can be made a day ahead and stored in the refrigerator. Actually, the flavors develop overnight so it might taste even better than freshly made.
The Perfect Pairing
These mushrooms work as an appetizer or a light main. I like to serve them with a simple green salad dressed with lemon vinaigrette. The brightness cuts right through the rich filling.
- A crisp white wine like Sauvignon Blanc complements the earthy mushrooms.
- Garlic bread on the side turns this into a more substantial meal.
- Extra parsley on top adds a fresh pop of color and flavor.
 Save
Save There is something deeply satisfying about watching people disappear these mushrooms. They are unpretentious, packed with flavor, and always the first thing to vanish from the table.
Recipe FAQs
- → What type of mushrooms work best?
-
Large portobello or flat mushrooms are ideal because their substantial caps hold filling well and provide a meaty texture. Button mushrooms are too small for this preparation.
- → Can I prepare these ahead of time?
-
Yes, assemble the stuffed mushrooms up to a day in advance and refrigerate. Add the breadcrumb topping just before baking to maintain its crisp texture.
- → How do I know when they're done?
-
The mushrooms are ready when they're tender throughout and the breadcrumb topping is golden brown, typically after 20-25 minutes in a 200°C oven.
- → Can I make these vegetarian?
-
Substitute plant-based mince for the beef and use vegetable stock instead of beef stock. The cooking method remains the same.
- → What can I serve with stuffed mushrooms?
-
They pair well with a crisp green salad, garlic bread, or as part of an appetizer spread. For a lighter meal, serve with roasted vegetables.
- → How should I store leftovers?
-
Store in an airtight container in the refrigerator for up to 3 days. Reheat in the oven at 180°C for 10-15 minutes to restore crispiness.
