 Save
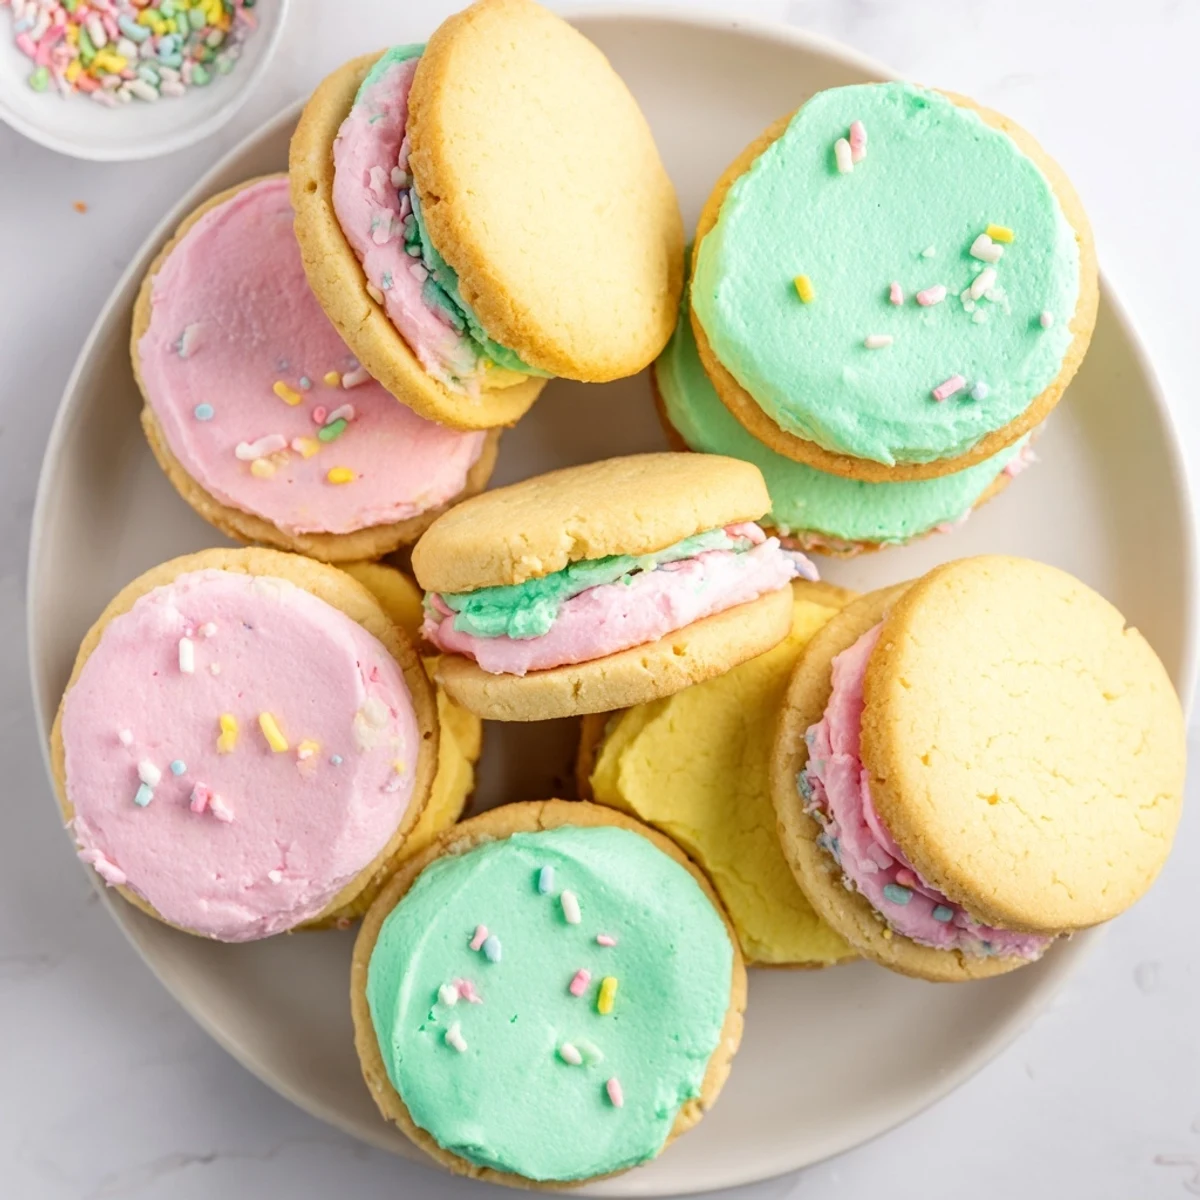
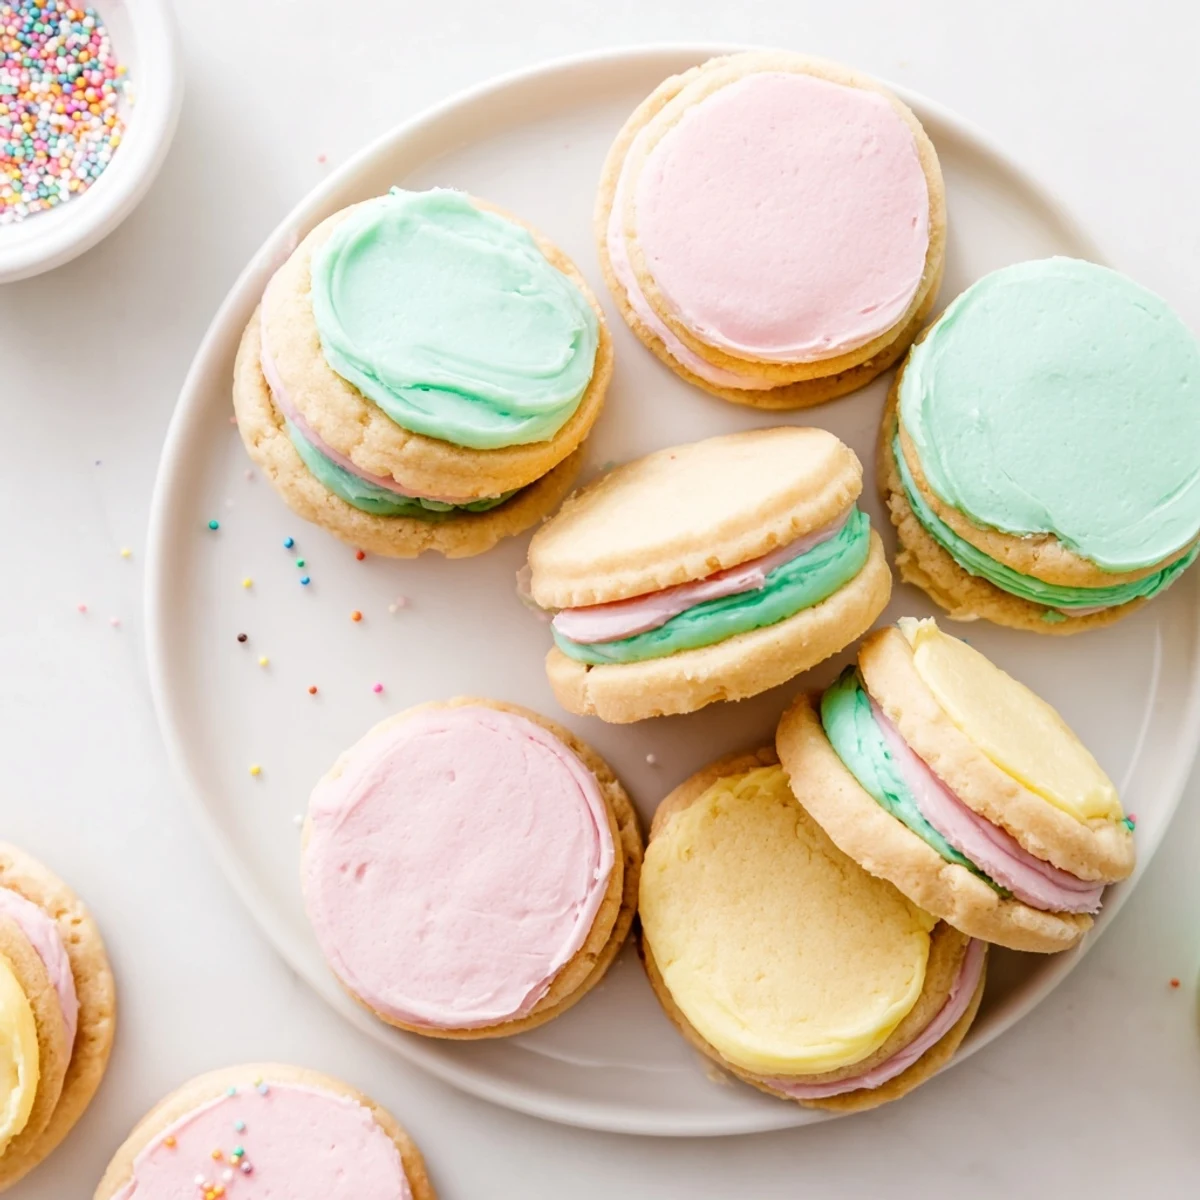
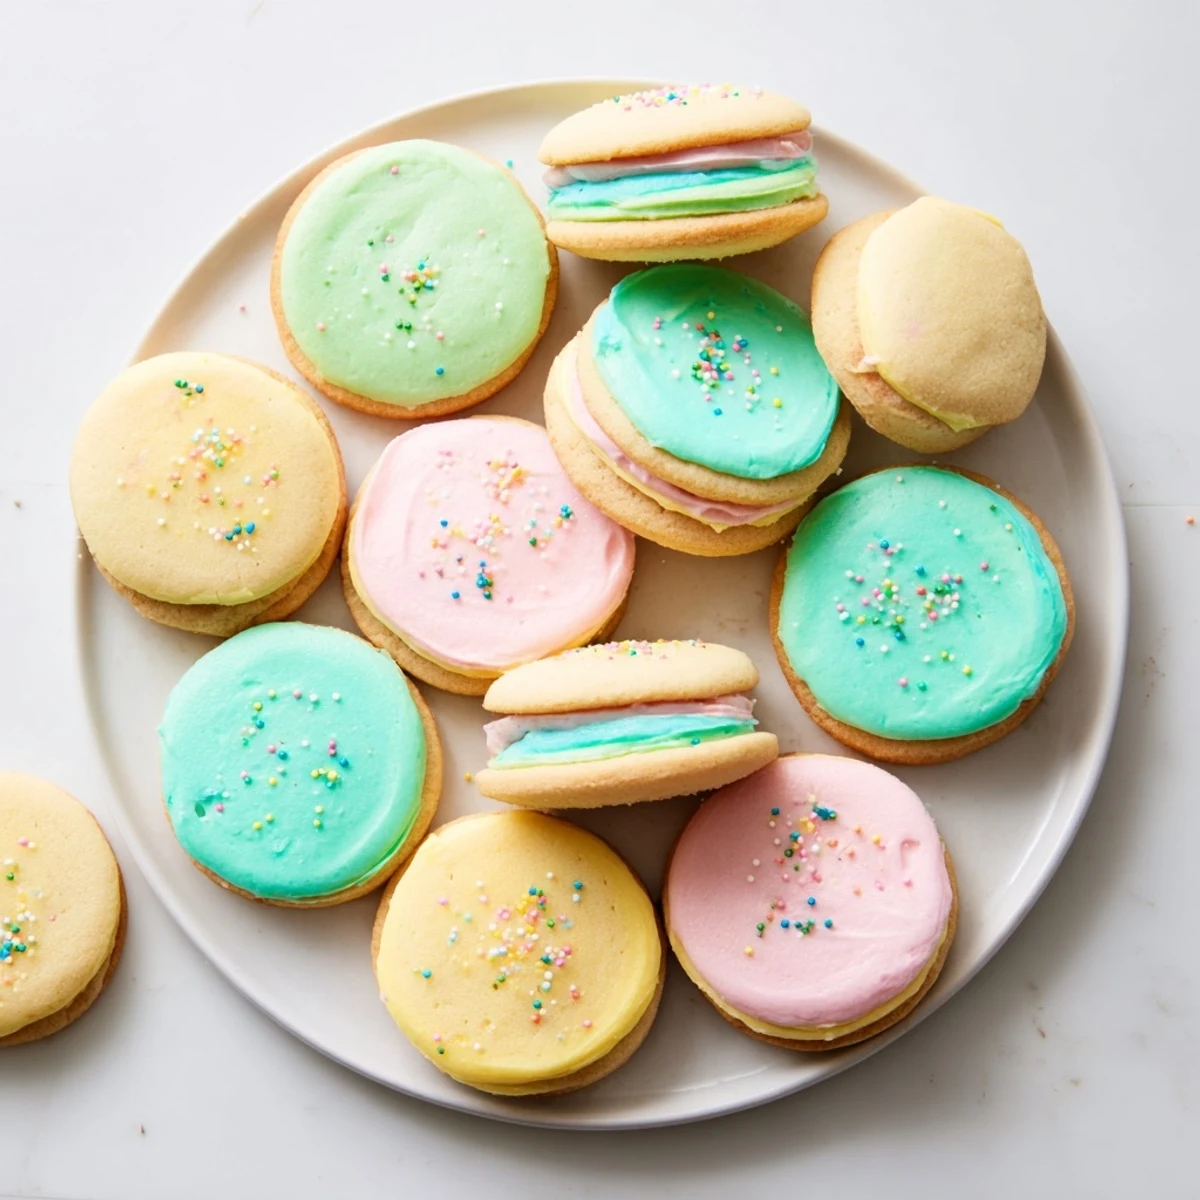
Save These delicate sandwich cookies feature melt-in-your-mouth sugar cookies paired with silky pastel buttercream. The dough requires chilling for best results, then bakes into tender rounds perfect for filling. Customize colors for any occasion—soft pinks, mints, yellows, or lavenders create a stunning display. The buttercream pipes beautifully onto cooled cookies, creating whimsical treats that disappear quickly at gatherings.
My kitchen turned into something resembling a confetti factory the first time I attempted these pastel sandwiches. I'd invited my niece over for what was supposed to be a calm afternoon of baking, but somewhere between mixing butter and discovering gel food coloring stains everything, we ended up laughing so hard I almost forgot about the timer. Now whenever I see those soft pink and yellow swirls, I think of flour-dusted countertops and the way her eyes lit up when she realized we could make cookies look like tiny edible sunsets.
Last spring I brought a platter to our neighborhood book club, and honestly, the conversation stopped mid-sentence. Three women immediately asked for the recipe, which is basically the highest compliment a cookie can receive in the suburbs. There's something about the tender crumb and pillowy filling that makes people pause, then reach for seconds before they've even finished the first one.
Ingredients
- All-purpose flour: The backbone of these delicate cookies, providing just enough structure while keeping them tender
- Baking powder: A half teaspoon gives these the slightest lift so they're not too dense
- Salt: Essential for balancing all that sugar and butter, don't skip it
- Unsalted butter: Both for the cookie base and the filling, softened to room temperature for optimal creaminess
- Granulated sugar: Creates that classic sugar cookie sweetness and helps achieve the perfect texture
- Large egg: Binds everything together while adding richness
- Vanilla extract: The supporting actor that lets the butter shine
- Powdered sugar: Sifted first to prevent lumps in that silky buttercream
- Milk: Just enough to loosen the frosting to pipeable perfection
- Gel food coloring: Far superior to liquid for achieving those dreamy pastel shades without thinning the frosting
Instructions
- Whisk the dry ingredients:
- In a medium bowl, combine the flour, baking powder, and salt until evenly distributed
- Cream butter and sugar:
- Beat the softened butter and granulated sugar in a large bowl until the mixture turns pale and fluffy, about 2 to 3 minutes
- Add the wet ingredients:
- Mix in the egg and vanilla extract, beating until everything is fully incorporated
- Combine dough:
- Gradually add the flour mixture to the butter mixture, mixing just until combined and no dry streaks remain
- Chill the dough:
- Divide dough in half, flatten into discs, wrap tightly in plastic, and refrigerate for at least 1 hour
- Preheat and prepare:
- Heat oven to 350°F and line baking sheets with parchment paper
- Roll and cut:
- On a floured surface, roll dough to 1/4-inch thickness and cut rounds with a 2-inch cookie cutter
- Bake to perfection:
- Place cookies 1 inch apart on prepared sheets and bake for 8 to 10 minutes until edges are barely golden
- Cool completely:
- Let cookies rest on wire racks until they reach room temperature before filling
- Make the buttercream:
- Beat butter until creamy, then gradually add powdered sugar, milk, and vanilla until light and fluffy
- Color the frosting:
- Divide buttercream into small bowls and tint each with a drop of gel food coloring
- Assemble sandwiches:
- Spread or pipe colored buttercream onto half the cookies and top with remaining cookies to form sandwiches
 Save
Save My daughter called them 'bite-sized clouds' the first time she tried one, and honestly, I've never found a better description. These have become our go-to contribution for school bake sales, birthday parties, and those random Tuesdays when we just need something sweet and cheerful.
Getting That Perfect Pastel Look
Gel food coloring is absolutely worth the extra effort compared to liquid versions. Start with the tiniest amount on a toothpick and work up from there, since you can always add more but you cannot take it back. I keep a small bowl of plain buttercream on hand just in case I accidentally oversaturate a shade, which has happened more times than I'd like to admit.
Making Them Ahead
The cookie dough freezes beautifully for up to a month if wrapped well, which means I can roll and cut logs to slice and bake whenever the craving strikes. Already baked cookies also freeze well unfilled, so I often bake a double batch and keep some stashed away for impromptu dessert emergencies. Let frozen dough thaw overnight in the refrigerator before rolling and cutting.
Serving Ideas & Variations
Rolling the exposed edges of the buttercream in pastel sprinkles adds such a festive touch, especially for birthday parties or baby showers. You could also swap half the vanilla extract for almond or lemon to give these a completely different flavor profile while keeping that signature soft texture. For extra flair, use a small star tip to pipe rosettes instead of spreading the frosting.
- Try using shaped cutters for holidays like hearts, flowers, or stars
- Mix a tiny pinch of lemon zest into the yellow frosting for brightness
- Package individually in clear bags tied with ribbon for the most adorable party favors
 Save
Save There is something undeniably joyful about biting into these sweet little sandwiches and finding a surprise of buttercream inside. May your kitchen be filled with laughter, flour clouds, and the happy anticipation of something truly delightful.
Recipe FAQs
- → How long should I chill the cookie dough?
-
Chill the dough for at least 1 hour. This prevents spreading during baking and helps the cookies maintain their shape. You can chill up to 24 hours wrapped tightly in plastic.
- → Can I make these ahead of time?
-
Yes! Prepare the dough up to 2 days in advance and refrigerate. You can also bake the cookies and store them unfrozen for up to 3 days before assembling with fresh buttercream.
- → What's the best way to achieve pastel colors?
-
Start with a tiny amount of gel food coloring—gel colors are more concentrated than liquid. Add toothpick-sized amounts until you reach soft, muted shades. Pastel colors require much less dye than vibrant tones.
- → Can I freeze these cookies?
-
Freeze unbaked dough discs for up to 3 months. Thaw overnight in the refrigerator before rolling and baking. Fully assembled cookies freeze well for 1 month in airtight containers with parchment between layers.
- → Why did my cookies spread too much?
-
Warm dough causes excessive spreading. Ensure proper chilling time and work with cool dough. Also verify your butter was softened to room temperature, not melted. Using room-temperature ingredients creates the best texture.
