 Save
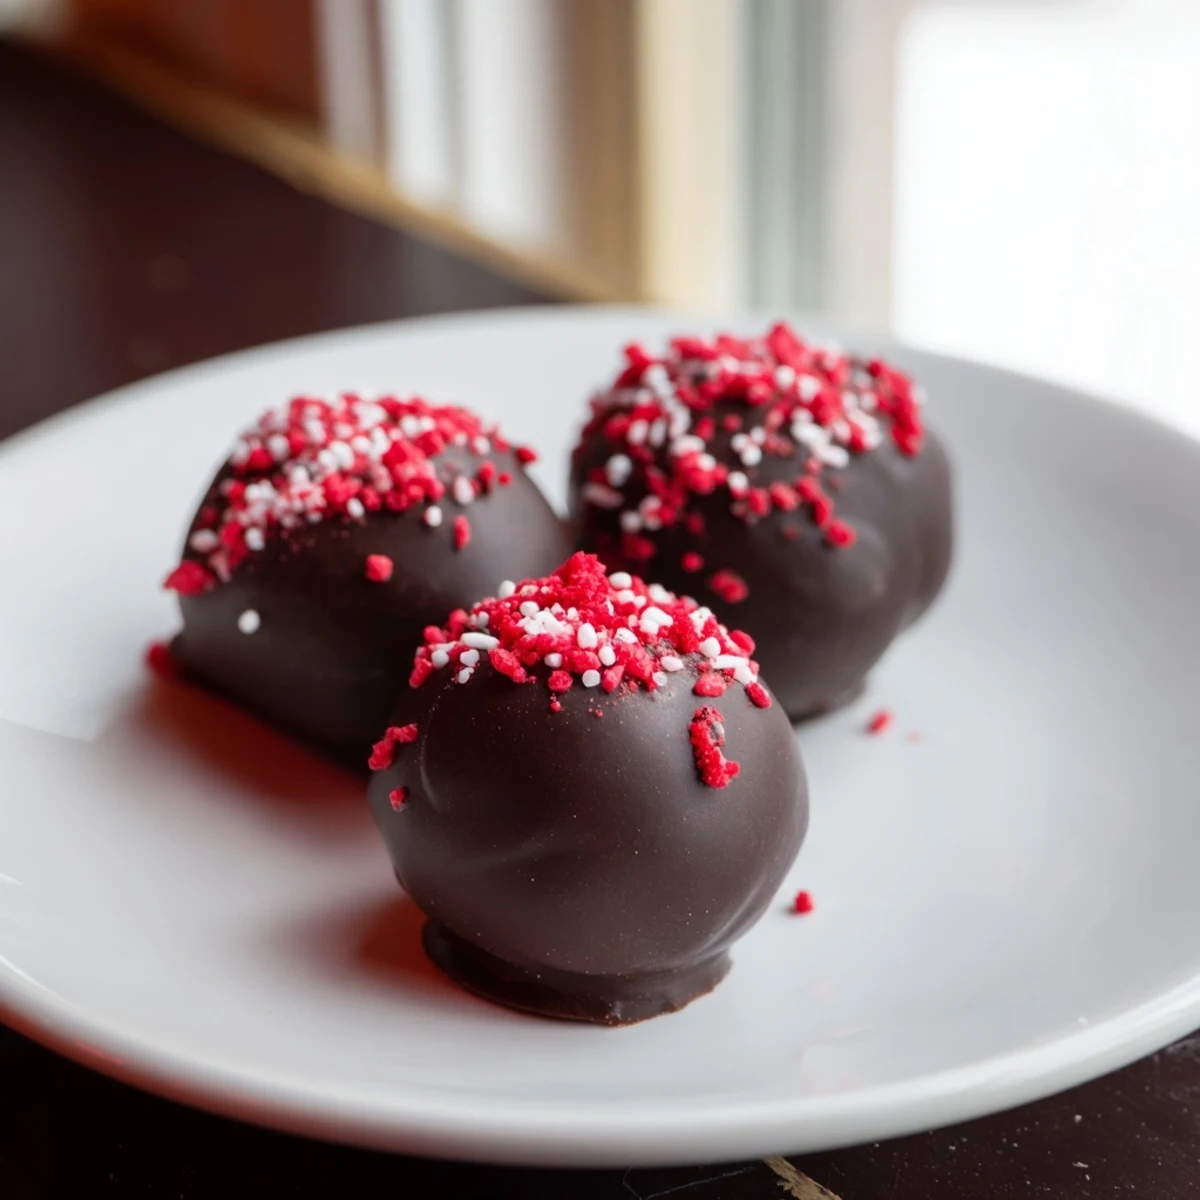
Save These indulgent red velvet cheesecake balls combine the best of both worlds—rich, moist red velvet cake blended with smooth, creamy cheesecake filling. Each bite-sized sphere is hand-rolled and dipped in your choice of white or dark chocolate, creating a stunning contrast between the vibrant red center and the glossy coating. Perfect for parties, holidays, or whenever you crave something sweet and satisfying. The texture is remarkably smooth, with the slight tang of cheesecake balancing perfectly against the sweet, chocolatey exterior.
My kitchen counter looked like a crime scene the first time I made these, red smudges everywhere, but those little chocolate dipped balls vanished so fast at my friends potluck that three people texted me the next day asking for the recipe.
I brought a batch of these to my neighbors holiday party last December and watched a woman eat five of them in under ten minutes while pretending to audit the dessert table.
Ingredients
- All purpose flour (1 1/4 cups): Spoon and level it rather than scooping straight from the bag to avoid dense, heavy cake.
- Granulated sugar (3/4 cup): This keeps the cake sweet enough to balance the tangy cheesecake center.
- Unsweetened cocoa powder (2 tbsp): Just enough to give that subtle red velvet chocolate undertone without overpowering.
- Baking soda (1/2 tsp): Gives the cake a gentle lift so it stays tender when crumbled.
- Salt (1/4 tsp): A small pinch that wakes up every other flavor in the cake.
- Buttermilk, room temperature (1/2 cup): The acid here is essential for tenderness and that classic red velvet tang.
- Unsalted butter, softened (1/2 cup): Let it sit out for an hour so it creams smoothly into the batter.
- Large eggs, room temperature (2): Cold eggs can seize the butter, so pull them out early.
- Vanilla extract (1 tsp for cake, 1/2 tsp for filling): Use the real stuff, not imitation, because it carries the flavor.
- Red food coloring (1 tbsp): Gel coloring works best for vibrant color without thinning the batter.
- Cream cheese, softened (8 oz): Full fat brick style, not the spreadable kind in a tub.
- Powdered sugar (1/4 cup): Sweetens the filling without adding grit or graininess.
- White or dark chocolate, chopped or wafers (10 oz): Melting wafers are foolproof, but good quality chopped chocolate tastes richer.
- Red or white sprinkles (optional): A handful adds festive charm and hides any imperfect dipping.
Instructions
- Bake the red velvet cake:
- Preheat your oven to 350 degrees F, grease and line an 8x8 inch pan, then whisk the dry ingredients together in one bowl and the wet ingredients in another before folding them into a smooth batter. Pour it in, bake 18 to 20 minutes until a toothpick slides out clean, and let it cool completely, no rushing.
- Whip the cheesecake filling:
- Beat the cream cheese, powdered sugar, and vanilla together until silky and lump free, giving it 15 minutes in the fridge if it feels too soft to handle.
- Form the balls:
- Crumble every bit of that cooled cake into a large bowl, add the cheesecake mixture, and work it with your hands until it comes together into a rich, truffle like dough. Roll into one inch balls and freeze them on a parchment lined sheet for a full hour so they hold their shape during dipping.
- Dip and coat:
- Melt the chocolate in 20 second bursts, stirring between each, then lower each frozen ball in with a fork, tap off the excess, and set it back on parchment. Scatter sprinkles on top while the chocolate is still wet because it sets faster than you expect.
- Let them set:
- Leave the coated balls at room temperature or pop them in the fridge until the shell is firm and snappy to the touch.
 Save
Save The moment these went from a messy weekend experiment to something I actually felt proud of was when my daughter arranged them on a plate and announced they were too pretty for the kitchen counter.
Choosing Your Chocolate Coating
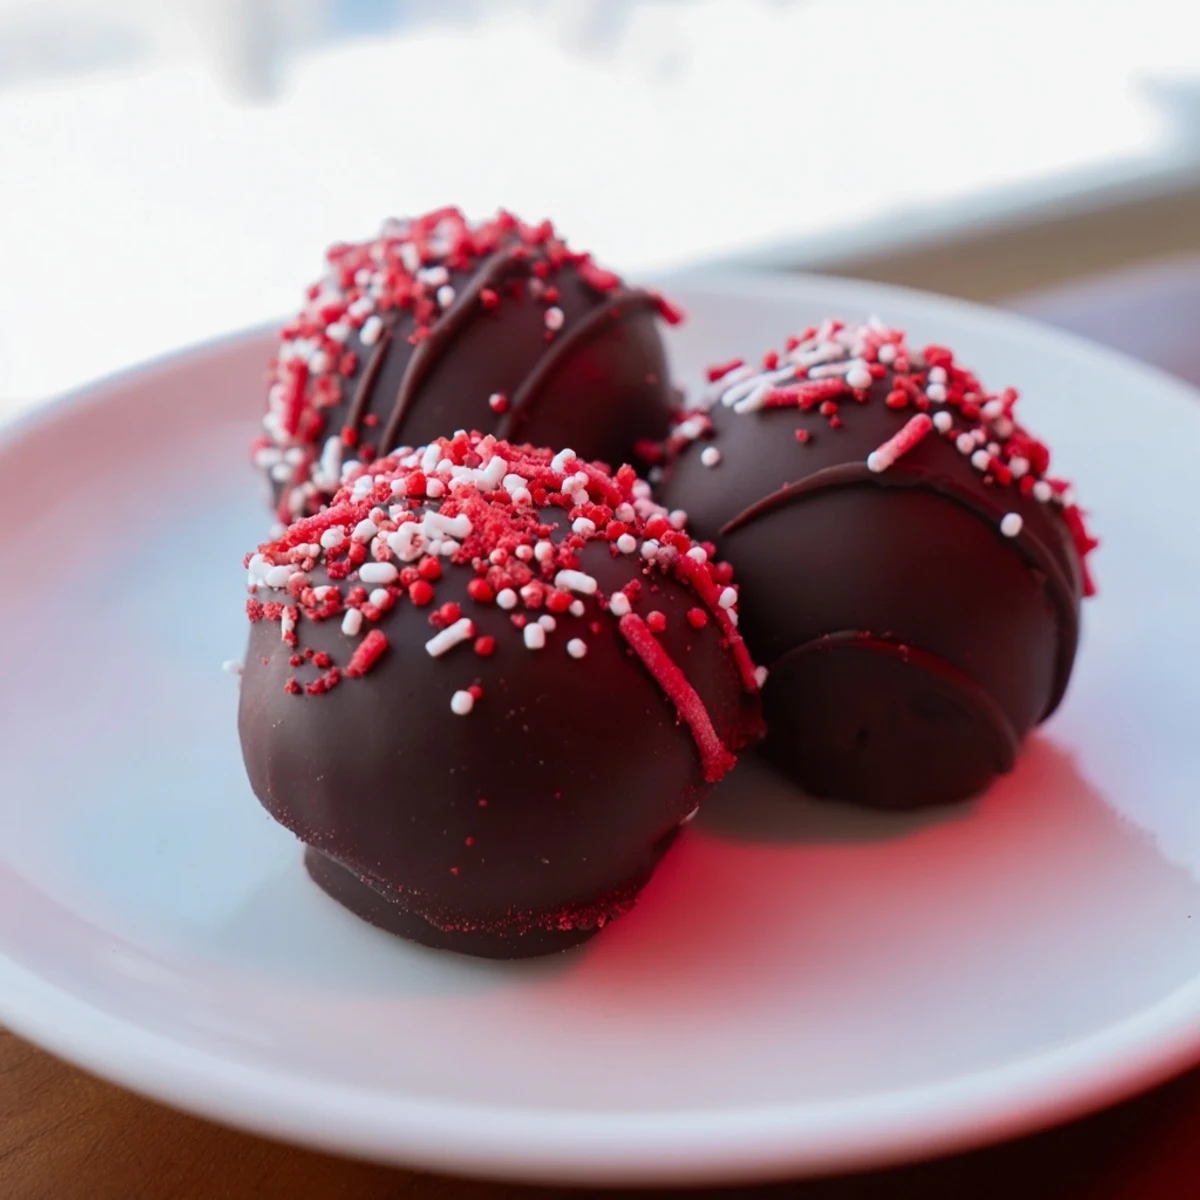
Dark chocolate creates a sophisticated contrast against the sweet red velvet interior, while white chocolate looks stunning and lets the red color peek through any thin spots. Ruby chocolate is a gorgeous middle ground if you can find it, and its berry notes complement the cake beautifully.
Storage That Actually Works
These keep beautifully in an airtight container in the fridge for up to a week, though in my house they rarely survive three days. You can freeze them for a month if you layer parchment between them so they do not stick together in an unattractive clump.
Making Them Your Own
Once you master the basic technique, the variations are endless and forgiving.
- A splash of Chambord or Baileys in the cheesecake mixture turns these into an adults only dessert that disappears even faster.
- Roll the finished balls in crushed graham crackers or toasted coconut instead of sprinkles for a completely different texture.
- Always taste the cake crumb mixture before rolling, and adjust with a pinch more powdered sugar if your sweet tooth demands it.
 Save
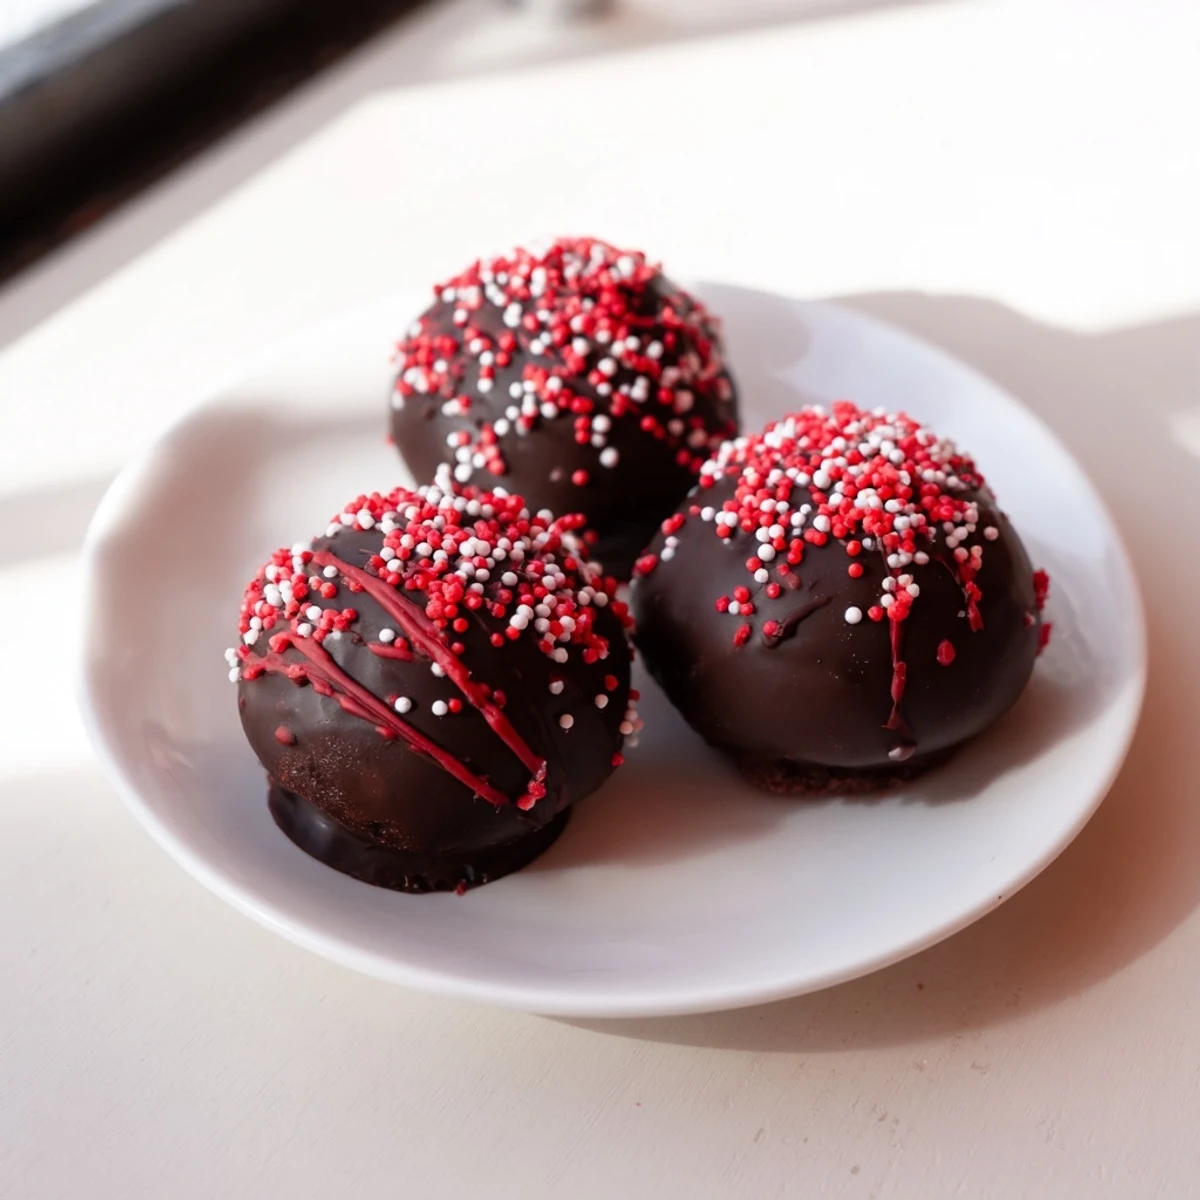
Save These little bites have a way of turning an ordinary afternoon into something worth remembering. Make a double batch because sharing them is surprisingly difficult.
Recipe FAQs
- → How long do cheesecake balls need to freeze?
-
Freeze the rolled balls for at least 1 hour until firm before dipping. This prevents them from falling apart when coated in warm chocolate.
- → Can I make these ahead of time?
-
Yes! Store in an airtight container in the refrigerator for up to 1 week, or freeze for up to 1 month. Let thaw slightly before serving for the best texture.
- → What chocolate works best for coating?
-
Both white and dark chocolate create beautiful contrast with the red center. Melting wafers tend to set firmer than chopped chocolate bars.
- → Why did my balls crack after coating?
-
Cracking happens when the filling is too cold or the chocolate is too hot. Let the frozen balls sit at room temperature for 5 minutes before dipping, and ensure your chocolate is warm—not hot.
- → Can I use boxed red velvet cake mix?
-
Absolutely! One standard box mix prepared according to package directions works perfectly. Just bake it in an 8x8 pan and let cool completely before crumbling.
- → How do I prevent the cheesecake mixture from being too soft?
-
Refrigerate the cream cheese mixture for 15 minutes before combining with the cake crumbs. If the dough still feels sticky, chill for another 10-15 minutes before rolling.
