 Save
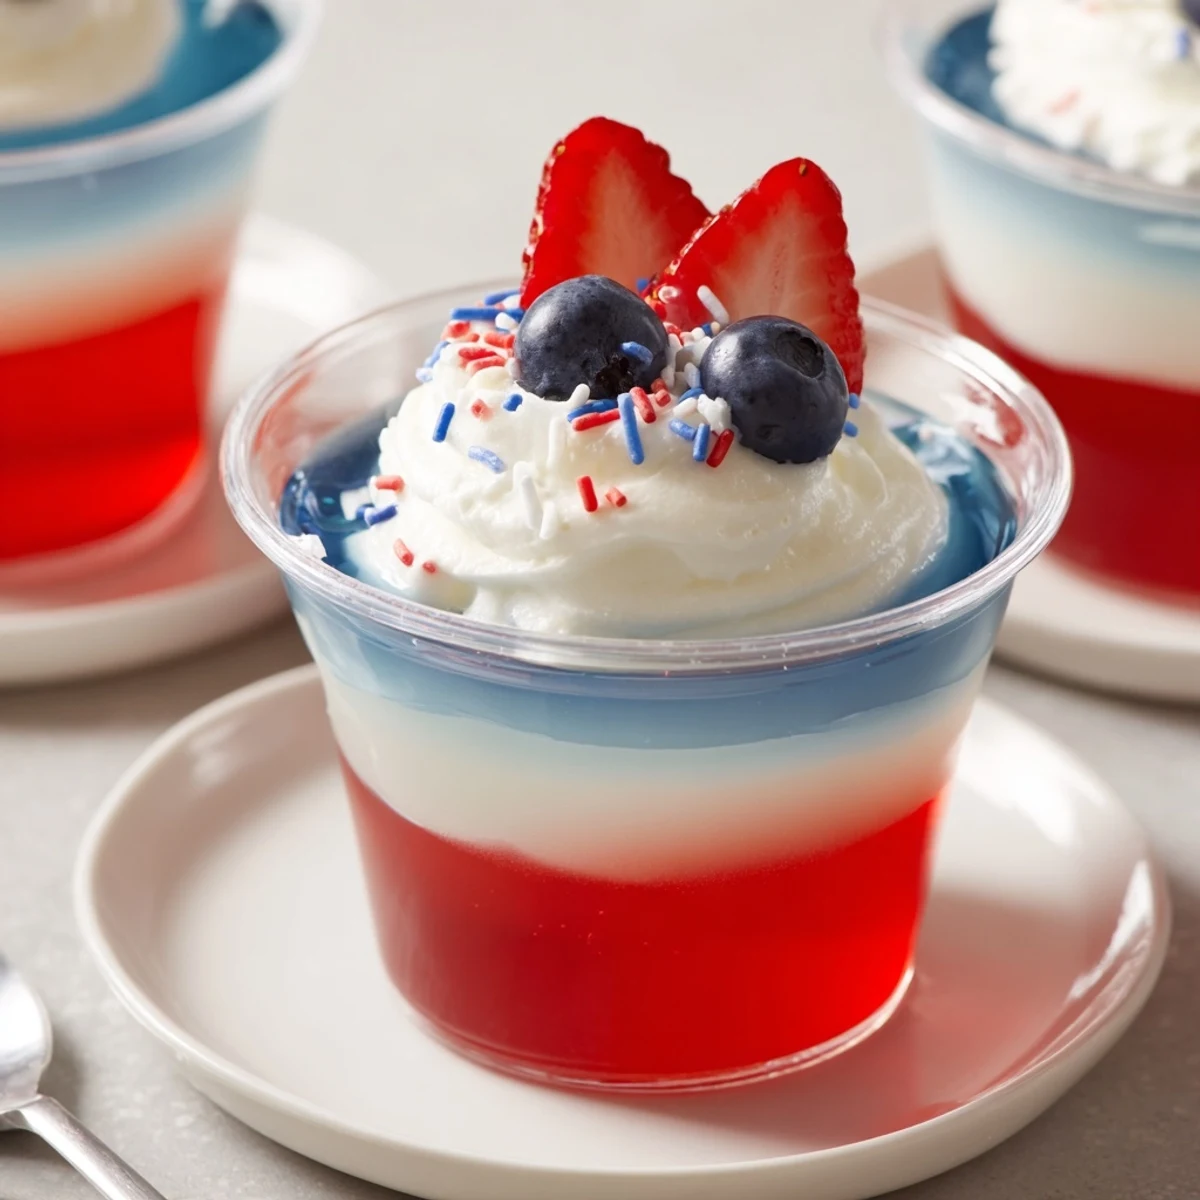
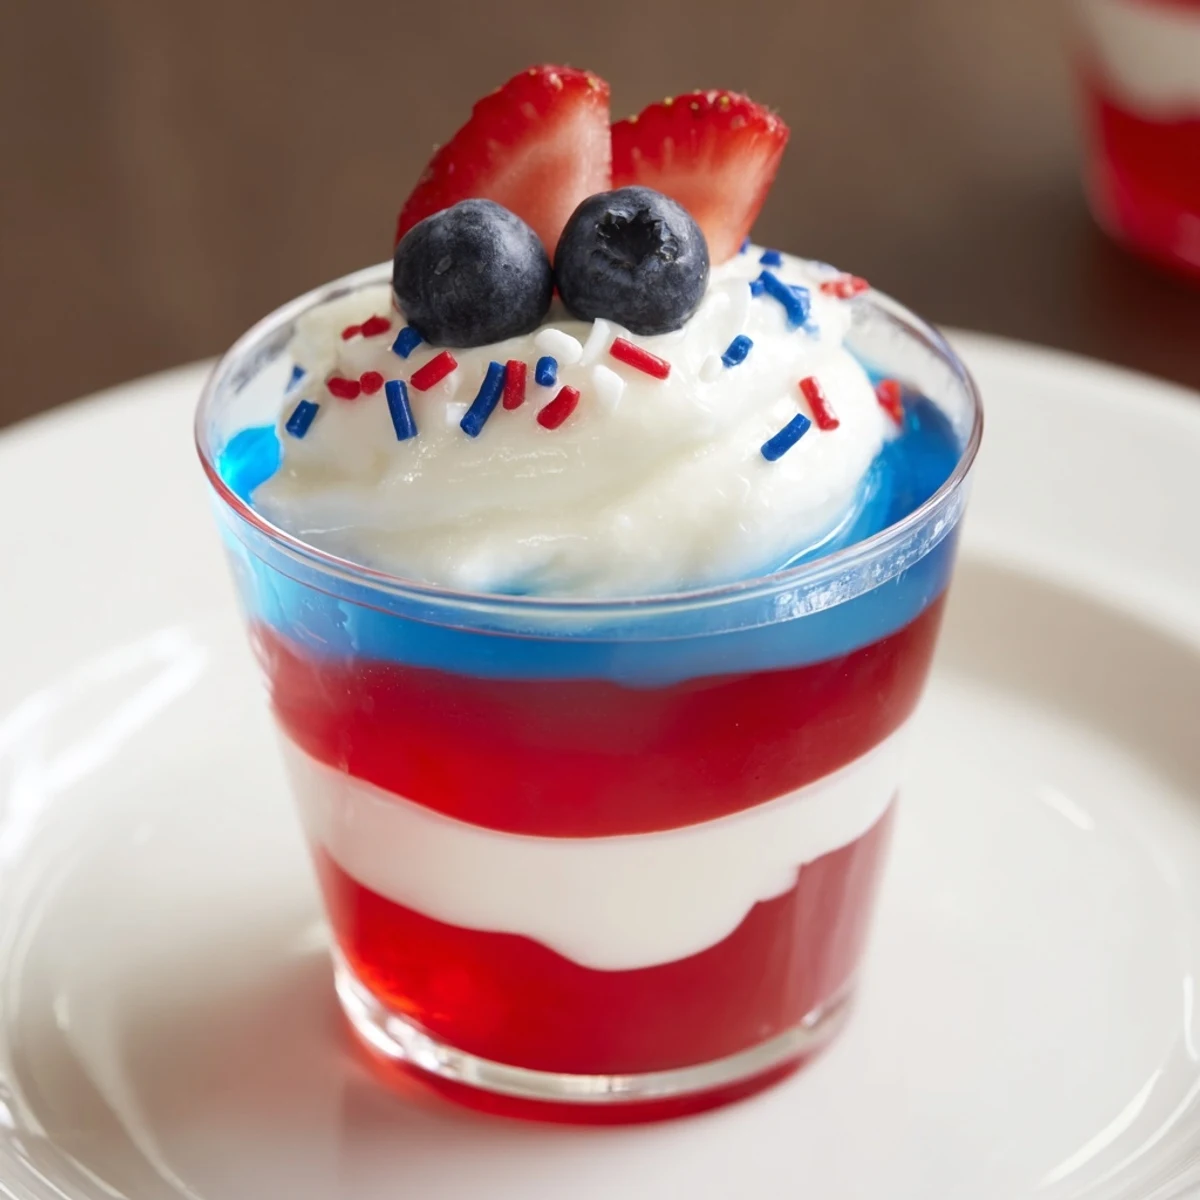
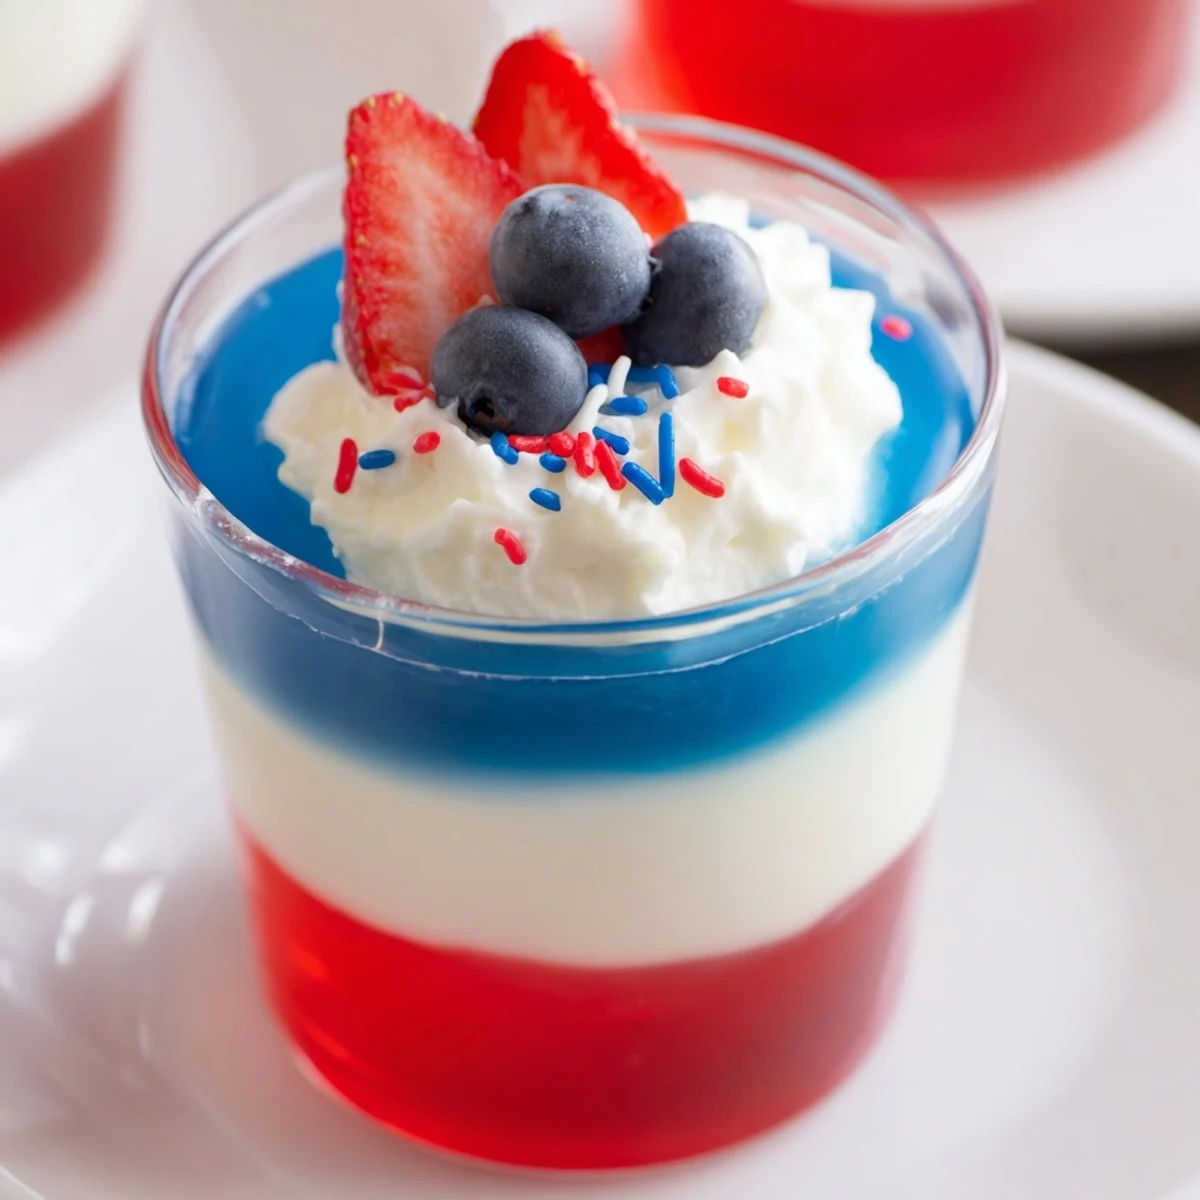
Save Layer chilled cups with red gelatin, a whipped vanilla pudding layer, then blue gelatin for striking tri-color servings. Dissolve gelatin in boiling water, allow each layer to set (red ~1 hr, white 30 min, then 2–3 hr final chill). Makes 8 cups. Use clear cups, garnish with berries and whipped topping. Swap non-dairy milk and whipped topping for a dairy-free version and assemble up to a day ahead.
The first time I made Red White And Blue Jello Cups, my kitchen was alive with the sticky-sweet smell of berry gelatin and the gentle hum of a summer fan in the background. There is something satisfyingly mischievous about sneaking whipped topping straight from the tub as you layer each color. I remember wiping my hands on a dish towel, giggling at how the colors seemed to brighten up even a cloudy afternoon. This simple dessert just feels like a celebration before it ever leaves the fridge.
One Fourth of July, a cousin nervously volunteered to help and ended up in a blue jello crisis, forgetting which box to use next. We turned the mix-up into a game, and, by some miracle, the stripes were more perfect than any I'd made alone. Sometimes, a little chaos makes the best party prep story.
Ingredients
- Red gelatin (strawberry or cherry, 3 oz): Any red works, but I've found cherry gives a classic punch that stands out; letting it cool just enough before pouring prevents cloudy layers.
- Boiling water (1 cup, twice): I use a kettle so there’s no juggling pots, and pouring slowly keeps gelatin from splashing or clumping.
- Cold water (1/2 cup, twice): Stirring in cold water brings the temperature down fast, helping the red and blue layers set smoothly.
- Instant vanilla pudding mix (3 oz): This shortcut gives the white layer its creamy, cloudlike bite—don’t try the cook-and-serve kind, or you’ll wait ages.
- Cold milk (1 1/4 cups): Whole or 2 percent both work, but very cold milk gives the pudding the best body.
- Whipped topping (1 cup, plus more for garnish): Folding this in keeps the white layer fluffy and light.
- Berry blue gelatin (3 oz): The brighter the blue, the more festive it looks; let it cool a couple of minutes after dissolving before layering.
- Fresh berries: Blueberries or strawberries make each cup look like a mini fireworks show on top.
- Sprinkles: Only needed if you want them—kids never say no to extra sparkle.
Instructions
- Make the red base:
- Pour the red gelatin powder into a bowl and add the boiling water, stirring until every bit dissolves. Add cold water, then portion it gently into clear cups, wiping up drips around the edges for neat stripes before chilling for an hour.
- Mix and layer the white:
- Whisk the instant pudding mix and milk until thick and silky, then fold in whipped topping until it’s like soft clouds. Spoon this evenly onto the firm red layer, smoothing the tops—try not to sneak too many tastes—then chill again.
- Create the blue top:
- Mix the blue gelatin with boiling water until clear and shiny, stir in more cold water, and let it cool briefly. Carefully spoon or pour this over the white layer, watching the magic as each cup transforms; chill until completely set.
- Finish and add flair:
- Just before serving, pile on more whipped topping, nestle in fresh berries, and scatter on sprinkles for a festive finish.
 Save
Save Last summer, I spotted my niece staring through the fridge door, waiting for her cup to set, her face pressed to the glass in anticipation. That’s when I realized these jello cups aren’t just a dessert—they’re a little bit of edible excitement for everyone in the house.
How To Get Perfect Stripes Every Time
I learned to set a timer for each chilling stage, and now every layer stays where it’s supposed to. Lifting the cups gently and peeking under the fridge light is my little ritual to test for jiggle without disturbing the masterpiece. If ever in doubt, leave each layer five minutes longer than the recipe says. Patience is the only tool you truly need for this one.
Choosing the Right Cups for the Job
Clear plastic party cups do more than just show off the stripes—they make the whole dessert easy to serve, even for impromptu backyard bashes. Glass ramekins work well too but are bulkier and don’t give quite the same ‘grab-and-go’ joy for guests. When making these for kids, I stick with shatterproof plastic for peace of mind.
Making It Ahead & Storing Leftovers
Layering the night before a big event lets all the flavors meld and the colors become even bolder. Covering each cup tightly with plastic wrap keeps the texture fresh and blocks fridge odors from sneaking in. Garnishes go on at the very last moment—no one wants wilted berries or droopy whipped cream.
- Stack cups on a small tray to save space in the fridge.
- Don’t freeze—they’ll separate and lose their texture.
- Label each cup with a name for easy party handouts.
 Save
Save When the last cup disappears faster than you can say “fireworks,” you’ll know you’ve found your new celebration staple. These Red White And Blue Jello Cups always bring a little sparkle to the table, no matter the holiday.
Recipe FAQs
- → How long should each layer chill before adding the next?
-
Let the red gelatin set about 60 minutes until firm to the touch, chill the white layer about 30 minutes to stabilize, then add the blue and refrigerate 2–3 hours until fully set.
- → Any tips to get clean, even layers?
-
Use clear cups and chill each layer until firm. Pour blue gelatin slowly over the back of a spoon or down the side of the cup to avoid disturbing the white layer.
- → Can I make these dairy-free?
-
Yes. Replace milk with plant-based milk and use dairy-free whipped topping and a compatible instant pudding mix for the white layer.
- → How far in advance can I assemble them?
-
Assemble up to 1 day ahead and keep covered in the refrigerator. Add fresh berries and extra whipped topping just before serving for best texture.
- → What are good garnish ideas?
-
Top with a dollop of whipped topping, fresh blueberries and sliced strawberries, or a few festive sprinkles for color and contrast.
- → Can I use homemade gelatin instead of instant boxes?
-
Yes, but adjust concentrations so the layers set firmly. Homemade gelatin may need testing for firmness and could require longer chilling between layers.
