 Save
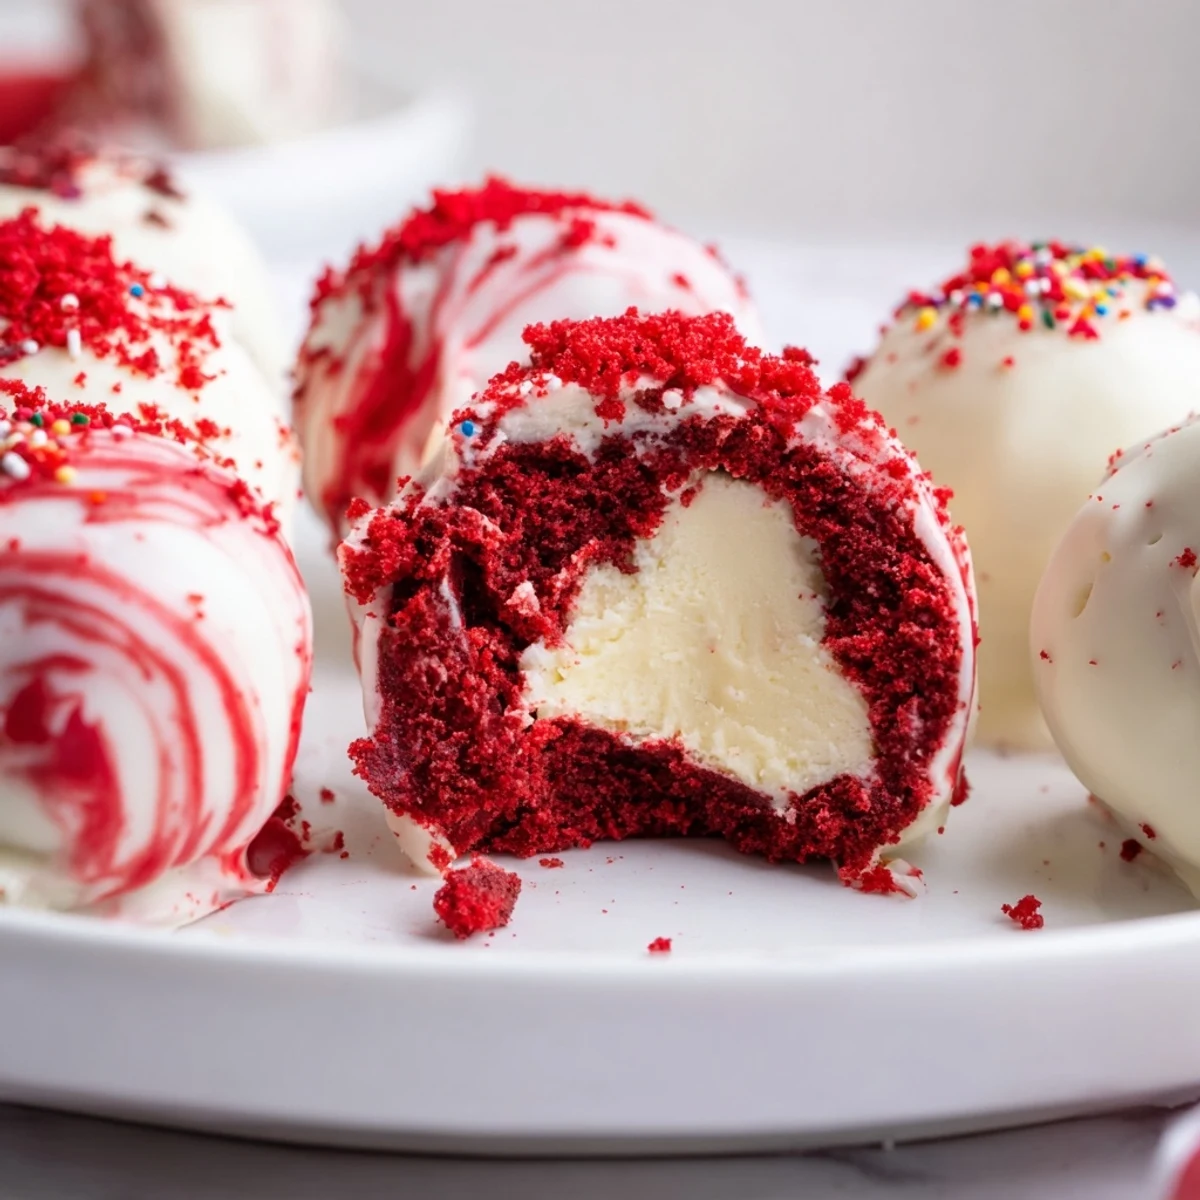
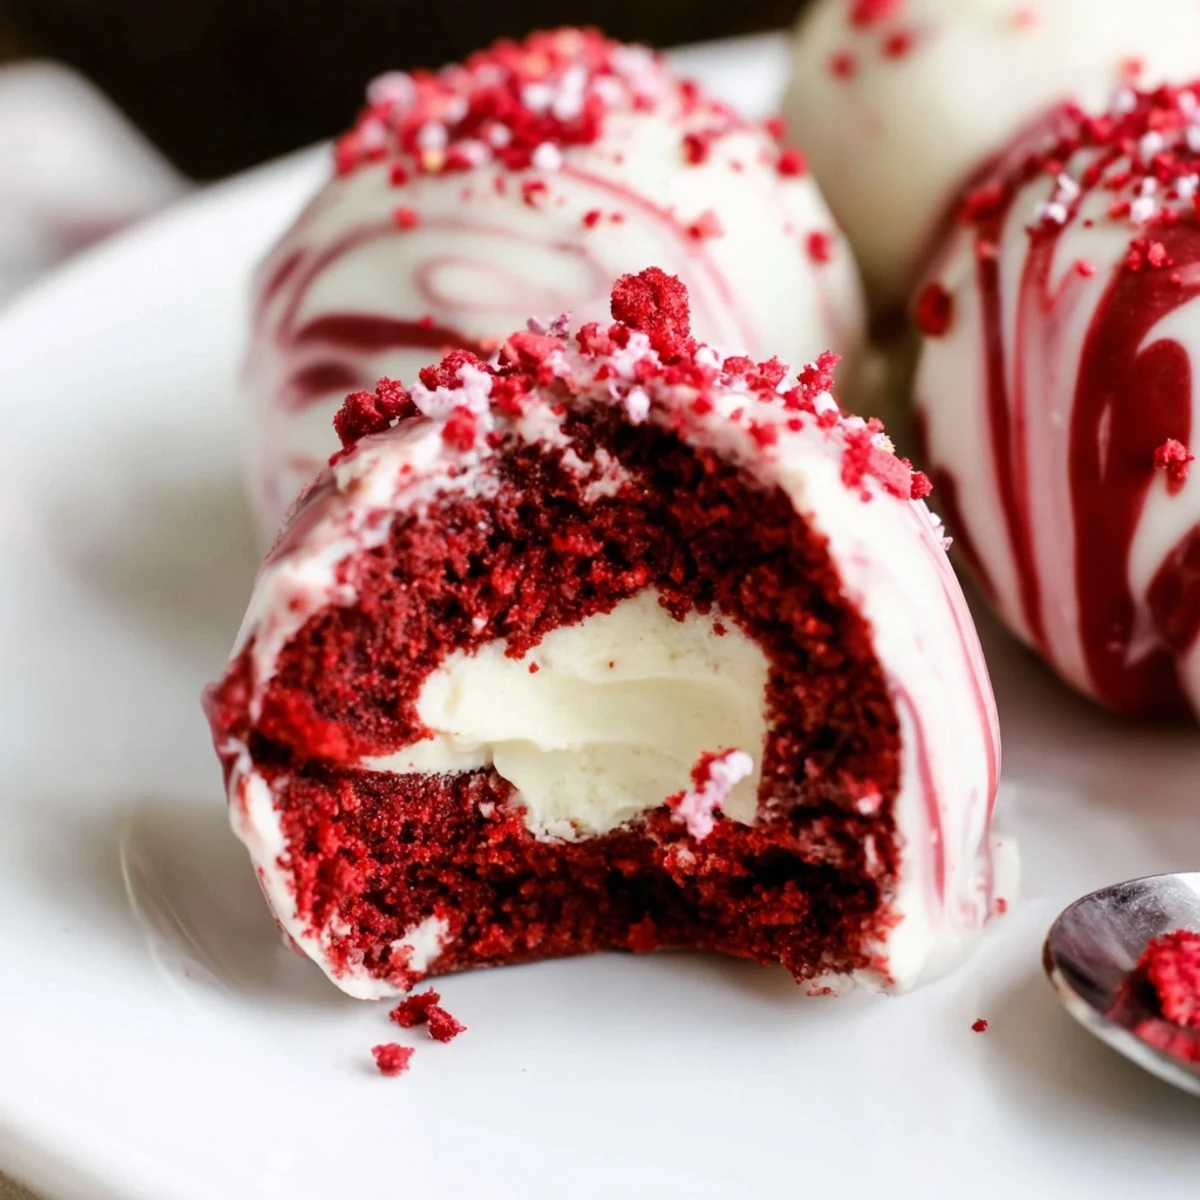
Save Combine crumbled red velvet cake with whipped cream cheese sweetened with powdered sugar and vanilla until a soft, moldable mixture forms. Portion and roll into tablespoon-sized balls, then chill until firm. Dip each chilled ball in melted chocolate—add a touch of red coloring if desired—and top with crumbs or sprinkles. Keep refrigerated in an airtight container; serve chilled.
The kitchen smelled like a bakery had collided with a candy shop, and honestly that is the only way to describe the chaos of my first batch of red velvet cheesecake balls. Flour dusted my counter, red crumbs stuck to everything including the cat, and I was pretty sure I had ruined dessert for my friend birthday party. But when those glossy chocolate coated bites came out of the fridge and I tasted one, I actually laughed out loud in my empty kitchen.
I brought a tray of these to a potluck last winter and watched a woman eat five of them while pretending to arrange the snack table. She cornered me later for the recipe and we ended up talking for an hour about our grandmothers and their obsession with jello molds.
Ingredients
- Red velvet cake (300 g, fully baked and cooled): Store bought works beautifully here, and honestly I prefer the slightly denser texture of a grocery store sheet cake for binding.
- Cream cheese (200 g, softened): Let it sit out for at least an hour because cold cream cheese will leave you with ugly lumps you cannot fix.
- Powdered sugar (40 g): Just enough sweetness to make the filling taste like actual cheesecake without overwhelming the red velvet flavor.
- Vanilla extract (1 tsp): Use the real stuff if you have it, it makes a quiet but noticeable difference.
- White chocolate (250 g): Ghirardelli or Guittard melt the smoothest, and cheaper brands often seize up on you.
- Red food coloring (optional): A few drops in the white chocolate give you that dramatic crimson coating everyone photographs.
- Red velvet crumbs and sprinkles (optional): Save a handful of cake crumbs before mixing for decorating, it looks professional with zero effort.
Instructions
- Break down the cake:
- Crumble the red velvet cake into a large bowl using your fingers, pressing and rubbing until you have fine, even crumbs with no large chunks hiding anywhere.
- Whip the filling:
- Beat the softened cream cheese, powdered sugar, and vanilla together until perfectly smooth and spreadable, scraping the bowl once to catch any stubborn bits.
- Marry them together:
- Pour the cream cheese mixture over the crumbs and work it in with your hands, kneading until every crumb is coated and you have a soft, pliable dough that holds together when squeezed.
- Roll into balls:
- Scoop tablespoon sized portions and roll them between your palms until round and smooth, placing each one on a parchment lined tray as you go.
- Chill thoroughly:
- Refrigerate the tray for at least one full hour so the balls firm up enough to handle the warm chocolate without falling apart.
- Melt the chocolate:
- Microwave the white chocolate in thirty second bursts, stirring between each, until completely fluid and glossy, then stir in red food coloring if using.
- Dip and coat:
- Drop each chilled ball into the chocolate, roll it gently with a fork to cover completely, lift it out tapping the fork to shed excess, and return it to the parchment.
- Decorate while wet:
- Sprinkle your reserved crumbs or sprinkles over each ball immediately before the coating sets, working quickly one ball at a time.
- Let them set:
- Leave the tray at room temperature or pop it back in the fridge until the chocolate shell is completely firm and dry to the touch.
 Save
Save My niece helped me make these last Valentine Day and she insisted on giving each ball a name before dipping it. We had a Gerald and a Penelope and something called Sir Reginald the Third, all lined up on parchment paper like tiny dignitaries.
Choosing Your Chocolate
White chocolate gives the most dramatic look and the sweetest contrast against the slightly tangy cream cheese center, but dark chocolate creates a more sophisticated flavor that balances the sweetness beautifully. I once used leftover Easter candy melts and while the taste was fine, the texture never quite set right, so stick with real chocolate when you can.
Making Them Your Own
Crushed pecans folded into the filling add a surprising crunch that guests never expect but always love. A friend of mine rolls hers in toasted coconut and swears it is the only way to eat them, and honestly she might be right.
Storing and Serving
These keep beautifully in an airtight container in the refrigerator for up to five days, though they rarely last that long in my house. Let them sit at room temperature for about ten minutes before serving so the chocolate softens slightly and the center becomes creamy again.
- Freeze them on a tray first, then transfer to a freezer bag for up to one month.
- Place mini cupcake liners under each one for easy serving at parties.
- Always let guests know they contain dairy and gluten before serving.
 Save
Save Every time I make these I think about that birthday party where they disappeared first, and how something so simple can make people genuinely happy. That is really all cooking needs to do.
Recipe FAQs
- → Can I use store-bought cake for the filling?
-
Yes — fully baked and cooled red velvet cake works well. Crumble it finely so it binds smoothly with the cream cheese mixture for an even texture.
- → How long should the balls chill before dipping?
-
Chill for at least one hour to firm up. Proper chilling prevents the filling from falling apart when dipped and helps the coating set evenly.
- → What chocolate works best for coating?
-
White chocolate melts smoothly and takes color well, but dark or semisweet chocolate gives a deeper flavor. Tempering helps a crisp finish, though simple melting works for home use.
- → Any tips for a smooth coating?
-
Work with well-chilled balls, use a fork or dipping tool to let excess chocolate drip, and place on parchment to set. Thin the chocolate with a little neutral oil if it’s too thick.
- → How can I vary the filling texture?
-
Add 1–2 tablespoons of crushed nuts, shredded coconut, or a touch more powdered sugar to adjust firmness and introduce extra crunch or chew.
- → How should these be stored and how long do they keep?
-
Store in an airtight container in the refrigerator for up to five days. Bring to cool room temperature for a few minutes before serving for best flavor and texture.
