 Save
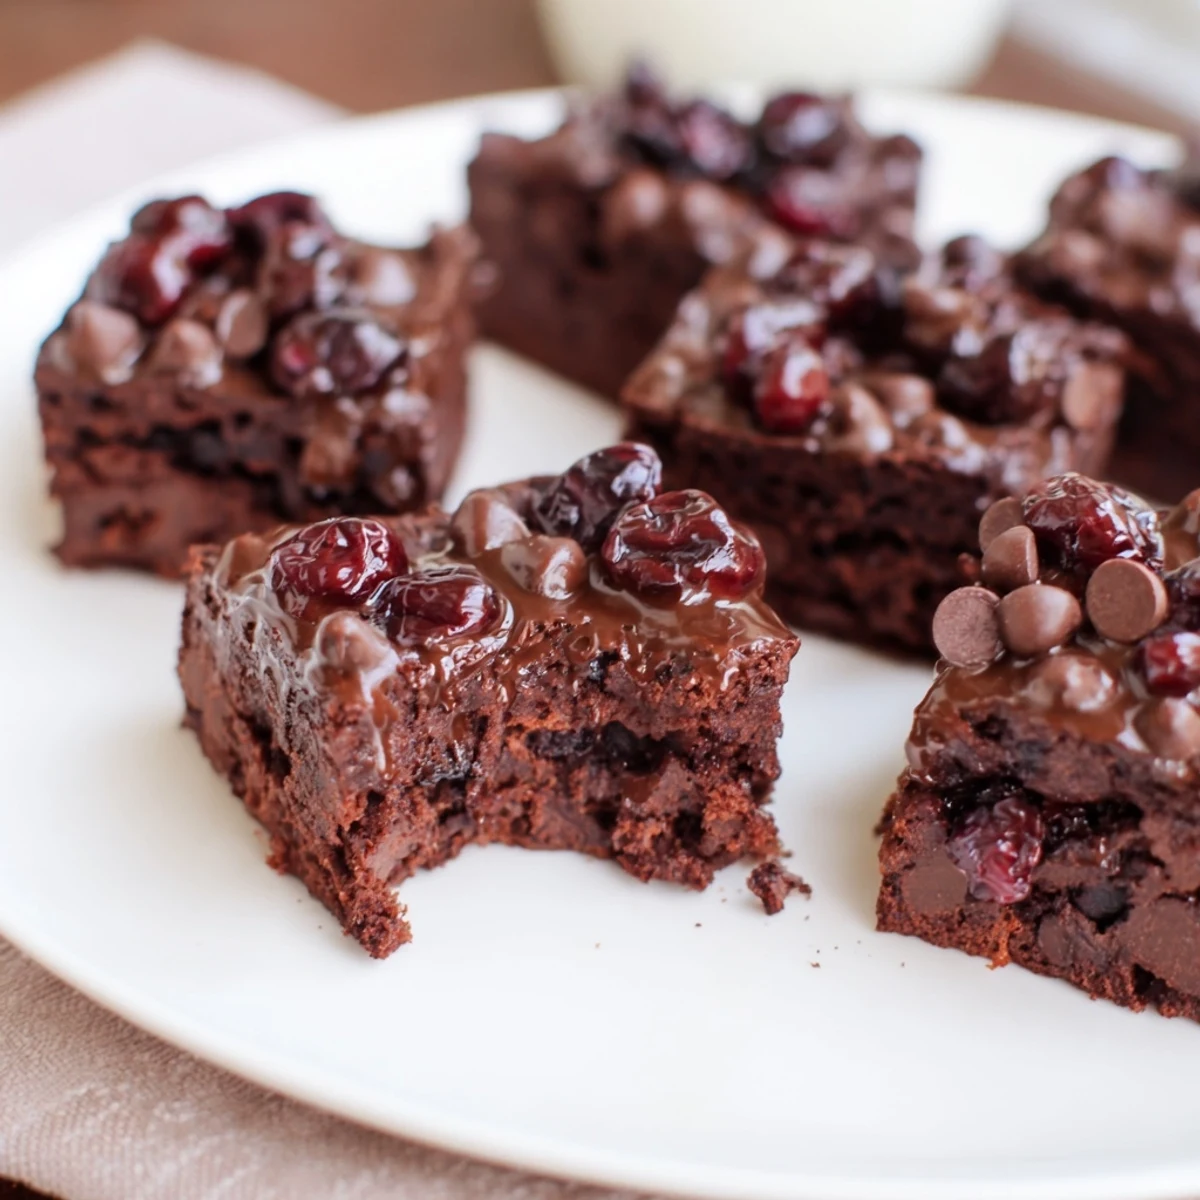
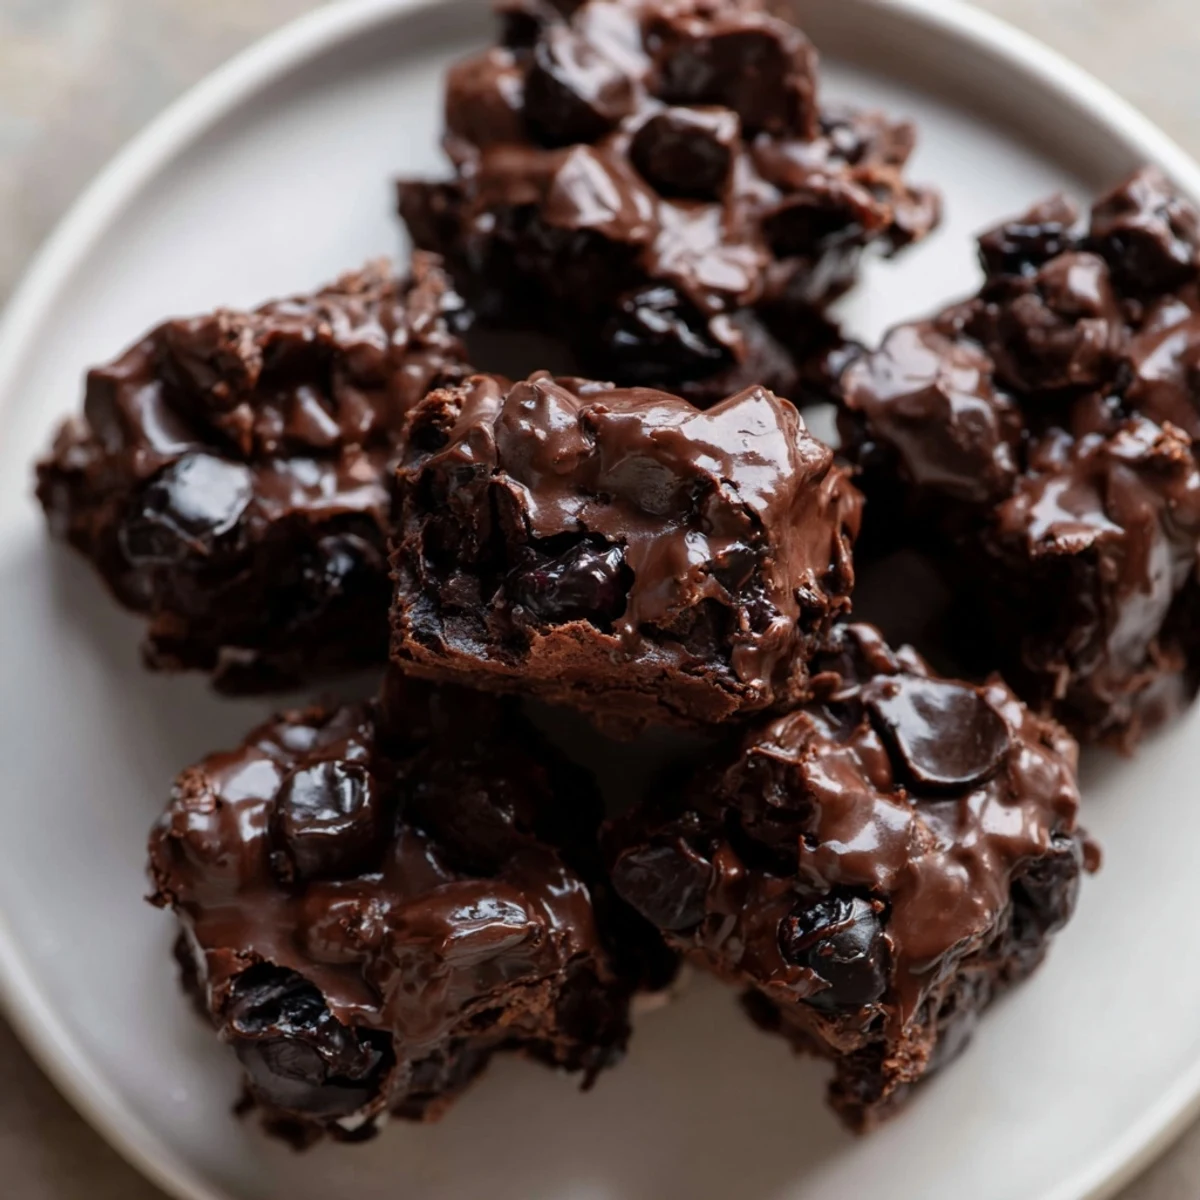
Save These fudgy bites blend rich chocolate with sweet-tart cherries, creating a moist, tender texture. The batter combines cocoa, butter, sugars, and chopped cherries, baked in mini muffin cups for perfect portioning. Finished with a glossy chocolate topping, they offer a delightful contrast of flavors and textures. Customize with toasted walnuts or a sprinkle of sea salt for enhanced notes. Ideal for sharing or as a tempting snack.
The first time I made these was for a last-minute book club meeting when I realized I had nothing to serve. They disappeared in minutes, and someone actually asked if I'd ordered them from a bakery. That moment of watching friends reach for seconds while chocolate still glossed their lips convinced me these little bites were something special.
Last summer I made them for a neighborhood potluck, and my neighbor's daughter asked if she could take some home to her grandmother. I packed up a little box, and later found out the grandmother called to say they reminded her of the chocolate cherry torte her mother used to make. Food connecting generations like that still gets me.
Ingredients
- All-purpose flour: Provides structure without making these too cakey. Measure by spooning into your cup and leveling off for accuracy.
- Unsweetened cocoa powder: The backbone of that deep chocolate flavor. Dutch-processed will give you a smoother, milder taste while natural cocoa is more intense.
- Baking powder: Just enough to give these a slight lift while maintaining their dense fudgy texture.
- Salt: Enhances chocolate flavor and balances the sweetness from the cherries.
- Unsalted butter: Melted creates that tender crumb. Good quality butter really shines here since there are so few ingredients.
- Granulated and brown sugar: The combination gives you crispy edges and a fudgy center. Brown sugar adds moisture and subtle depth.
- Eggs: Room temperature eggs incorporate better and help create that glossy crackly top we all love.
- Vanilla extract: Pure vanilla extract rounds out the chocolate flavor and adds warmth.
- Semi-sweet chocolate chips: Some get stirred into the batter for pockets of melted chocolate. Use good quality chips since they're a starring ingredient.
- Pitted cherries: Fresh cherries in season are incredible but frozen work perfectly too. Just make sure to thaw and drain them well so they don't make the batter too wet.
- Chocolate chips for topping: Melted with butter creates that gorgeous glossy finish that makes these look bakery-worthy.
- Butter for topping: Thin out the melted chocolate just enough so it drizzles beautifully instead of seizing up.
Instructions
- Get your oven ready:
- Preheat to 350°F and grease your mini muffin tin or pop in paper liners. I've learned the hard way that greasing thoroughly matters more than you think.
- Whisk the dry team:
- Combine flour cocoa powder baking powder and salt in a medium bowl. Give it a quick whisk to break up any cocoa clumps.
- Mix the wet base:
- Whisk melted butter with both sugars until smooth. Beat in eggs one at a time then stir in vanilla until everything's glossy and combined.
- Bring it together:
- Fold the dry ingredients into the wet mixture just until you no longer see streaks of flour. Overmixing makes them tough so gentle is key here.
- Add the good stuff:
- Fold in chocolate chips and those beautiful chopped cherries until evenly distributed. The batter will be thick and that's exactly right.
- Fill and bake:
- Spoon batter into your prepared tins filling each about three-quarters full. Bake 16 to 18 minutes until a toothpick comes out with those perfect moist crumbs.
- Cool completely:
- Let them rest in the pan 10 minutes then move to a wire rack. The chocolate topping won't set properly if they're even a little warm.
- Make the glossy topping:
- Melt chocolate chips and butter together in 20-second bursts stirring each time. Drizzle or spread over cooled brownie bites and let set before serving.
 Save
Save My mom now requests these for every family gathering instead of her famous chocolate chip cookies. That's when I knew they'd officially earned their place in the regular rotation. Watching her face light up when she sees the box on the counter never gets old.
Making Ahead
These actually taste better the next day when the flavors have had time to mingle. I bake them up to two days ahead and store them in an airtight container. Just add the chocolate topping the day you're serving them for that freshly made look.
Freezing Tips
Flash freeze the undecorated brownie bites on a baking sheet then transfer to a freezer bag. They'll keep for three months. Thaw overnight and add the chocolate topping just before serving.
Serving Ideas
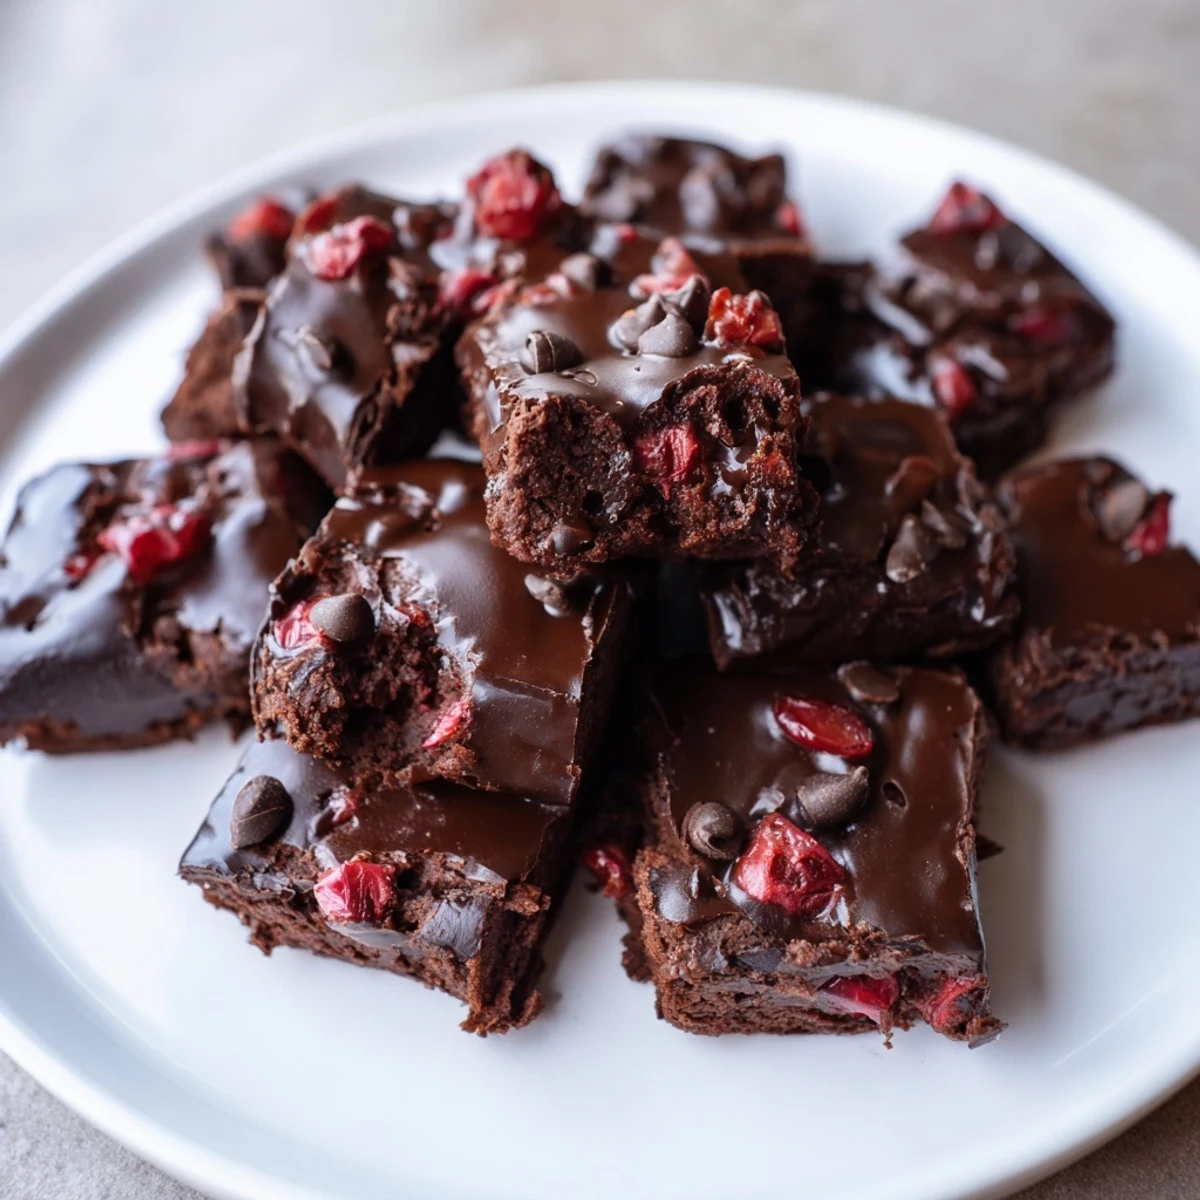
I like to arrange them on a vintage cake stand for parties or nestle them in cupcake liners for easy grabbing. The contrast between the dark brownie and bright red cherries makes them photograph beautifully too.
- A dusting of powdered sugar over the chocolate topping adds an elegant finish
- Try adding orange zest to the batter for a chocolate orange cherry variation
- These pair wonderfully with coffee or as an afternoon pick-me-up treat
 Save
Save There's something joyful about popping a whole brownie bite into your mouth and getting that perfect ratio of chocolate to cherry in every single one. Hope they become as loved in your kitchen as they are in mine.
Recipe FAQs
- → Can fresh cherries be used instead of frozen?
-
Yes, fresh cherries work wonderfully. Just pit and chop them before folding into the batter.
- → How can I ensure the bites stay moist?
-
Do not overmix the batter and bake just until a toothpick comes out with a few moist crumbs.
- → Is it necessary to use mini muffin cups?
-
Mini muffin cups help portion the bites evenly and ensure even baking, but a small baking dish can work as well.
- → Can these bites be stored for later?
-
Store in an airtight container at room temperature for up to 3 days or refrigerate for longer freshness.
- → What makes the chocolate topping glossy?
-
Melting the chocolate chips with butter creates a smooth, shiny finish that sets beautifully on top.
