 Save
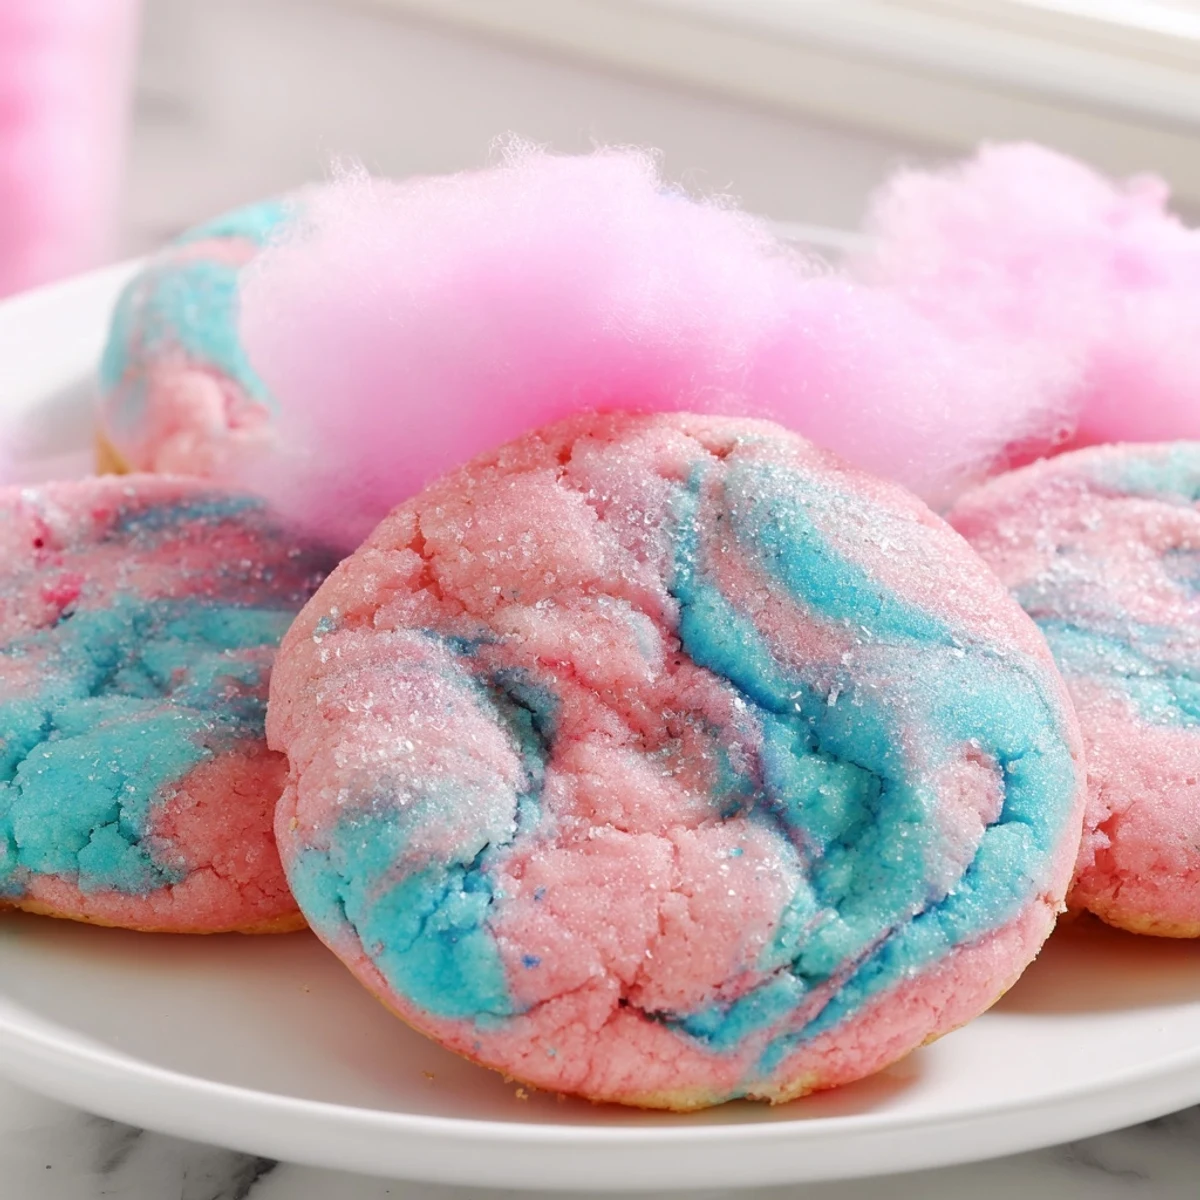
Save These cotton candy cookies bring a carnival-inspired twist to classic soft-baked sugar cookies. Tinted with pink and blue gel food coloring and gently swirled together, each cookie boasts a dreamy marbled look that's as delightful as the flavor itself.
A hint of cotton candy flavoring in the dough pairs beautifully with the buttery vanilla base, while an optional garnish of real cotton candy on top adds a whimsical finish perfect for birthdays, baby showers, or any festive celebration.
Ready in just 30 minutes with simple pantry ingredients, these cookies are easy enough for beginners and guaranteed to be a crowd-pleaser.
My niece stood on a step stool beside me, eyes wide as I pulled a bag of cotton candy from the grocery shelf and told her we were going to bake it into cookies. She looked skeptical, honestly, and so did the woman reaching past us for sourdough bread. That afternoon my kitchen turned into a pastel cloud factory and not a single cookie survived the weekend.
I brought a plate of these to a neighborhood potluck and three people asked if I had started a bakery. One neighbor hid two behind the napkins for later, which I consider the highest compliment a cookie can receive.
Ingredients
- All purpose flour (2 1/2 cups, 315 g): Spoon and level it rather than scooping straight from the bag to avoid dense cookies.
- Baking powder (1 tsp) and baking soda (1/2 tsp): This dual leavening combo gives you a gentle lift without spreading too thin.
- Salt (1/2 tsp): Do not skip this even in a sweet cookie because it keeps the flavor from tasting flat.
- Unsalted butter, softened (3/4 cup, 170 g): Leave it out for about an hour so it creams smoothly without melting.
- Granulated sugar (1 cup, 200 g) and light brown sugar (1/2 cup, 100 g): Brown sugar adds chewiness while granulated keeps the edges crisp.
- Large eggs (2): Room temperature eggs blend more evenly into the butter mixture.
- Pure vanilla extract (2 tsp): Clear vanilla works too if you want brighter pastel colors.
- Cotton candy flavoring (1/2 tsp): A little goes a long way so start with half and taste before adding more.
- Pink and blue gel food coloring: Gel gives vivid color without thinning the dough like liquid would.
- Cotton candy for garnish (1/2 cup, 60 g, optional): Add this right before serving because it melts fast on any moisture.
Instructions
- Preheat and prepare:
- Set your oven to 350 degrees F and line two baking sheets with parchment paper so nothing sticks.
- Whisk the dry ingredients:
- Combine the flour, baking powder, baking soda, and salt in a medium bowl and set it aside.
- Cream the butter and sugars:
- Beat the softened butter with both sugars in a large bowl until the mixture turns pale and fluffy, about two minutes.
- Add the wet ingredients:
- Drop in the eggs, vanilla extract, and cotton candy flavoring, then beat until everything looks smooth and fragrant.
- Bring the dough together:
- Gradually add the dry ingredients to the wet mixture, mixing on low until a soft dough forms without overworking it.
- Color and marble:
- Split the dough evenly into two bowls, tint one pink and one blue with gel coloring, then roll small portions from each color together in your palms to form swirled 1.5 inch balls.
- Bake until just set:
- Place the dough balls two inches apart on the sheets and bake for 9 to 11 minutes until the tops look set but the centers still feel soft.
- Cool properly:
- Let the cookies rest on the baking sheets for five minutes before moving them to a wire rack to cool completely.
- Garnish if desired:
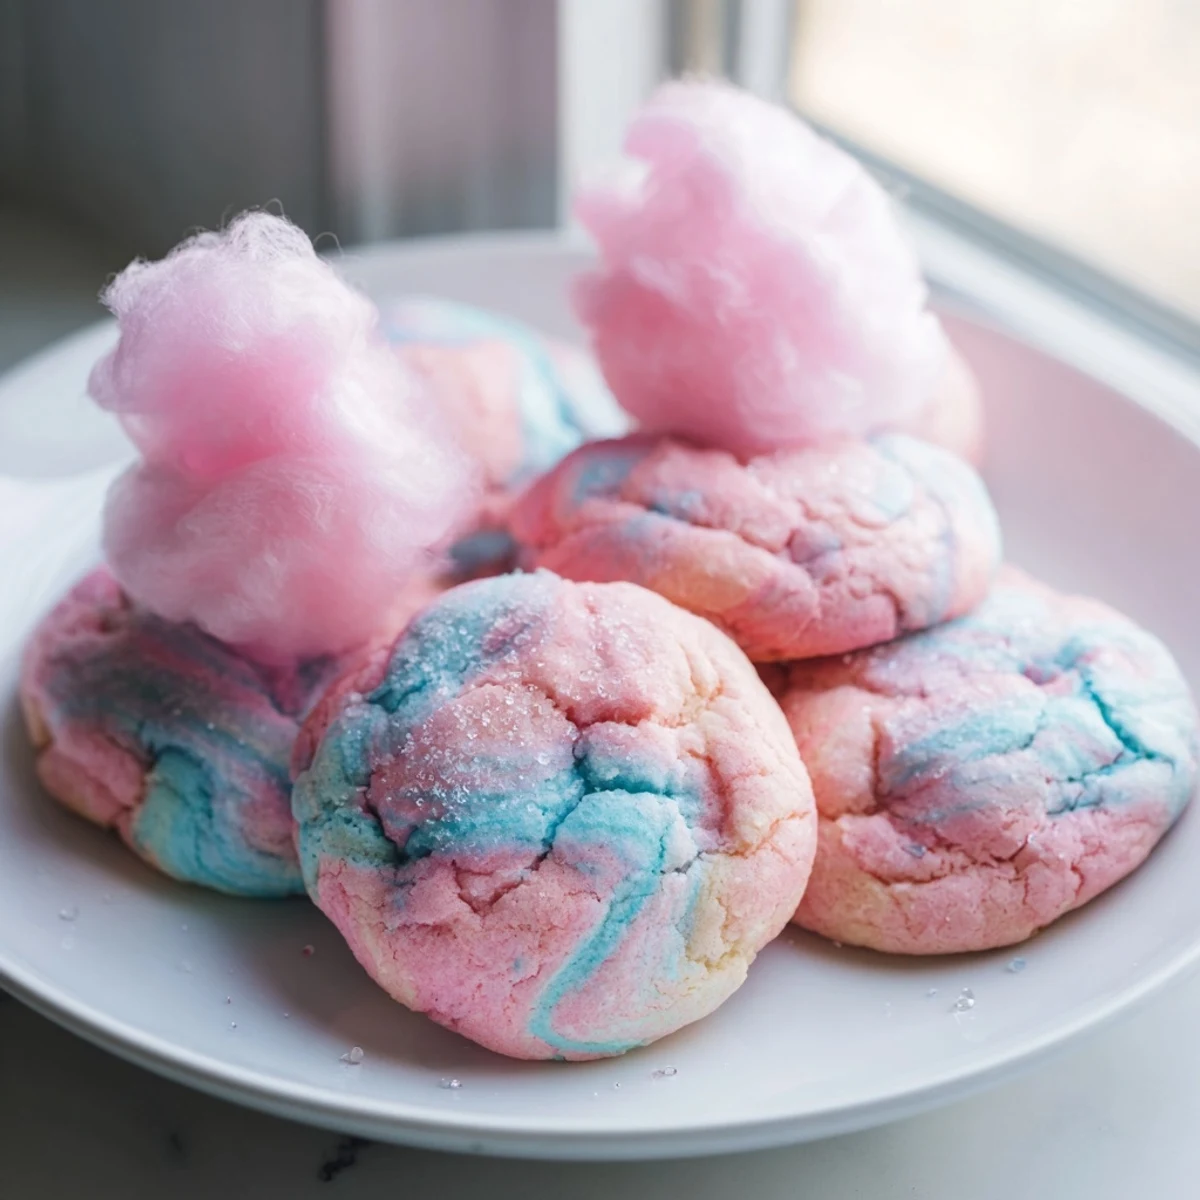
- Top each cooled cookie with a small tuft of cotton candy right before serving for a playful finishing touch.
 Save
Save Watching my niece bite into one of these, blue and pink smudges on her cheeks, giggling at the cotton candy melting on top, was worth every flour dusted countertop in my kitchen.
Storing Your Cotton Candy Cookies
Keep baked cookies in an airtight container at room temperature and they stay soft for up to five days. I learned the hard way that stacking them with cotton candy on top turns everything into a sticky science experiment overnight.
Making These Party Ready
For birthday parties I package them in clear cellophane bags tied with ribbon and they disappear faster than the actual cake. The pastel swirl makes them look elaborate even though the marble technique takes almost no effort at all.
What to Watch Out For
A few small adjustments make a big difference between good and great results with this recipe.
- Check that your cotton candy flavoring does not contain allergens by reading the label carefully.
- Underbake slightly rather than overbake because they firm up as they cool.
- Test one cookie first to check color intensity before tinting the entire batch.
 Save
Save These cookies are pure joy on a baking sheet, and sometimes a little whimsy is exactly what a Tuesday afternoon needs.
Recipe FAQs
- → Can I make cotton candy cookies without cotton candy flavoring?
-
Yes, you can omit the cotton candy flavoring and rely on vanilla extract alone for a classic sugar cookie taste. The visual appeal from the pink and blue swirl will still make them feel festive and fun.
- → How do I get the best marbled swirl effect?
-
Take a small scoop of pink dough and a small scoop of blue dough, then gently roll them together in your hands. Avoid over-mixing—the less you work the two colors together, the more defined and beautiful the marble pattern will be.
- → Why should I use gel food coloring instead of liquid?
-
Gel food coloring delivers vibrant, concentrated color without adding extra moisture to the dough. Liquid food coloring can thin the dough and result in paler shades and a softer, less structured cookie.
- → How should I store these cookies?
-
Store baked cookies in an airtight container at room temperature for up to 5 days. If adding cotton candy garnish, only do so right before serving since cotton candy dissolves quickly when exposed to air and moisture.
- → Can I freeze the cookie dough?
-
Absolutely. Shape the colored dough balls and freeze them on a baking sheet until solid, then transfer to a freezer bag for up to 3 months. Bake from frozen, adding 1 to 2 extra minutes to the baking time.
- → Why did my cookies spread too much in the oven?
-
Over-spreading usually means the butter was too warm when mixed or the dough wasn't chilled. Try refrigerating the shaped dough balls for 15 to 20 minutes before baking to help them hold their shape.
