 Save
Save These crispy salmon cakes transform humble canned salmon into something special. The patties feature tender flaked salmon mixed with aromatic vegetables, herbs, and a perfectly seasoned binder that keeps everything together.
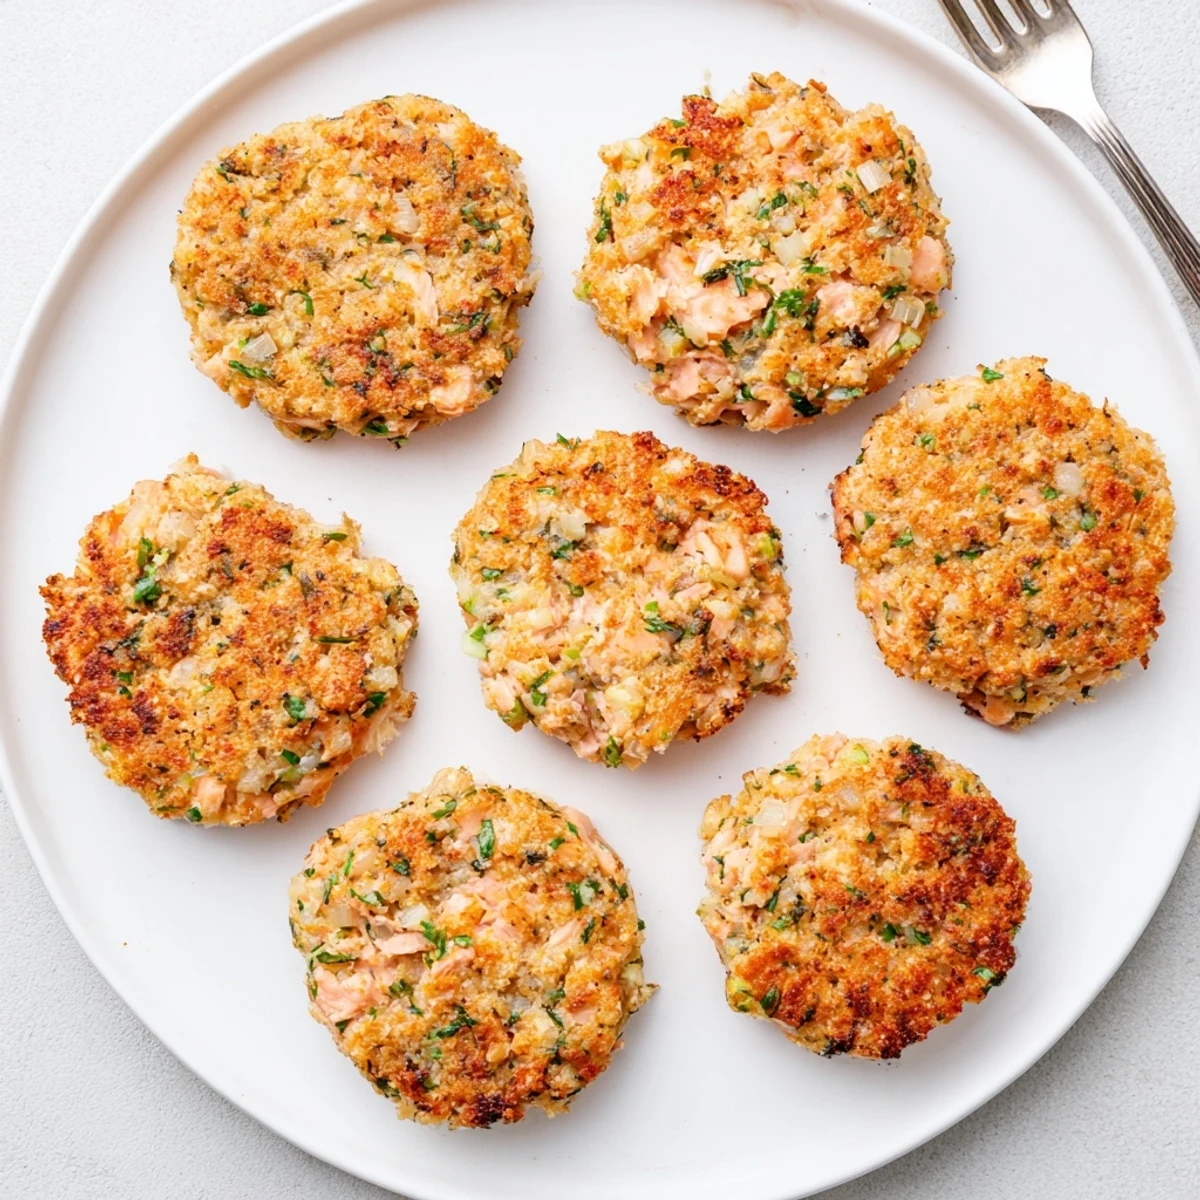
Each cake develops a beautiful golden crust when pan-fried, while staying moist and tender inside. The combination of fresh parsley, garlic, and subtle Dijon mustard adds bright notes that complement the rich salmon without overpowering it.
Ready from start to finish in just 25 minutes, these versatile cakes work equally well as a quick weeknight dinner served alongside greens, or as impressive appetizers for gatherings. They reheat beautifully and can even be baked for a lighter preparation method.
The first time I made salmon cakes from canned fish, I was honestly skeptical. My grandmother had sworn by them for decades, claiming they were better than fresh. One crispy bite later, and I finally understood what she'd been talking about all those years.
Last winter, when my friend Sarah came over for a casual weeknight dinner, she literally asked for seconds and thirds. She couldnt believe something so sophisticated came from a couple of cans. Now she makes them for her family every Tuesday.
Ingredients
- Canned Salmon: The secret ingredient that makes these accessible year round and actually more flavorful than fresh for this application
- Onion and Celery: These add essential crunch and aromatic depth that balance the rich salmon
- Fresh Parsley: Brings a bright herbal note that cuts through the richness
- Garlic: Just one clove provides background warmth without overpowering the delicate fish
- Breadcrumbs: The crucial binder that holds everything together while creating that perfect crust
- Eggs: Act as the glue that keeps the patties from falling apart during cooking
- Mayonnaise: Adds richness and moisture throughout the cake
- Dijon Mustard: Provides a subtle sharpness that enhances the salmon flavor
- Worcestershire Sauce: Deep umami notes that make these taste like they took hours
- Salt and Black Pepper: Essential seasoning to bring all flavors forward
- Vegetable Oil: Creates the crispy golden exterior we all love
Instructions
- Combine the salmon and vegetables:
- In a large bowl, mix together the flaked salmon, chopped onion, celery, parsley, and garlic until evenly distributed throughout.
- Whisk the wet ingredients:
- In a separate bowl, beat together the eggs, mayonnaise, Dijon mustard, Worcestershire sauce, salt, and pepper until smooth and well combined.
- Mix everything together:
- Pour the egg mixture over the salmon along with the breadcrumbs, stirring gently until just combined, being careful not to overwork the mixture.
- Form the patties:
- Shape the mixture into 8 small patties about 2 1/2 inches wide, pressing firmly so they hold together but handle them gently.
- Heat the pan:
- Warm the oil in a large skillet over medium heat until it shimmers slightly, watching for those telltale ripples that signal readiness.
- Cook to golden perfection:
- Place the salmon cakes in the hot skillet and cook for 3 to 4 minutes per side until deeply golden brown and heated through.
- Rest and serve:
- Transfer to a paper towel lined plate to drain briefly, then serve warm with your favorite dipping sauce.
 Save
Save These have become my go to when unexpected guests drop by or when I want something comforting but not heavy. Theres something about them that feels like home, no matter whose table theyre on.
Making Them Ahead
You can shape the patties up to 24 hours in advance and keep them refrigerated on a parchment lined baking sheet. This actually helps them firm up and cook more evenly. Just bring them to room temperature for about 10 minutes before frying.
Baking Instead of Frying
For a lighter approach, bake at 400°F for 12 to 15 minutes, flipping once halfway through. Brush the tops with a little olive oil before baking to help achieve that golden crust. The texture will be slightly different but still delicious.
Serving Suggestions
These salmon cakes work beautifully for breakfast, lunch, or dinner. Try them with a simple arugula salad and lemon vinaigrette for a complete meal. They also make excellent sandwich fillings the next day.
- A squeeze of fresh lemon right before serving brightens everything
- Tartar sauce or aioli takes these to the next level
- A dollop of Greek yogurt with fresh dill works beautifully too
 Save
Save Whether youre cooking for a weeknight dinner or serving them as appetizers at your next gathering, these salmon cakes never fail to impress. Simple, satisfying, and full of flavor.
Recipe FAQs
- → Can I use fresh salmon instead of canned?
-
Yes, you can substitute cooked fresh salmon. Simply poach or bake about 12 ounces fresh salmon, then flake it and use in place of canned. You may need to adjust the seasoning slightly since canned salmon already contains salt.
- → Why do my salmon cakes fall apart?
-
Patties may crumble if the mixture is too wet or not chilled before cooking. Ensure you've drained the canned salmon well. If your mixture feels loose, add another tablespoon of breadcrumbs and refrigerate for 15-20 minutes before shaping to help them hold together better.
- → What's the best oil for frying salmon cakes?
-
Vegetable oil, canola oil, or light olive oil work well because they have neutral flavors and higher smoke points. Extra virgin olive oil can burn at medium-high heat, so save it for finishing or baking.
- → Can I freeze uncooked salmon cakes?
-
Absolutely. Shape the patties and arrange them on a baking sheet lined with parchment paper. Freeze until solid, then transfer to a freezer bag. They'll keep for up to 3 months. Thaw overnight in the refrigerator before cooking.
- → What sauces pair well with salmon cakes?
-
Classic tartar sauce, lemon-herb aioli, or a simple squeeze of fresh lemon juice are traditional choices. For something different, try a spicy remoulade, garlic yogurt sauce, or even a dollop of sour cream with fresh dill.
- → How do I know when the salmon cakes are done?
-
The exterior should be deep golden brown and crispy. Since salmon is already cooked in the can, you're mainly heating through and creating the crust. They typically need 3-4 minutes per side over medium heat. The internal temperature should reach 145°F.
