 Save
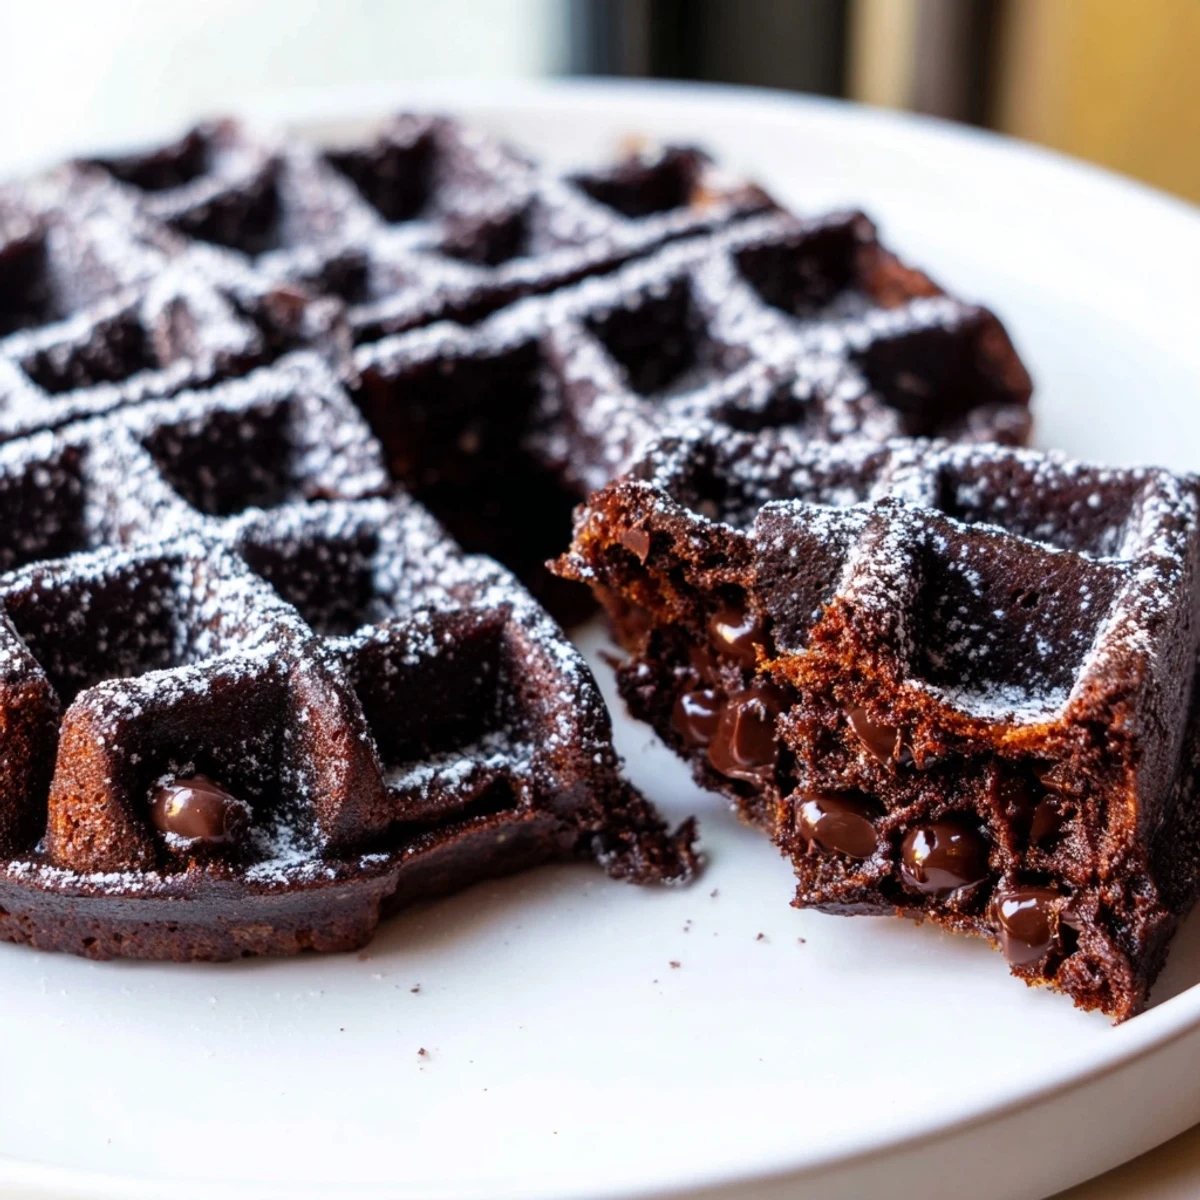
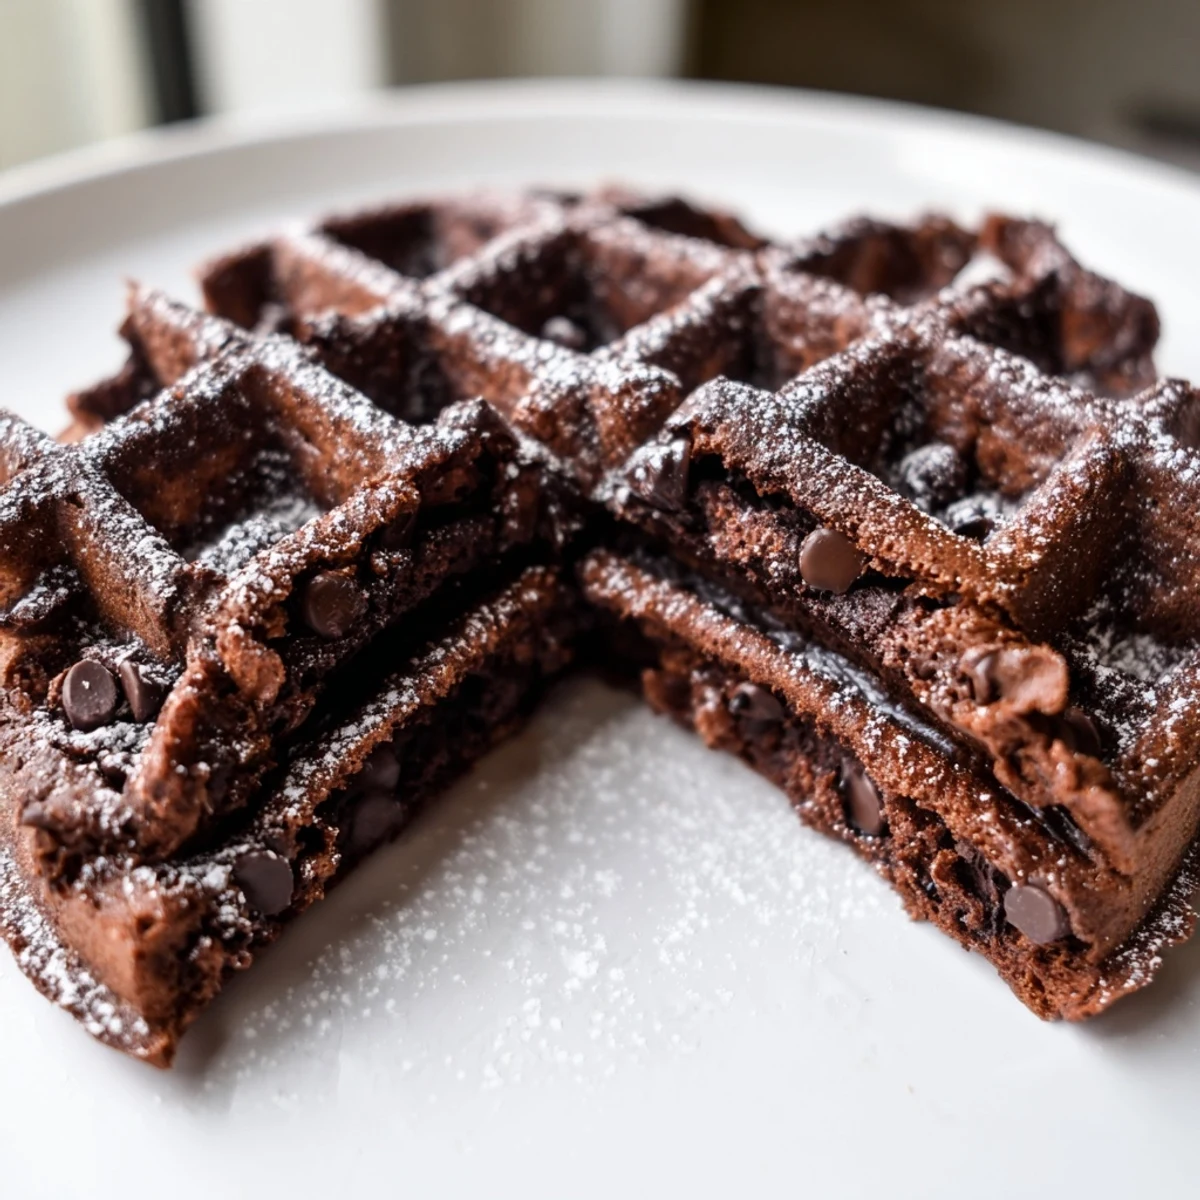
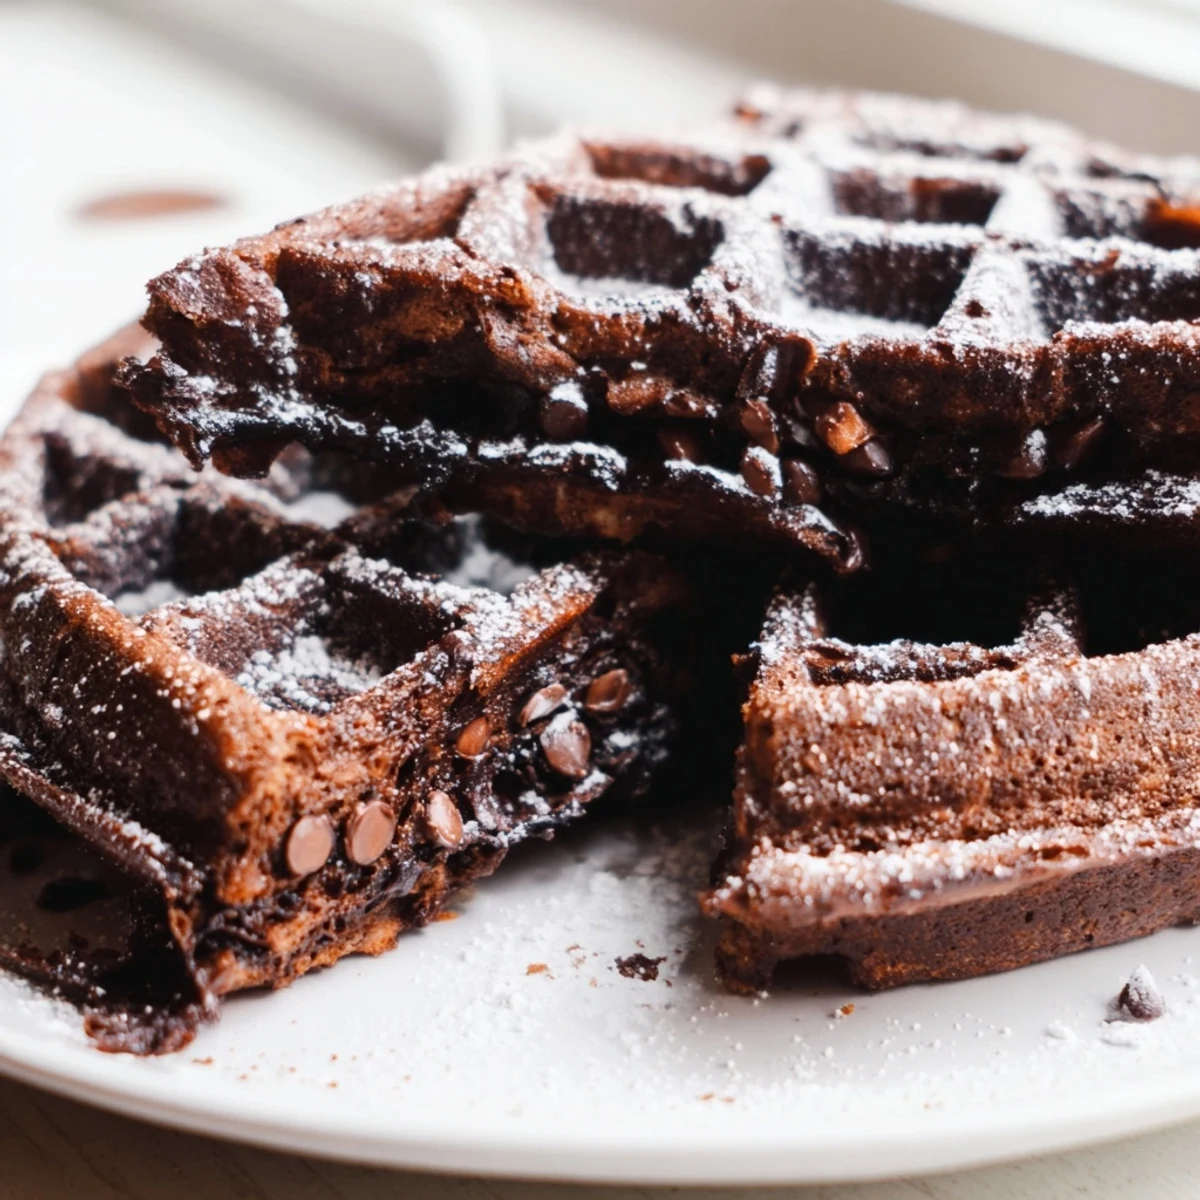
Save These fudgy brownie waffles bring together everything you love about brownies—deep chocolate flavor, chewy texture, and rich cocoa goodness—with the irresistible crisp edges that only a waffle iron can create.
The batter comes together in just 15 minutes using pantry staples like cocoa powder, melted butter, and semi-sweet chocolate chips. Each waffle cooks in about 4-5 minutes, yielding a dessert (or breakfast!) with a perfectly set exterior and a soft, fudgy center.
Serve them warm plain, or dress them up with a scoop of vanilla ice cream, fresh berries, or a dusting of powdered sugar for an indulgent treat.
The waffle iron sat untouched in my cabinet for two years until a rainy Tuesday changed everything. I had been craving brownies but refused to heat the oven for a single pan, so I dumped brownie batter onto the iron plates instead. What emerged four minutes later was nothing short of a revelation: crisp, ridged edges giving way to a center so fudgy it barely held together. My kitchen smelled like a chocolate shop, and I have never looked at my waffle iron the same way since.
I made a double batch for a weekend brunch with neighbors, setting out bowls of ice cream and berries so everyone could build their own stacks. The silence that fell over the table once people took their first bite told me everything I needed to know about whether this experiment worked.
Ingredients
- All-purpose flour (90 g): Just three quarters of a cup keeps the texture dense and fudgy rather than cakey.
- Unsweetened cocoa powder (45 g): Use a good quality one because this is where most of the chocolate depth comes from.
- Granulated sugar (200 g): A full cup sounds like a lot but brownies need it for that chewy texture and crackly edge.
- Baking powder: Half a teaspoon gives just enough lift without making them fluffy.
- Salt: A small pinch wakes up every bit of chocolate flavor.
- Large eggs: Two eggs bind everything and contribute to that signature chew.
- Unsalted butter, melted and slightly cooled (115 g): Melted butter is non negotiable for the fudgy crumb, but let it cool so the eggs do not scramble.
- Whole milk (60 ml): Just enough to loosen the batter so it spreads in the iron without turning soupy.
- Pure vanilla extract: One teaspoon rounds out the chocolate and makes everything taste more complex.
- Semi-sweet chocolate chips (90 g): Folded in at the end, they create pockets of melted chocolate throughout each waffle.
Instructions
- Fire up the iron:
- Preheat your waffle iron according to the manufacturer instructions and lightly grease the plates if yours tends to stick.
- Whisk the dry team:
- In a large bowl, whisk together the flour, cocoa powder, sugar, baking powder, and salt until evenly blended and no cocoa lumps remain.
- Blend the wet ingredients:
- In a separate bowl, whisk the eggs, melted butter, milk, and vanilla until completely smooth and glossy.
- Bring it all together:
- Pour the wet into the dry and stir gently with a spatula until just combined, then fold in the chocolate chips without overmixing.
- Fill and cook:
- Spoon roughly half a cup of batter per waffle onto the hot iron, close the lid, and cook for four to five minutes until the edges crisp and centers feel set but soft.
- Serve immediately:
- Carefully remove each waffle with a fork or spatula and serve warm, either plain or loaded with ice cream, whipped cream, or fresh berries.
 Save
Save The morning my daughter walked into the kitchen, saw me pulling a chocolate waffle off the iron, and asked if every weekend could be like this, I knew this recipe had earned a permanent spot in our rotation.
Waffle Iron Wisdom
Not all waffle irons behave the same way with thick batter. A Belgian style iron with deep pockets holds more batter and creates wonderfully dramatic ridges, while a thinner iron produces crisper, more delicate waffles that cook faster. I learned the hard way that batter thickness matters: if it seems too stiff to spread on its own, add a splash of milk rather than pressing down with the lid, which can tear the waffle apart.
Topping and Serving Ideas
A scoop of vanilla ice cream melting into the warm pockets of a brownie waffle is honestly hard to beat, but a dusting of powdered sugar and a handful of fresh raspberries works beautifully for brunch. For something more decadent, drizzle warm chocolate sauce or caramel over the top and add a cloud of whipped cream.
Making Them Your Own
This batter is incredibly forgiving and welcomes all kinds of additions and substitutions. Try swapping in different mix-ins or adjusting for dietary needs without losing the fudgy magic.
- Chopped walnuts or pecans add a crunchy contrast to the soft centers.
- White chocolate chips mixed in with the semi-sweet ones create a beautiful marble effect.
- For a gluten-free version, use your favorite one-to-one blend and check that your cocoa powder is certified gluten-free.
 Save
Save Keep it simple, keep it chocolatey, and share them while they are still warm because that first bite of crispy fudgy perfection is everything.
Recipe FAQs
- → Can I make the batter ahead of time?
-
Yes, you can prepare the brownie waffle batter up to 24 hours in advance. Store it covered in the refrigerator, then let it sit at room temperature for about 10 minutes before cooking, as cold batter may affect the waffle iron's cooking time.
- → What type of waffle iron works best?
-
A standard Belgian or regular waffle iron both work well. A Belgian waffle maker will produce thicker, deeper-pocketed waffles, while a standard iron yields crispier results with thinner batter distribution. Just be sure to grease the iron lightly before adding the thick batter.
- → Can I freeze leftover brownie waffles?
-
Absolutely. Let the cooked waffles cool completely, then place them in a single layer on a baking sheet to freeze before transferring to an airtight container or freezer bag. They keep well for up to 2 months. Reheat directly in a toaster or oven for best texture.
- → Why is my batter so thick?
-
This is completely normal—the batter should be thick and fudgy, much like traditional brownie batter. This density is what gives the waffles their chewy, rich centers. Simply spoon it onto the waffle iron rather than pouring, and spread gently if needed.
- → How do I know when the waffles are done cooking?
-
Cook for 4-5 minutes until steam stops escaping from the waffle iron and the edges feel crisp to the touch. The centers should still feel slightly soft for that signature fudgy texture. Avoid opening the iron too early, as the brownie batter needs time to set properly.
- → Can I make these dairy-free?
-
Yes, substitute the melted butter with an equal amount of coconut oil or a plant-based butter alternative. Use your preferred non-dairy milk instead of whole milk, and choose dairy-free chocolate chips. The fudgy texture will remain beautifully intact.
