 Save
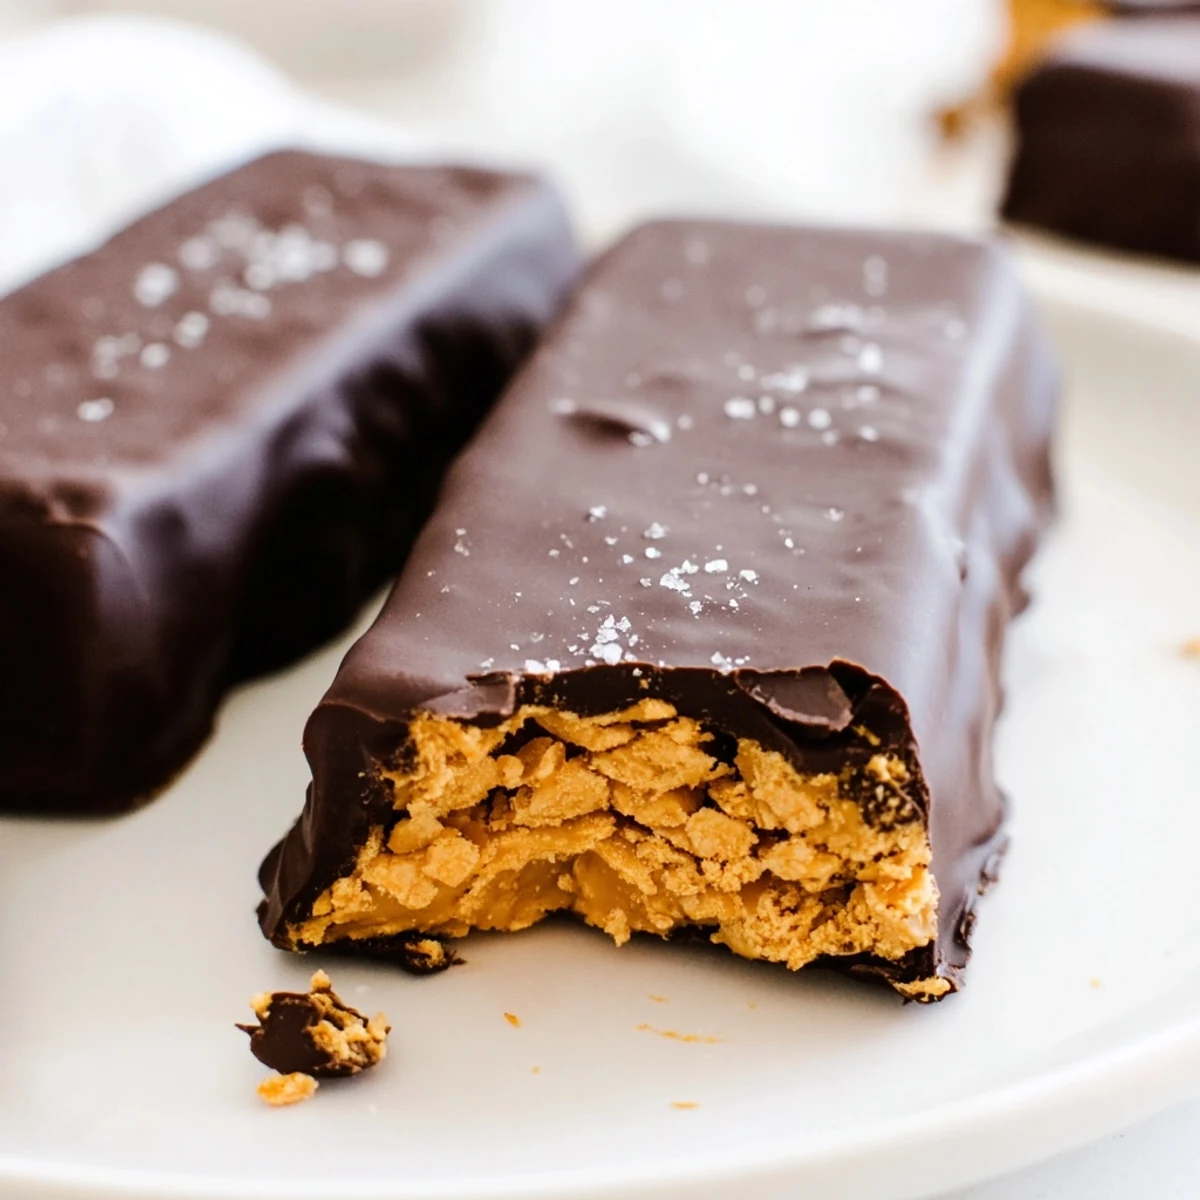
Save These homemade Butterfinger bars capture everything you love about the classic candy — that signature crunchy peanut butter center and smooth chocolate coating — but with simpler, wholesome ingredients. Crushed cornflakes give the filling its unmistakable crisp texture, while a quick peanut butter and maple syrup mixture holds it all together.
The process is straightforward: mix, press, freeze, cut, dip, and chill. No candy thermometer or special equipment required. Dark chocolate and coconut oil create a glossy shell that sets beautifully in the fridge. Each bar delivers that satisfying snap when you bite in, followed by layers of rich chocolate and crunchy, salty-sweet peanut butter.
The candy aisle at the grocery store used to call my name every single checkout trip, those orange Butterfinger wrappers practically glowing under the fluorescent lights. My weakness was always that flaky, peanut butter crunch surrounded by chocolate, but the ingredient lists on commercial candy bars started making me uneasy. One rainy Saturday afternoon, I stood in my kitchen with a bag of cornflakes and a jar of peanut butter, daring myself to recreate that iconic crunch at home. What happened next changed my snacking habits forever.
My neighbor Lisa stopped by unexpectedly the evening I made my first batch, and I watched her eyes go wide after one bite. She stood in my kitchen doorway holding the bar with both hands, refusing to leave until I gave her the recipe on a sticky note.
Ingredients
- Natural creamy peanut butter: Use the kind with just peanuts and salt on the label, avoiding added oils that make the mixture greasy and prevent proper setting.
- Pure maple syrup or honey: Maple syrup keeps it vegan and adds a subtle caramel depth that pairs beautifully with the peanut butter.
- Vanilla extract: Just a teaspoon rounds out the flavors and makes everything taste more intentional.
- Cornflakes, lightly crushed: Do not crush them into dust, you want irregular flakes that create those signature air pockets and shatter when you bite.
- Sea salt: A small pinch elevates the sweetness and keeps the candy from tasting flat.
- Dark chocolate chips: Go for 60 percent cacao or higher for a coating that balances the sweet filling with a slight bitterness.
- Coconut oil: This thins the melted chocolate into a dipable consistency and gives the coating a satisfying snap when chilled.
Instructions
- Prep your pan:
- Line an 8 by 8 inch baking dish with parchment paper, leaving overhang on two sides so you can lift the whole slab out later without any struggle.
- Melt the base:
- Combine peanut butter and maple syrup in a saucepan over medium low heat, stirring gently until the mixture is smooth and just warmed through, about two to three minutes. Take it off the heat before it starts bubbling, then stir in the vanilla and a pinch of salt.
- Fold in the crunch:
- Pour the crushed cornflakes into the warm peanut butter mixture and fold with a spatula until every flake is coated, working gently so you do not crush them further.
- Press and freeze:
- Transfer the mixture into your lined pan and press it flat and even with your spatula, getting into the corners. Slide the pan into the freezer for twenty to thirty minutes until the slab feels completely firm to the touch.
- Cut into bars:
- Lift the slab out using the parchment overhang and set it on a cutting board, then slice it into sixteen bars with a sharp knife using one confident downward motion per cut.
- Melt the chocolate:
- Combine the chocolate chips and coconut oil in a microwave safe bowl and heat in thirty second bursts, stirring between each, until the mixture is glossy and smooth with no lumps remaining.
- Dip and coat:
- Lower each bar into the melted chocolate, turning it with a fork to cover all sides, then lift it out and tap the fork gently against the bowl edge to let excess chocolate drip off before placing it on a parchment lined tray.
- Chill until set:
- Refrigerate the coated bars for fifteen to twenty minutes until the chocolate shell is firm and snaps slightly when you tap it with your fingernail.
 Save
Save The moment I packed these homemade bars into a tin and handed them to my mom for her birthday, she looked at me like I had performed a magic trick. She told me they tasted better than the real thing, and honestly I agreed with her.
Storing Your Homemade Candy Bars
These bars keep beautifully in an airtight container in the refrigerator for up to two weeks, though mine have never lasted more than three days. You can also freeze them layered between sheets of parchment for up to three months, which means you can always have a stash ready when a craving hits.
Choosing the Right Chocolate
I learned the hard way that cheap chocolate chips behave poorly when melted, seizing up or turning grainy no matter how carefully you heat them. Spending a little more on good quality dark chocolate chips, or chopping up a baking bar, makes the coating silky and the whole candy feel luxurious.
Customizing Your Butterfingers
Part of the fun of making these at home is riffing on the original formula until it becomes entirely yours. There are a handful of small tweaks that can shift the flavor dramatically without complicating the process.
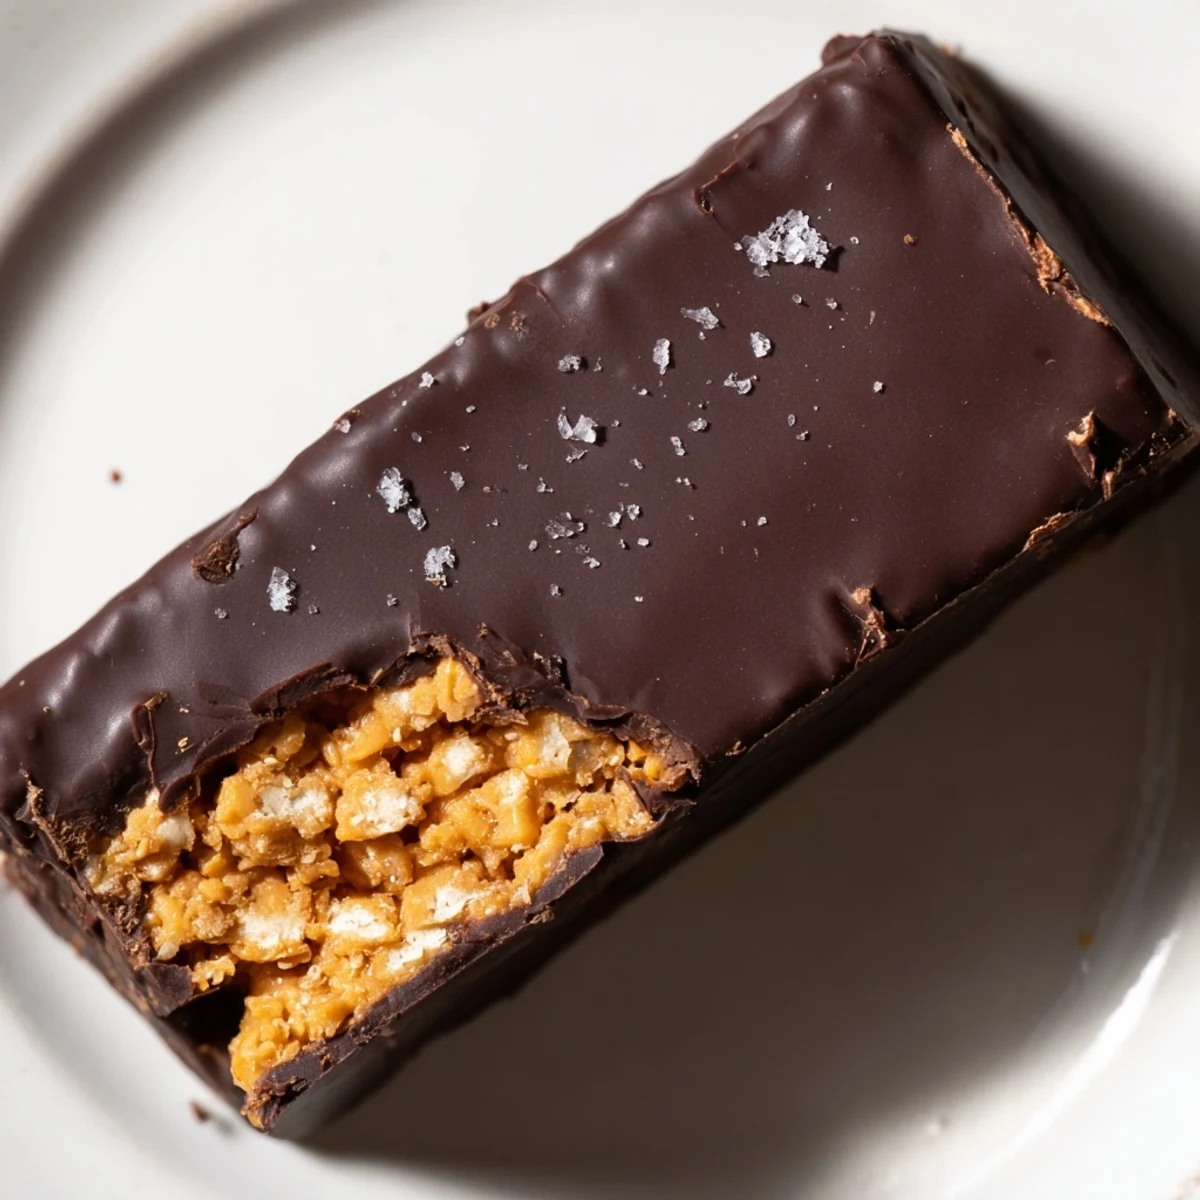
- Sprinkle flaky sea salt over the chocolate coating before it sets for an addictive sweet and salty contrast.
- Swap dark chocolate for milk chocolate if you prefer a sweeter, creamier coating.
- Add a tablespoon of smooth peanut butter to the melted chocolate for a richer, more decadent shell.
 Save
Save Every time I hear that satisfying snap when biting into one of these bars, I feel a little thrill knowing I made something this good in my own kitchen. Share them generously, hide a few for yourself, and enjoy every single crunchy bite.
Recipe FAQs
- → Can I make these Butterfinger bars vegan?
-
Yes, use maple syrup instead of honey and choose dairy-free dark chocolate chips. The rest of the ingredients are naturally plant-based, making this swap simple and effective.
- → Why are my cornflakes getting soggy in the mixture?
-
Only lightly crush the cornflakes and fold them in quickly after removing the peanut butter mixture from heat. Working fast prevents the cereal from absorbing too much moisture and keeps that essential crunch intact.
- → How should I store these chocolate peanut butter bars?
-
Store them in an airtight container in the refrigerator for up to two weeks. For longer storage, freeze them for up to three months. Let frozen bars sit at room temperature for a few minutes before enjoying.
- → Can I use milk chocolate instead of dark chocolate?
-
Absolutely. Milk chocolate will give you a sweeter, creamier coating closer to the original Butterfinger taste. Just keep in mind the bars will be significantly sweeter overall, so you might want to reduce the maple syrup slightly.
- → What can I substitute for cornflakes if I need gluten-free?
-
Use certified gluten-free cornflakes — several brands offer them. Rice Krispies or crushed gluten-free pretzels can also work, though the texture will differ slightly from the classic Butterfinger crunch.
- → Why add coconut oil to the melted chocolate?
-
Coconut oil thins the chocolate slightly for easier dipping and helps it set with a smooth, glossy finish. It also prevents the chocolate from becoming too brittle when refrigerated.
