 Save
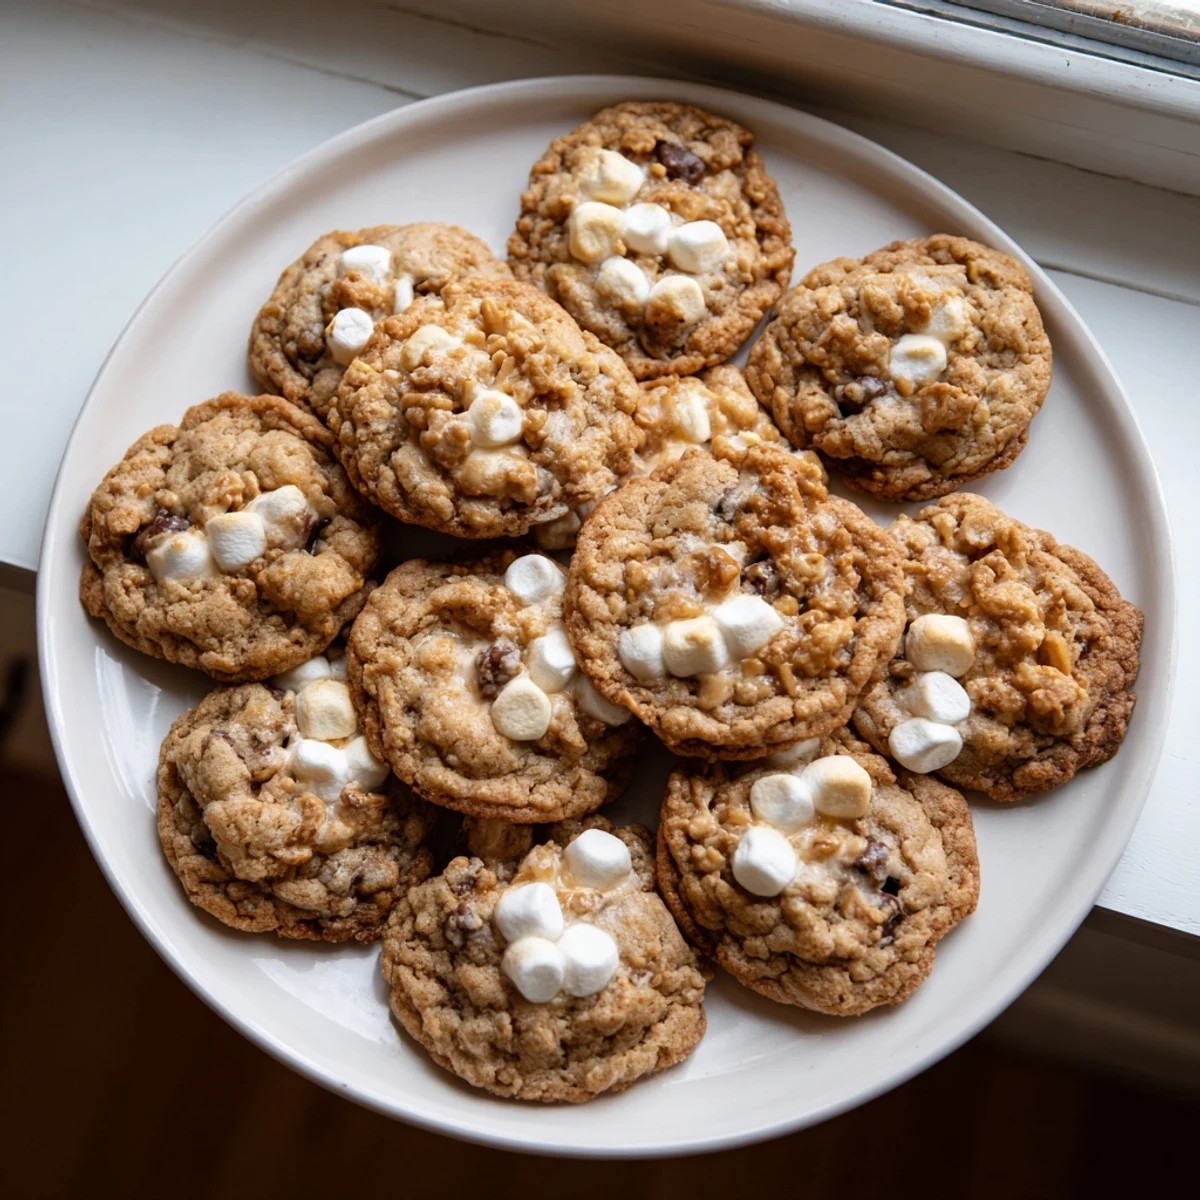
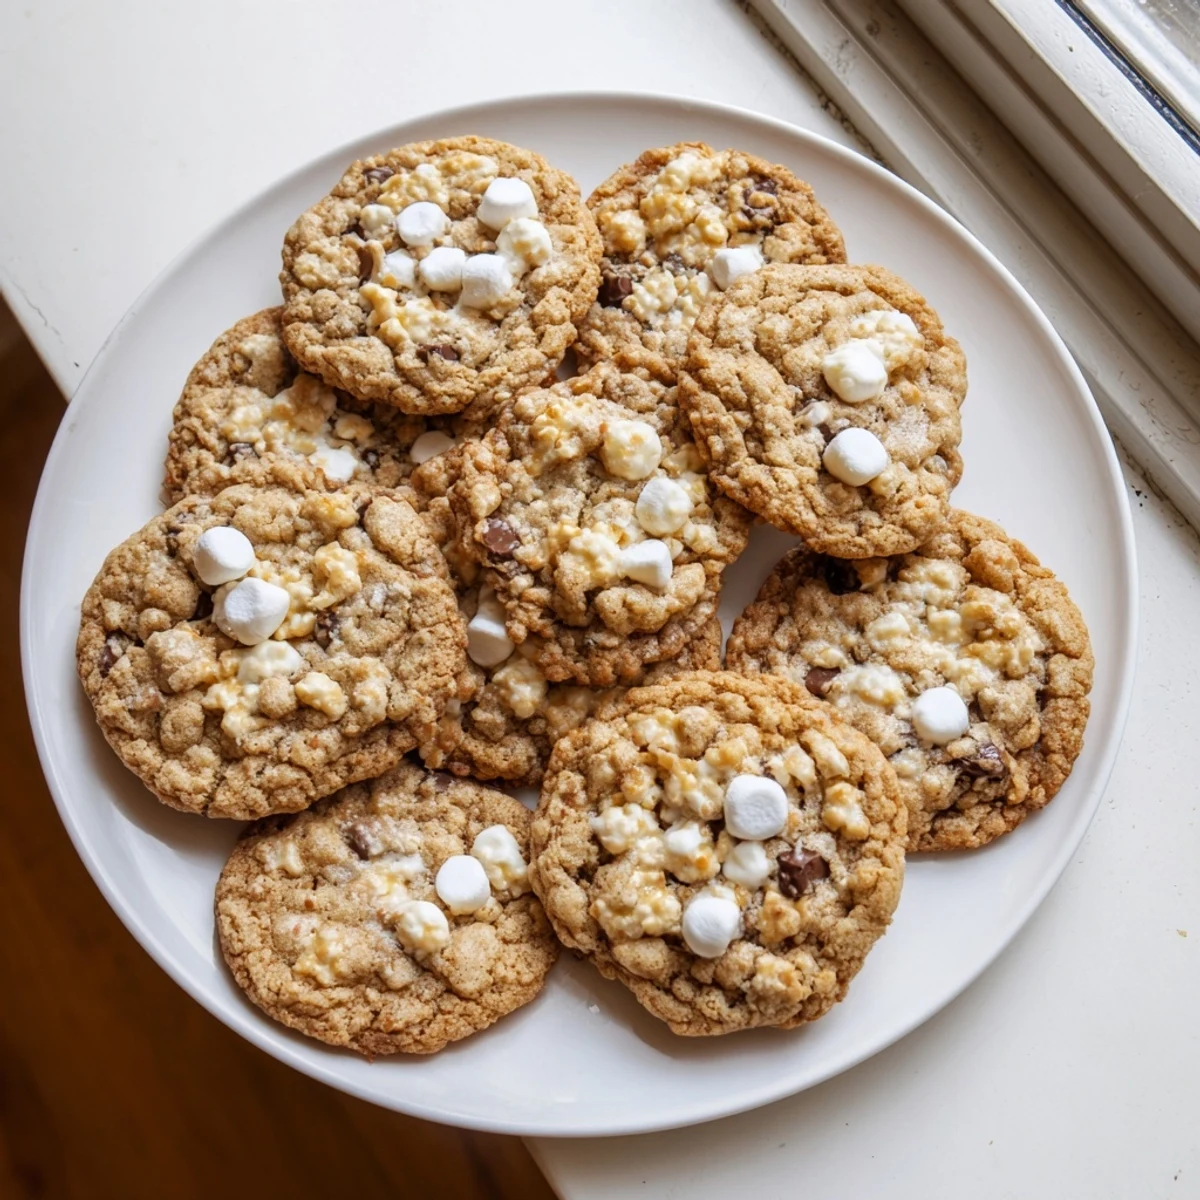
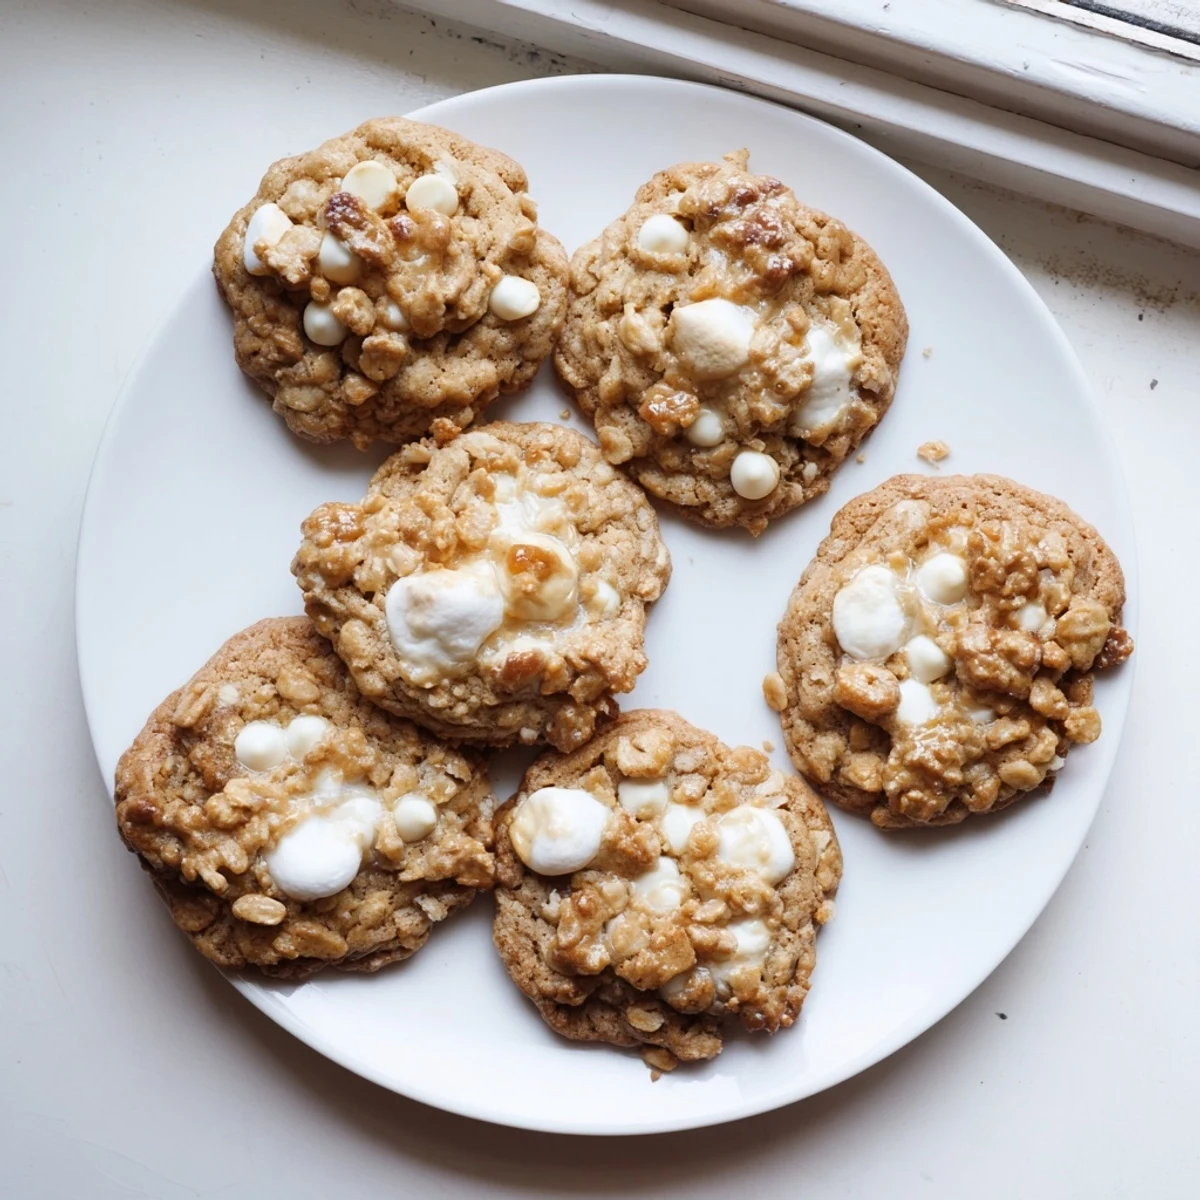
Save These beloved treats combine the classic appeal of crispy rice cereal squares with the irresistible comfort of freshly baked cookies. The dough features a perfect balance of buttery sweetness and vanilla, while generous amounts of mini marshmallows create those signature gooey pockets throughout each cookie.
The crispy rice cereal adds delightful crunch that contrasts beautifully with the soft, chewy cookie base. With just 15 minutes of prep and a quick 12-minute bake, you'll have 18 bakery-style treats ready to enjoy. They're perfect for sharing, lunchboxes, or satisfying that sweet craving with something nostalgic yet new.
There's something magical about the way marshmallows transform in the oven, turning into gooey pockets of sweetness that make these cookies impossible to resist. I started making them after my daughter kept begging me to recreate those fancy bakery treats she'd see at birthday parties. Now they've become our go-to comfort food for rainy weekends.
Last summer, I brought a batch to our neighborhood block party and watched them disappear within fifteen minutes. My neighbor's eight year old actually asked if I could bake them for his birthday instead of ordering from a bakery. That's when I knew this recipe was worth its weight in gold.
Ingredients
- All-purpose flour: The foundation that gives these cookies structure while staying tender
- Baking soda: Helps create those beautiful puffy centers and golden edges
- Sea salt: Balances out all that sweetness and makes flavors pop
- Unsalted butter: Use it softened to room temperature for perfect creaming
- Granulated and brown sugar: The combination creates chewy centers and crispy edges
- Eggs: Bind everything together while adding richness
- Pure vanilla extract: Don't skimp here, it's the backbone of the cookie flavor
- Mini marshmallows: Regular ones work too but minis distribute more evenly throughout
- Crispy rice cereal: Adds that delightful crunch in every bite
- White chocolate chips: Totally optional but adds a creamy contrast to the texture
Instructions
- Get your oven ready:
- Preheat to 350F and line those baking sheets with parchment, this saves so much cleanup later
- Whisk the dry team:
- Combine your flour, baking soda, and salt in a medium bowl so it's ready to go
- Cream the butter and sugars:
- Beat them until they're light and fluffy, this takes about three minutes and makes all the difference
- Add the eggs:
- Drop them in one at a time, letting each one fully incorporate before adding the next
- Mix in the vanilla:
- Pour it in and give everything a quick stir to distribute that fragrant goodness
- Combine wet and dry:
- Gradually add your flour mixture, mixing just until you don't see dry streaks anymore
- Fold in the fun stuff:
- Gently incorporate those marshmallows and cereal, being careful not to overmix
- Scoop and space:
- Drop dough onto your prepared sheets, giving each cookie about two inches of room
- Bake to perfection:
- Pop them in for ten to twelve minutes, watching for golden edges and slightly set centers
- The patience test:
- Let them cool on the trays for five minutes before moving them, they're fragile when hot
 Save
Save My mom swears that the secret to perfect texture is popping the dough in the fridge for thirty minutes before baking. She's been making these for thirty years and her cookies always turn out perfectly thick and chewy, while mine tend to spread a bit more. Either way, they disappear just as fast.
Getting The Texture Right
The key is watching those edges like a hawk. The moment they turn golden brown, pull them out even if the centers look slightly underdone. They'll continue cooking on the hot baking sheet and set up perfectly. I've learned this lesson the hard way after one too many batches of crunchy cookies.
Make Ahead Magic
Scoop the dough onto a parchment lined baking sheet and freeze the balls until solid. Then transfer them to a freezer bag and you can have fresh baked cookies in twelve minutes whenever the craving strikes. My freezer is always stocked with these for unexpected guests or midnight snacks.
Storage Secrets
These cookies stay softest when stored with a slice of bread in the container. The bread absorbs excess moisture and keeps your treats bakery fresh for days. Just don't forget to swap the bread slice every couple of days.
- Room temperature storage keeps them softer than the fridge
- A microwave for ten seconds brings day old cookies back to life
- Freeze baked cookies between layers of wax paper for up to three months
 Save
Save Every time I bake these, the kitchen fills with that nostalgic smell that reminds me why I fell in love with baking in the first place. Hope they bring as much joy to your kitchen as they have to mine.
Recipe FAQs
- → How do I prevent marshmallows from melting completely?
-
Toss mini marshmallows in a light coating of flour before folding them into the dough. This helps them hold their shape better during baking while still becoming deliciously gooey inside each cookie.
- → Can I make the dough ahead of time?
-
Absolutely! Scoop the dough onto a baking sheet and freeze for 30 minutes until firm, then transfer to an airtight container. Frozen dough balls can be baked directly, adding 1-2 minutes to the baking time.
- → What's the best way to measure flour?
-
Use the spoon-and-level method: gently spoon flour into your measuring cup without packing it down, then level off the excess with a straight edge. This prevents dense cookies from too much flour.
- → How do I know when they're done baking?
-
Look for golden brown edges while the centers still appear slightly soft and underbaked. They'll continue cooking on the hot baking sheet during the 5-minute cooling time, resulting in perfectly chewy centers.
- → Can I substitute the crispy rice cereal?
-
You can try crushed cornflakes, rice Krispies, or even crushed pretzels for a salty-sweet variation. Keep the texture similar by using something that adds crunch without overwhelming the delicate cookie base.
- → Why do my cookies go flat?
-
This usually happens from over-softened butter or dough that's too warm. Chill the dough for 15-20 minutes before scooping if your kitchen is warm, and ensure your butter is softened but not melting.
