 Save
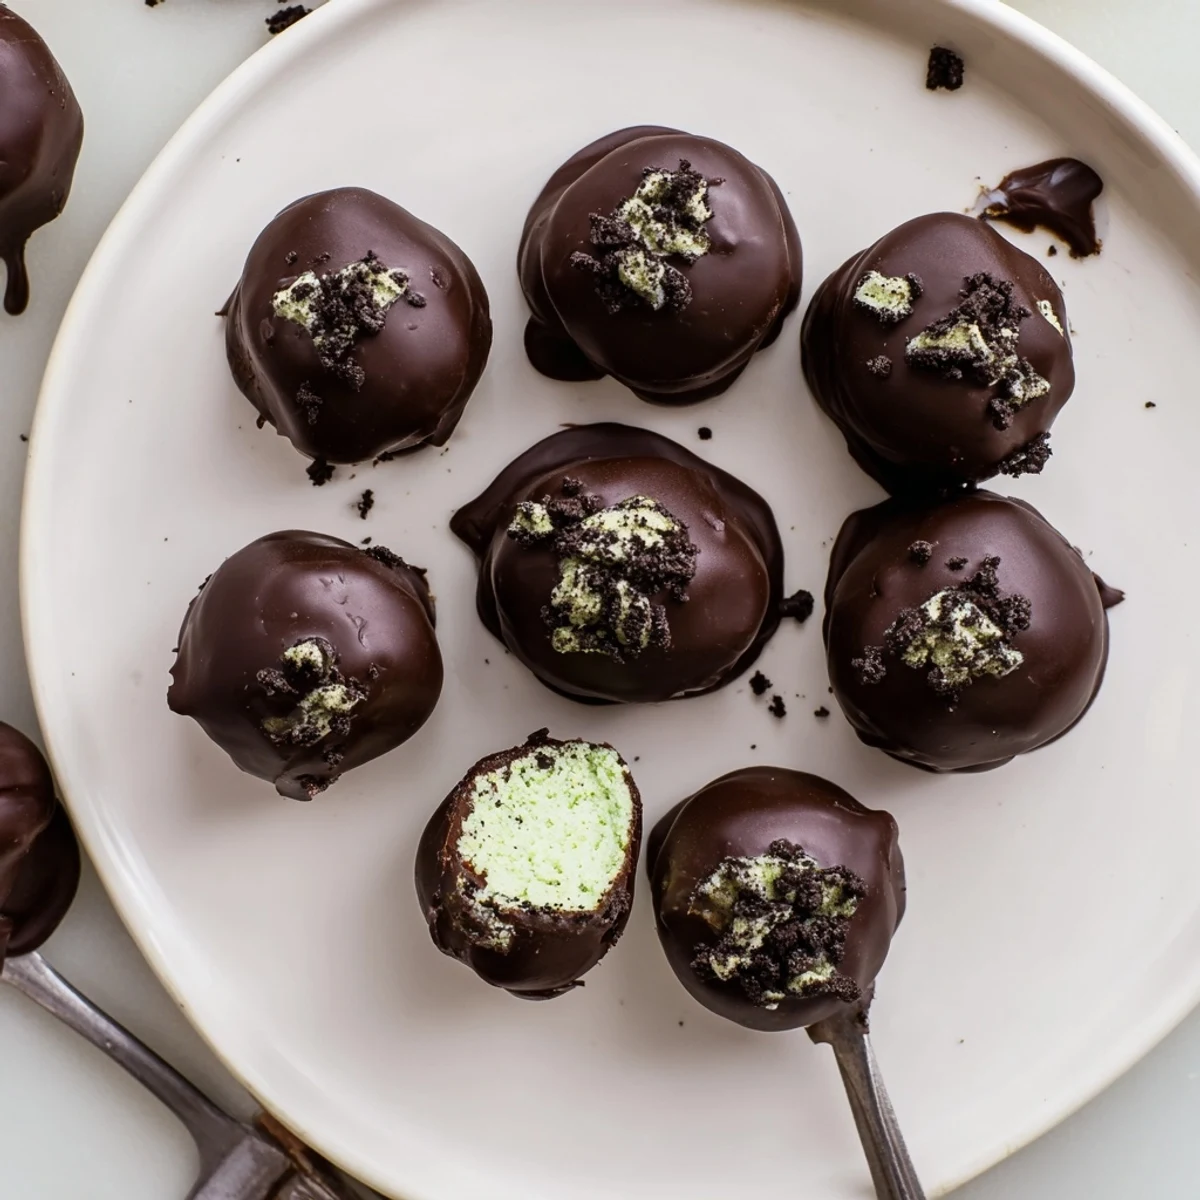
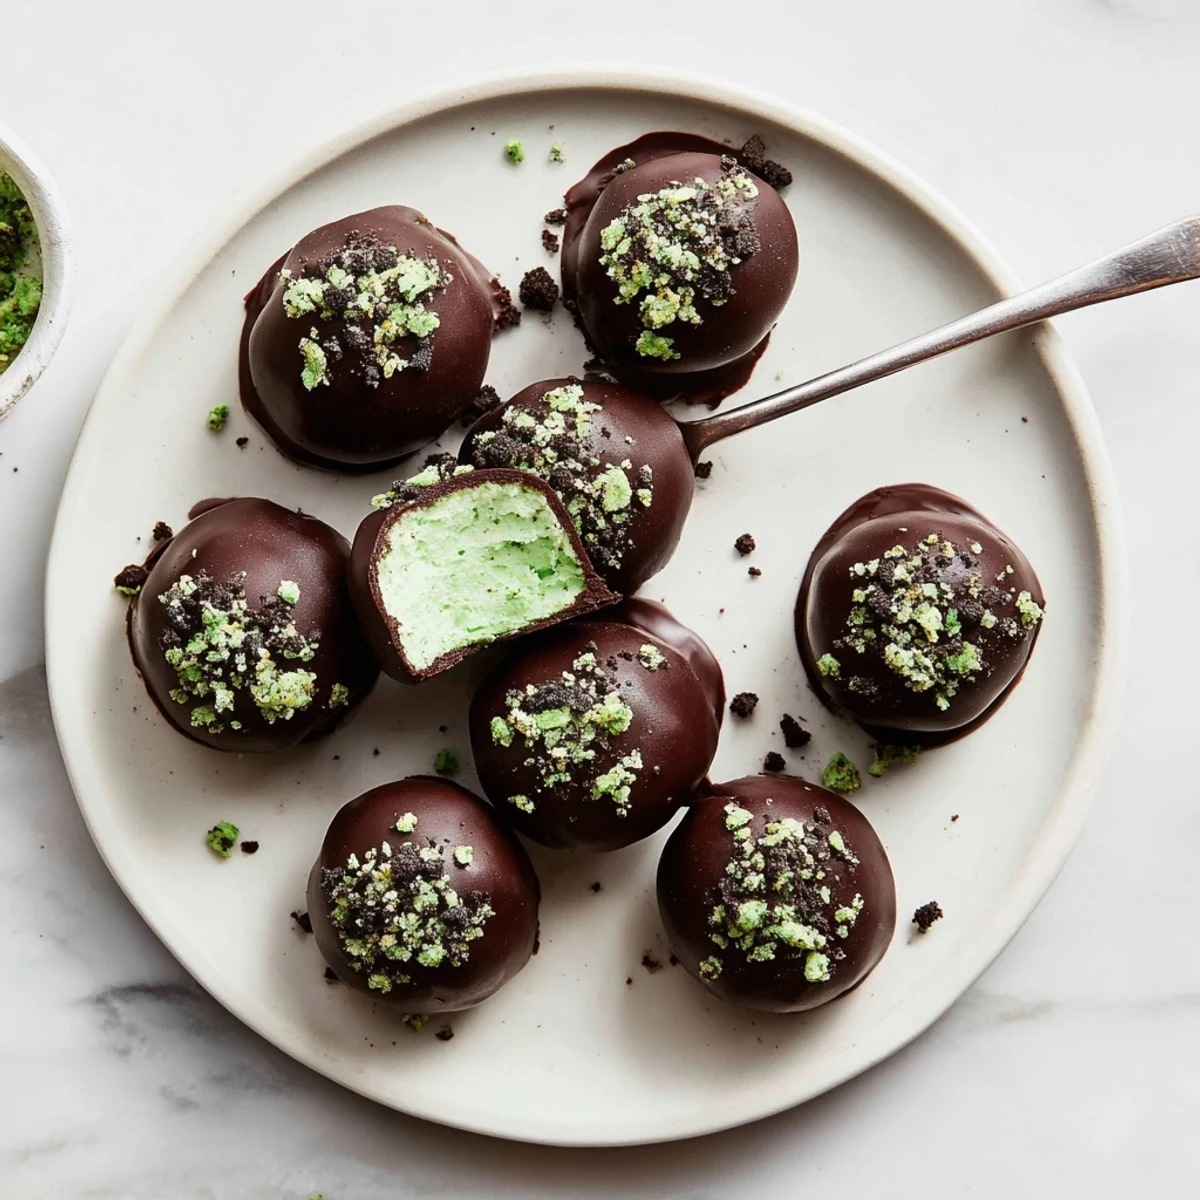
Save These indulgent mint Oreo truffles combine crushed mint cookies with creamy cream cheese for a velvety filling, then enrobe each bite in luxurious dark chocolate. The preparation involves pulsing cookies into fine crumbs, mixing with softened cheese until smooth, rolling into uniform balls, and chilling before dipping. The result delivers a refreshing mint contrast against rich chocolate coating.
The winter I discovered mint Oreo truffles was also the winter my tiny apartment freezer became permanently occupied by baking sheets full of chocolate-dipped anything. My roommate kept wandering into the kitchen at midnight, opening the freezer, and asking what was creating that cool, minty aroma that had somehow taken over our entire refrigerator.
I first brought these to a friends holiday party and watched them disappear in under fifteen minutes. Someone actually asked if I'd secretly bought them from a bakery, which I took as the highest compliment possible considering I'd spent the afternoon in sweatpants rolling chocolate balls while listening to terrible pop music.
Ingredients
- Mint Oreos: The entire flavor foundation here so don't swap unless necessary, though I've learned the hard way that chocolate Oreos work in a pinch with added peppermint extract
- Cream cheese: Room temperature is nonnegotiable for that smooth dough texture, and yes I once tried cold and ended up with chunky truffles that taught me this lesson
- Dark chocolate: Semi sweet works but something about 60% dark chocolate creates this sophisticated contrast with the sweet mint filling that makes people think you spent hours on these
Instructions
- Get everything ready first:
- Line a baking sheet with parchment paper and clear some serious freezer space because those truffles need to firm up properly before their chocolate bath.
- Make the minty crumbs:
- Pulse those Oreos in your food processor until they resemble sandy soil, and don't forget to save two tablespoons for that pretty garnish later.
- Form the dough:
- Add the softened cream cheese and pulse until everything comes together into a thick, playdough like mixture that holds its shape when squeezed.
- Roll into balls:
- Scoop and roll into one inch balls, placing them on your prepared baking sheet as you go. They don't need to be perfect spheres but try to keep them roughly the same size.
- Freeze time:
- Pop the entire tray in the freezer for thirty minutes. This step is crucial because warm truffle centers will make your coating chocolate seize up into a sad, lumpy mess.
- Melt the chocolate:
- Heat your chocolate in thirty second intervals, stirring between each round. Stop when it's glossy and smooth, and whatever you do, don't let any water near it or you'll ruin everything.
- Dip like a pro:
- Use two forks to lower each truffle into the chocolate, letting the excess drip off before returning it to the baking sheet. Work quickly because the cold centers will start warming up.
- Add the finishing touches:
- Sprinkle with those reserved crumbs or drizzle with melted white chocolate while the coating is still wet so everything actually sticks.
- Final chill:
- Refrigerate for at least thirty minutes until the chocolate is completely set. These need to stay chilled until serving time.
 Save
Save My niece now requests these for every family gathering and has started calling herself the official truffle quality control tester. I'm pretty sure she just figured out that being the first one in the kitchen when I'm making chocolate dipped anything means she gets to eat all the imperfect ones.
Making These Ahead
These truffles actually improve after a day in the refrigerator, which is fantastic news for anyone who likes to prep desserts in advance. The flavors meld together and the texture becomes somehow creamier.
Coating Troubleshooting
If your chocolate starts getting too thick while dipping, you can add a teaspoon of coconut oil to thin it back out. Just stir it in gently and you'll be back in business.
Serving Suggestions
These look stunning arranged on a platter with fresh mint sprigs, but I've also served them simply stacked in a pretty bowl with a tiny spoon. People will grab them either way.
- Set these out about fifteen minutes before serving so they're not rock hard
- Pair with coffee or a glass of cold milk because that chocolate coating deserves it
- Keep them chilled until the last possible moment for the best texture
 Save
Save These mint Oreo truffles have become my go to dessert for almost every occasion because they look fancy but come together so quickly. Watching someone bite into one and immediately ask for the recipe never gets old.
Recipe FAQs
- → Can I use regular Oreos instead of mint ones?
-
Yes, substitute regular Oreos and add half teaspoon peppermint extract to achieve the mint flavor.
- → How long do these truffles last?
-
Store in an airtight container in the refrigerator for up to one week, or freeze for extended storage.
- → Why must the truffles freeze before dipping?
-
Freezing firms the mixture, preventing balls from losing shape when submerged in warm chocolate coating.
- → Can I use milk or white chocolate instead?
-
Absolutely, though dark chocolate provides the best flavor balance against the sweet mint filling.
- → How do I prevent chocolate from seizing while melting?
-
Melt in 30-second intervals, stirring thoroughly between each session. Avoid introducing any water or moisture.
- → What's the best way to dip truffles?
-
Use two forks to lower each truffle into chocolate, lift gently while tapping forks against bowl edge to remove excess coating.
