 Save
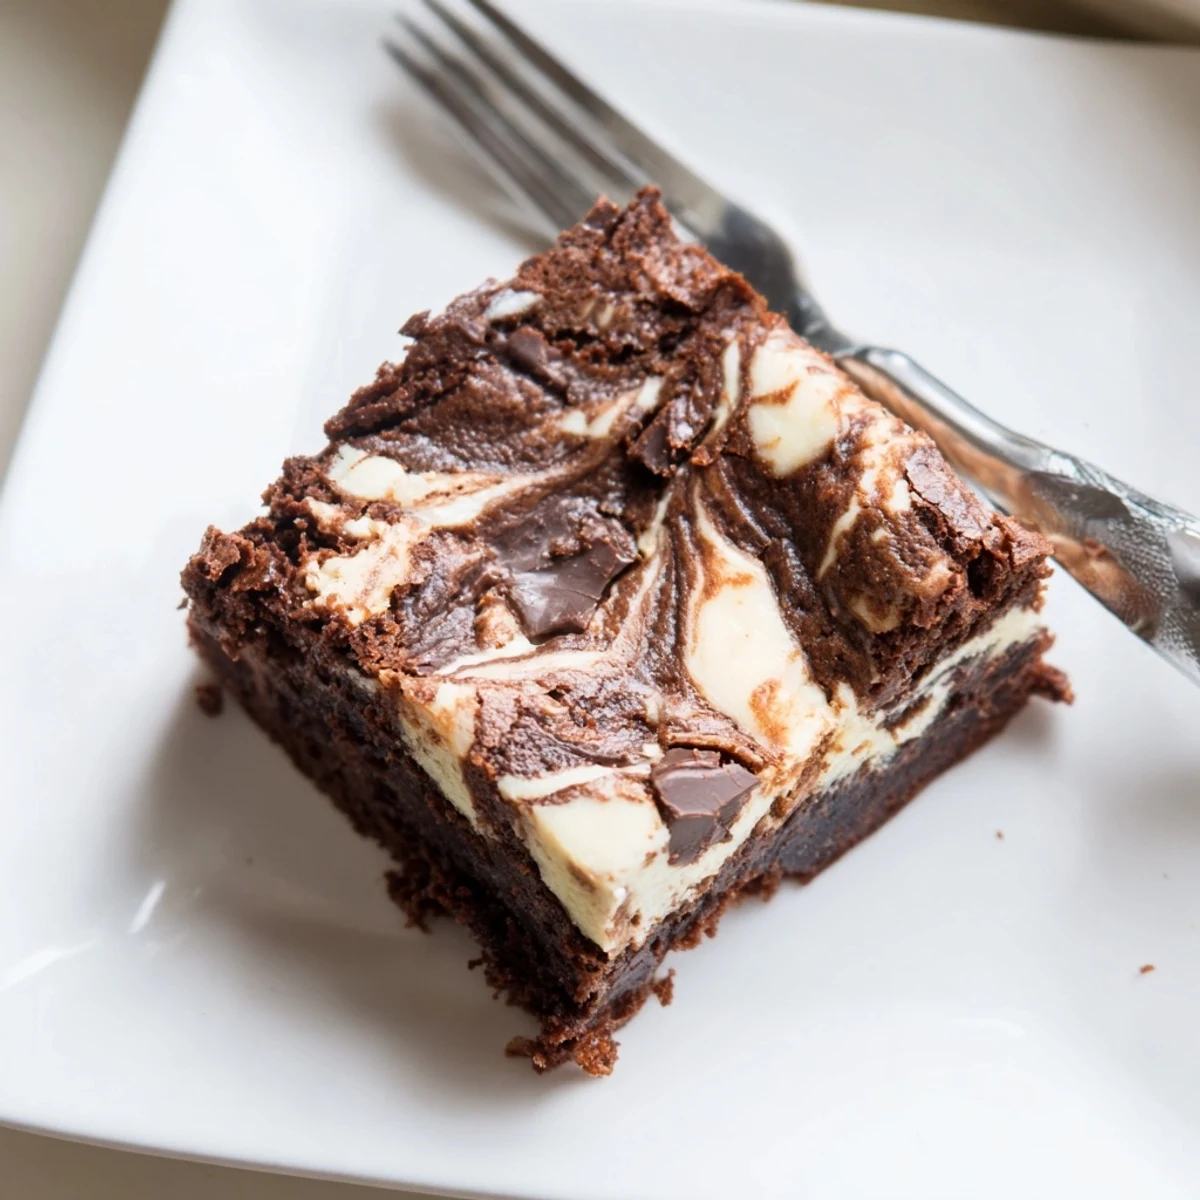
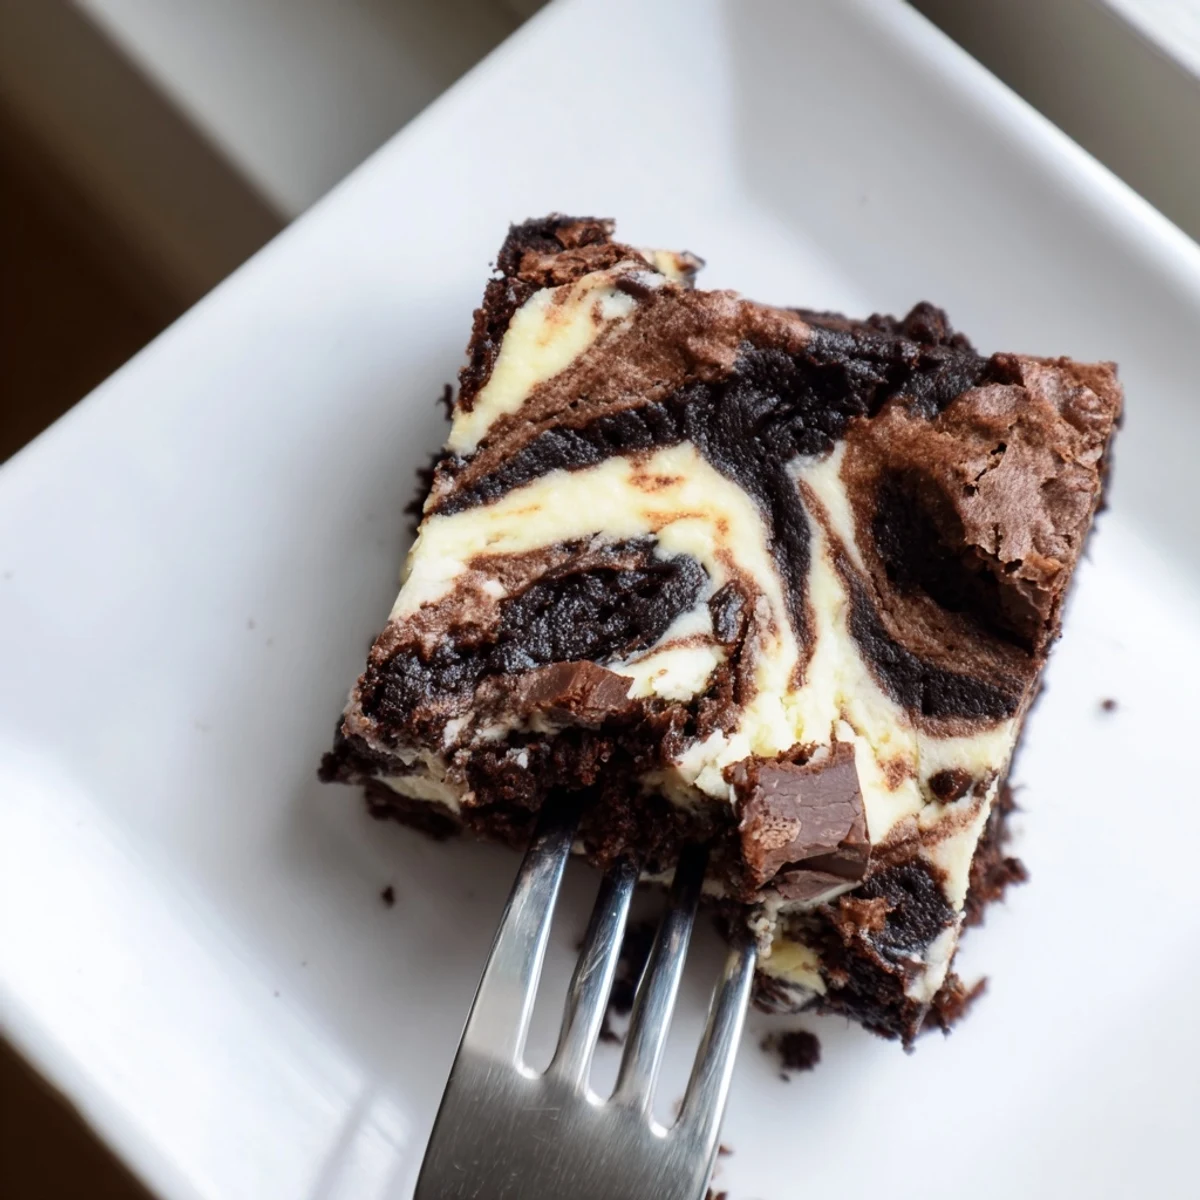
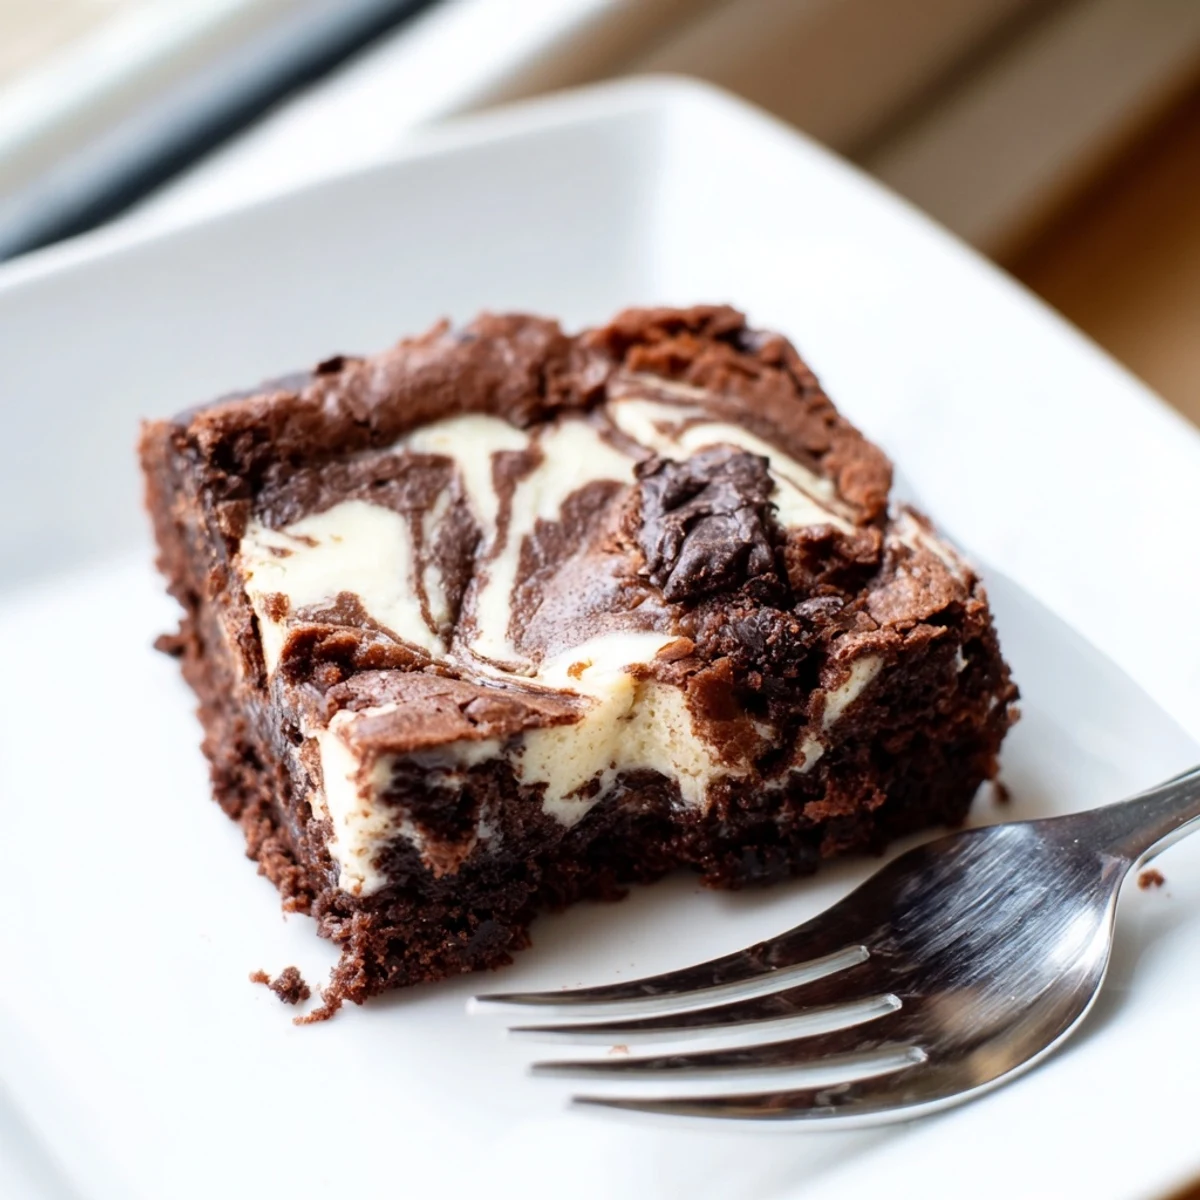
Save These indulgent bars combine the best of both worlds: a rich fudgy chocolate brownie base enhanced with tangy sourdough starter, topped with a creamy vanilla cheesecake layer. The sourdough adds subtle depth and complexity while creating an incredibly moist texture. Swirled together and baked until just set, these bars deliver the perfect balance of sweet and tangy flavors with a satisfying fudgy consistency. Chill before slicing for clean edges that showcase the beautiful marble pattern.
My sourdough discard jar was almost overflowing on a rainy Tuesday when I spotted a half eaten block of cream cheese in the fridge and decided, on a whim, to mash two cravings into one pan. The result was so ridiculous that my partner ate three bars before dinner and then claimed they were only taste testing. The tang from the starter cuts through all that richness in a way that keeps you reaching for another square without feeling weighed down. These bars have since become my default whenever the jar needs emptying and honestly even when it does not.
I brought a full tray of these to a potluck last spring and watched a woman I had never met guard the remaining pieces from other guests with her arm. She tracked me down two weeks later through a mutual friend to ask for the recipe. That is the power of cream cheese and chocolate combined.
Ingredients
- Unsalted butter (115 g): Use good quality butter here because the flavor carries through every bite.
- Dark chocolate, chopped (120 g): Chop it yourself rather than using chips because the texture melts more evenly and the flavor is deeper.
- Granulated sugar (150 g): This amount balances the tang without tipping into cloying territory.
- Large eggs (3 total): Room temperature eggs blend more smoothly into both batters.
- Vanilla extract (2 tsp total): Split between the brownie base and the cheesecake layer for depth in both.
- Sourdough starter, active or discard (90 g): This is the ingredient that transforms a regular brownie into something people cannot quite place.
- All purpose flour (65 g): Keep it minimal for that fudgy, barely held together texture.
- Salt (1/4 tsp): Do not skip this because it sharpens every other flavor.
- Cream cheese, softened (225 g): Let it sit out for at least an hour because cold cream cheese will leave you with lumps no amount of beating can fix.
Instructions
- Set up your pan:
- Heat the oven to 175 degrees C and line your pan with parchment, leaving edges hanging over like handles because you will thank yourself later when lifting the whole slab out cleanly.
- Melt the chocolate base:
- Combine the butter and chocolate in a saucepan over the lowest heat you can manage, stirring gently until the mixture turns glossy and smooth without any scorched spots.
- Build the brownie batter:
- Pull the pan off the heat and stir in the sugar, then whisk in the eggs one at a time until the batter looks thick and slightly shiny before folding in the vanilla, sourdough starter, flour, and salt.
- Save some for swirling:
- Scoop about 60 ml of the brownie batter into a small bowl and set it aside, then spread the rest evenly across the bottom of your prepared pan.
- Whip the cheesecake layer:
- Beat the softened cream cheese with sugar until completely smooth, then add the egg and vanilla and keep beating until the mixture is silky with no streaks.
- Layer and swirl:
- Spread the cheesecake mixture gently over the brownie base, then dollop the reserved brownie batter on top and drag a knife through in figure eights until the pattern looks beautifully marbled.
- Bake and chill:
- Bake for 30 to 35 minutes until the center jiggles just slightly when nudged, then cool completely in the pan and refrigerate for at least an hour before slicing into 16 bars.
 Save
Save The moment when you pull the knife through that marbled top and see the pattern come alive is honestly one of the most satisfying feelings in home baking. It never looks the same twice and that is part of the charm.
Making It Your Own
I have stirred espresso powder into the brownie base for a mocha version that tastes like a fancy coffee shop pastry. Chopped toasted pecans folded in at the last minute add a crunch that contrasts beautifully with the creamy cheesecake. A friend swears by adding a handful of white chocolate chips to the batter and she is not wrong.
Storage That Actually Works
These bars keep beautifully in the fridge for up to five days if they last that long, and the texture actually improves after the first day as the flavors settle together. Wrap them tightly in foil or store in an airtight container with parchment between layers so they do not stick together.
What to Watch For
There are a few small things that separate a good batch from a great one, and most of them come down to temperature and timing. Pay attention to these details and the recipe will reward you every single time.
- Make sure the cream cheese is truly soft before beating or you will chase lumps forever.
- The brownie batter should still be slightly warm when you add the eggs so they incorporate without cooking.
- Always chill before slicing because warm bars will crumble and fall apart on you.
 Save
Save Keep a batch in the fridge and you will always have something incredible to offer unexpected guests, or just to quiet a Tuesday night chocolate craving with zero guilt. These bars are proof that the best recipes come from using what you already have on hand.
Recipe FAQs
- → Can I use unfed sourdough starter?
-
Yes, you can use either active fed starter or unfed discard. Both work beautifully in this batter and provide that subtle tangy flavor that complements the rich chocolate.
- → Why is there sourdough in brownies?
-
Sourdough starter adds moisture and creates a more complex flavor profile. The slight tanginess balances the sweetness of the chocolate while making the texture incredibly fudgy and tender.
- → How do I know when the bars are done baking?
-
The bars are ready when the center is just set and a toothpick inserted comes out with a few moist crumbs. The cheesecake layer should still have a slight wobble but not be liquid.
- → Do I need to chill these before cutting?
-
Yes, chilling for at least 1 hour is essential. This allows the cheesecake layer to firm up completely, ensuring clean cuts and beautiful swirls when you slice the bars.
- → Can I freeze these bars?
-
Absolutely! Wrap individual bars tightly in plastic wrap and freeze for up to 3 months. Thaw overnight in the refrigerator for best texture and flavor.
- → What size pan should I use?
-
A 20 x 20 cm (8 x 8 inch) square pan works perfectly. Using a larger pan will result in thinner bars that may overcook, while a smaller pan will make thicker bars that need longer baking time.
