 Save
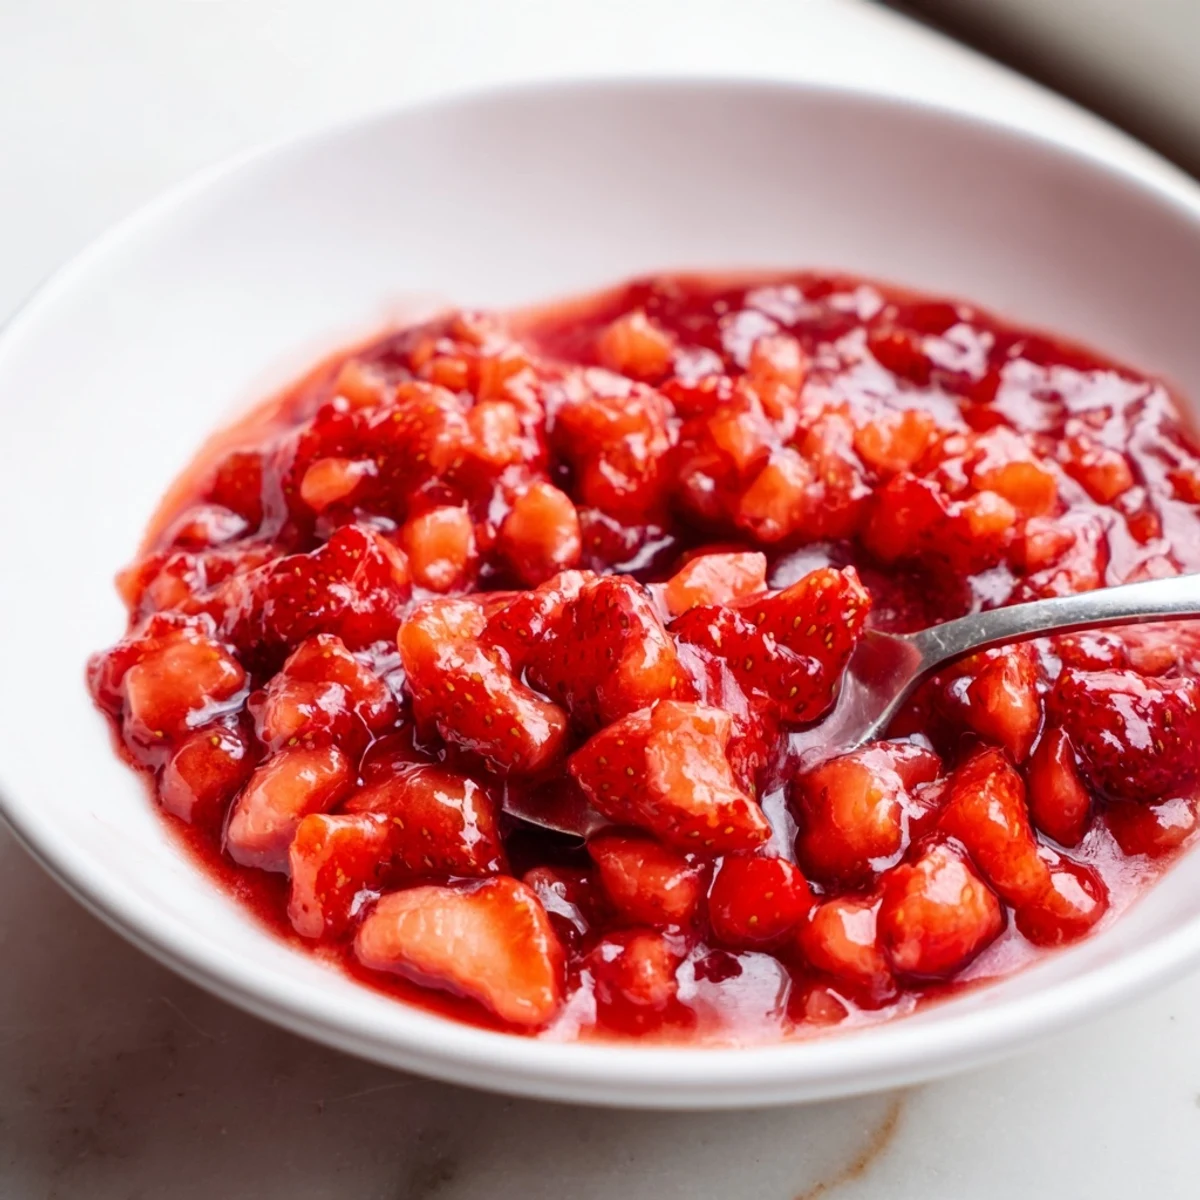
Save This vibrant strawberry filling combines diced fresh berries, sugar and lemon, cooked briefly until the fruit releases juices. A cornstarch slurry is whisked in and simmered until the mixture becomes glossy and thick; total time is about 25 minutes and yields roughly 2 cups.
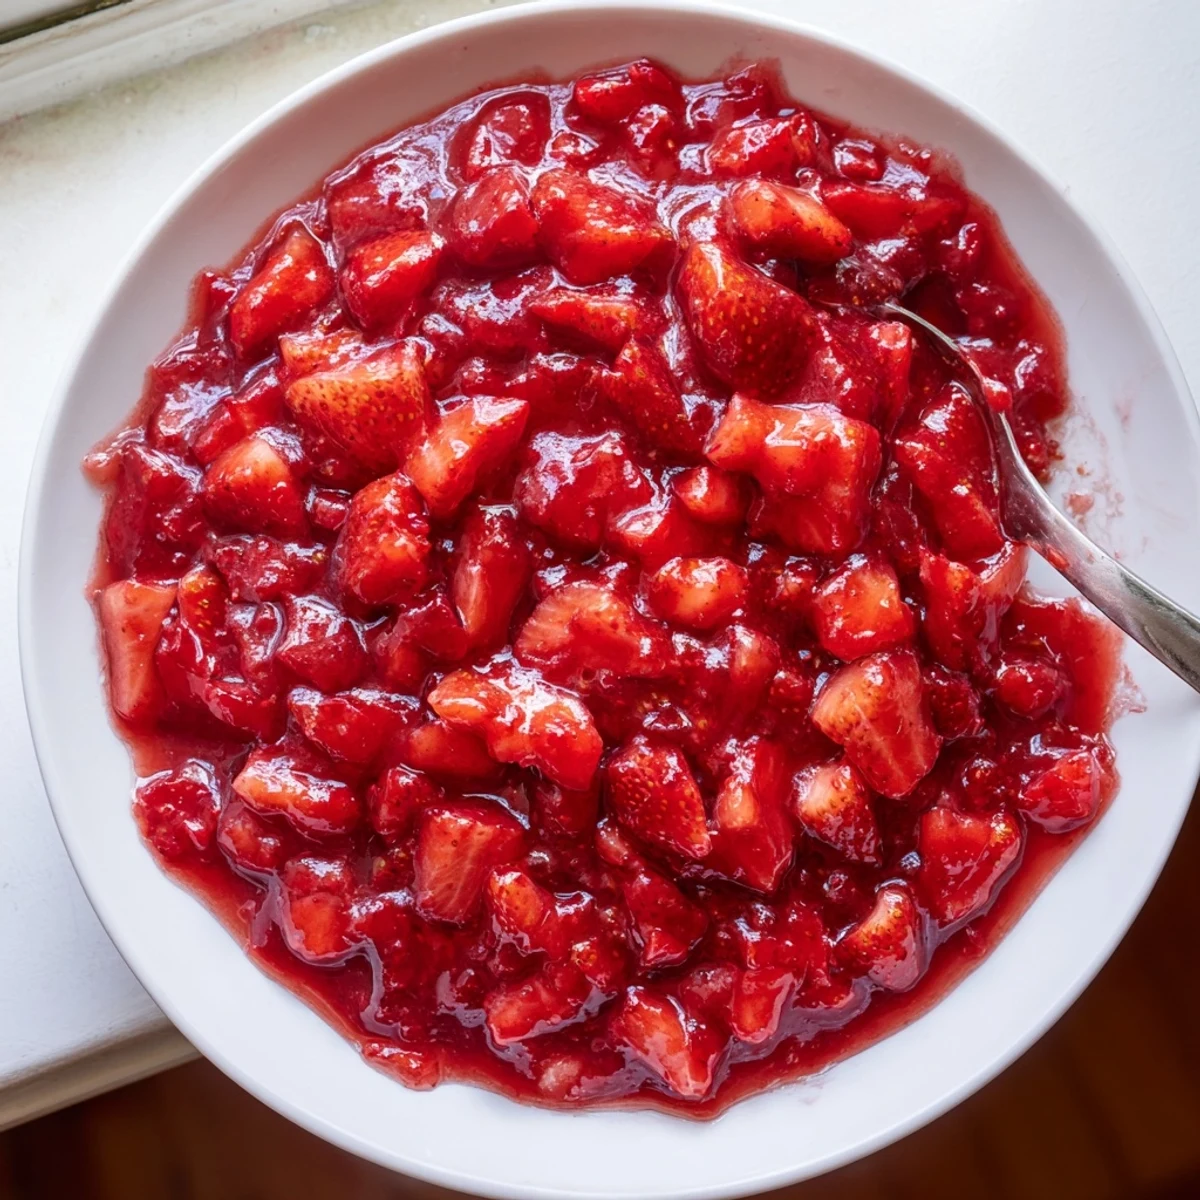
Cool completely before assembling so it firms up; store in an airtight container in the refrigerator up to 5 days. Mash or blend for a smoother texture, swap berries to vary flavor, and adjust sugar or lemon to taste.
The gentle pop and crackle when strawberries hit a warm saucepan always reminds me that something good is about to happen. One breezy afternoon, I found myself with a surplus of perfectly ripe berries and a craving for something memorable to tuck between layers of cake. The aroma of simmering fruit quickly had the whole kitchen awake with anticipation. No fancy tricks, just pure strawberry flavor coaxed into something irresistible.
The last time I made this, my friend Anna hovered over the stove, impatiently asking if she could swipe a taste as it cooled. Watching her try to blow on her spoon while grinning convinced me that this filling turns cakes into edible celebrations, no matter the occasion.
Ingredients
- Fresh strawberries: Ripe berries make all the difference—the redder and juicier, the better; I always taste one before I dice.
- Granulated sugar: Sweetens gently without masking the natural tartness; if your berries are very sweet, you can get away with a bit less.
- Lemon juice: A little splash sharpens the fruit flavor and keeps the color bright; always use fresh if you can.
- Cornstarch: Essential for a thick, glossy texture; whisk well with water to avoid lumps.
- Water: Helps dissolve the cornstarch smoothly, so there are no pasty bites in the finished filling.
- Pure vanilla extract (optional): Adds a soft floral note; I only use it if I want the flavor to feel extra luxurious.
Instructions
- Start the strawberries:
- Tumble the diced strawberries, sugar, and lemon juice into a saucepan, then stir until the juicy scent wafts up and the berries begin to glisten.
- Simmer and soften:
- Let the mixture cook over medium heat, stirring now and then, until the fruit slumps and a rosy syrup forms at the bottom of the pan.
- Mix the thickener:
- Whisk the cornstarch and water briskly in a separate bowl until the mixture runs smooth with no clumps.
- Thicken the filling:
- Pour the cornstarch slurry into the berries, stirring constantly; soon, the whole pan will turn glossy and lush, and the bubbling will slow as it thickens.
- Add a little luxury:
- Once thick and shiny, remove from the heat and stir in the vanilla extract—only if you want that extra layer of coziness.
- Cool and set:
- Let the filling rest until it cools to room temperature; it will continue to firm up, making it perfect for cake layers.
- Store smartly:
- Spoon leftovers into a container, lid tightly, and let them chill in the fridge for up to five days (if they last that long).
 Save
Save The first cake I ever filled with this was devoured so quickly that I barely snagged a slice for myself. Someone asked if it was store-bought because it tasted so fresh, and I had to laugh—homemade tastes like you made an effort, even if it was mostly stirring and waiting.
Tiny Tweaks That Make a Big Difference
I learned that swapping out strawberries for in-season raspberries makes the filling pop with tang, or a handful of blueberries adds a moody, deep flavor. Just remember, each fruit gives its own personality to the final bite.
How I Avoid Lumps and Runny Fillings
If you’ve ever poured cornstarch straight into a bubbling pot, you already know the heartbreak of gummy clumps. Creating a slurry with water first, then pouring slowly while whisking, delivers that seamless texture every time.
Quick Fixes and Last-Minute Magic
Don’t be afraid to mash some berries as you go if you like a smoother feel, or pulse the whole batch with a hand blender. Extra filling stirs beautifully into yogurt or layers parfaits for brunch. The key is chilling it long enough so it doesn’t sneak out the sides of your cake.
- If you want a glossy finish, watch for the filling to turn nearly translucent as it thickens.
- Keep tasting as you go—especially with different strawberry varieties.
- Never skip the total cooling time before adding the filling to your cake.
 Save
Save Sometimes it’s the simple fillings that get the biggest smiles. Share this with someone who loves strawberries, and you’ll understand why I always keep a stash ready in my fridge.
Recipe FAQs
- → How do I prevent a runny filling?
-
Cook until the mixture visibly thickens and becomes glossy; ensure the cornstarch slurry is smooth before adding and simmer a minute or two after adding to fully activate the starch. Cooling will also firm it up.
- → Can I use frozen strawberries?
-
Yes. Thaw and drain excess liquid before cooking, then adjust cooking time and possibly add a touch more cornstarch to reach the desired thickness, since frozen fruit can release more juice.
- → How long does the filling keep?
-
Stored in an airtight container in the refrigerator, the filling will keep up to 5 days. Reheat gently to loosen before using if it firms too much.
- → How can I make the filling smoother?
-
Mash the strawberries with a fork while cooking or pulse briefly with an immersion blender after cooking. For an ultra-smooth finish, strain the mixture through a fine sieve to remove seeds and larger bits.
- → Are there alternatives to cornstarch?
-
You can use tapioca starch or instant clearjel in similar proportions; note that different thickeners yield slightly different textures, so adjust quantity and cook time to achieve the right hold.
- → How do I balance sweetness and tartness?
-
Taste as the fruit cooks and adjust sugar or lemon to preference. Remember that flavors concentrate as the filling cools, so aim for a slightly brighter taste while hot.
