 Save
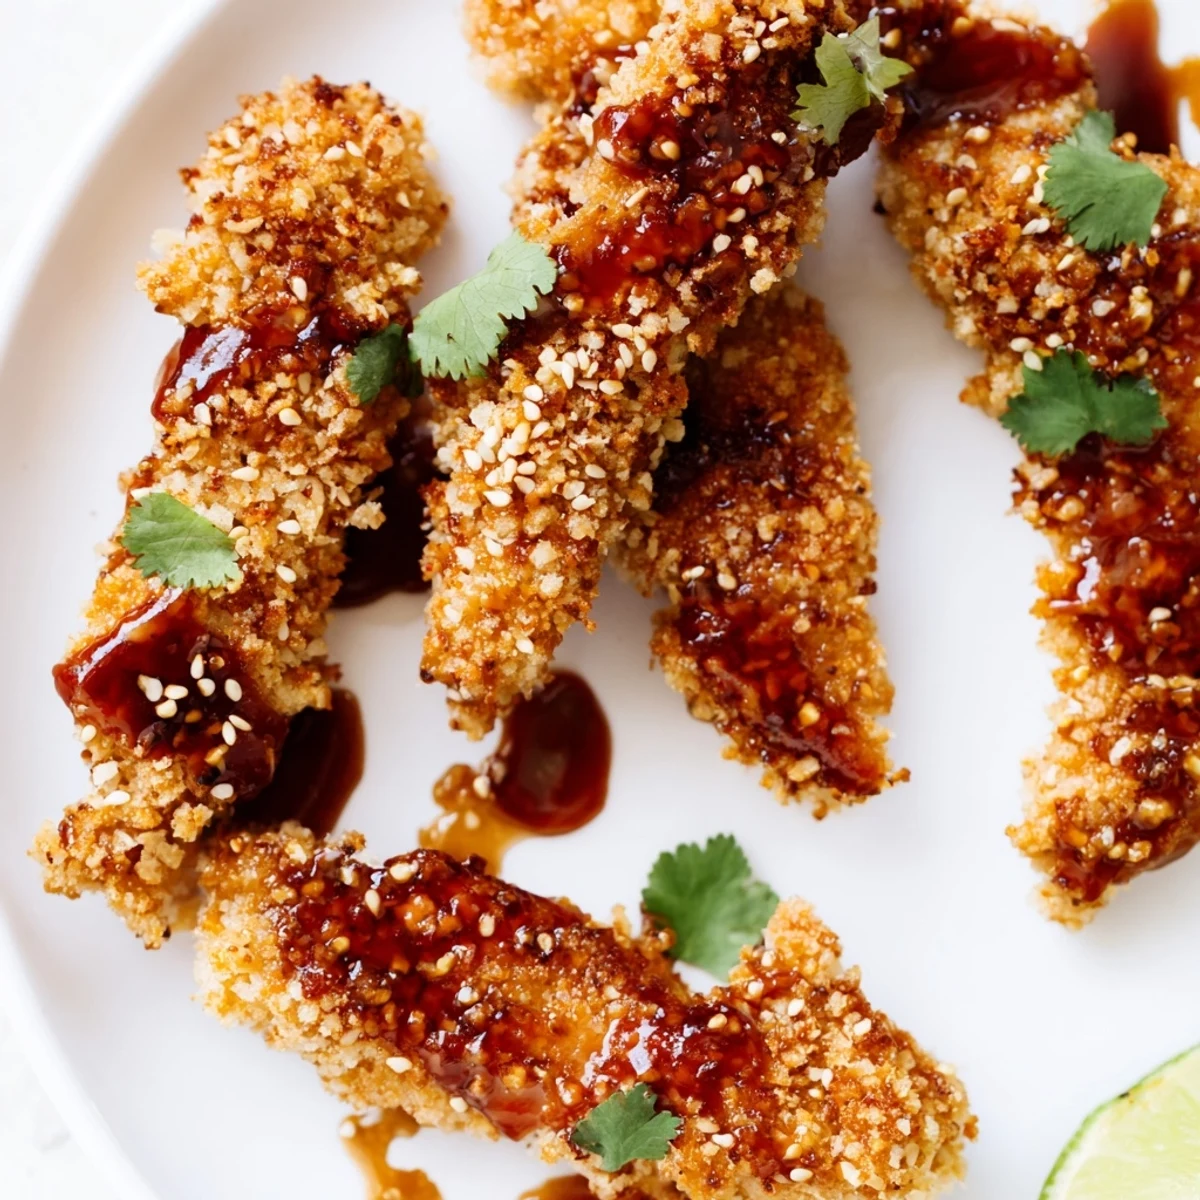
Save These Thai sticky chicken fingers feature tender chicken breasts cut into strips, coated in a crispy panko breadcrumb crust, and baked until golden. The real magic happens when they get tossed in a luscious glaze made from sweet chili sauce, soy sauce, honey, rice vinegar, and a kick of sriracha.
Ready in just 35 minutes with only 15 minutes of prep, they make an excellent weeknight dinner or party appetizer. Garnished with fresh cilantro and toasted sesame seeds, they bring bold Thai-inspired flavors to your table without deep frying.
My friend Minh tossed a takeout menu at me across the kitchen table and declared that my cooking had gone boring, which stung mostly because he was right. That challenge sent me down a rabbit hole of Thai inspired sauces until these sticky chicken fingers emerged, crispy and lacquered with a glaze so good Minh literally licked his plate. The oven does the heavy lifting, which means no splattering oil on my stovetop, and the sauce comes together in about three minutes. Now they show up at every casual dinner party I host.
I once made a double batch for a backyard movie night and watched six adults go completely silent during the opening scene because nobody could stop eating long enough to pay attention to the screen.
Ingredients
- 600 g boneless skinless chicken breasts cut into strips: Slice them roughly even in thickness so every piece finishes cooking at the same time.
- Salt and black pepper: A simple seasoning layer underneath the breading makes a noticeable difference in flavor.
- All purpose flour: Creates the base coat that helps the egg adhere properly to the chicken.
- 2 large eggs and 2 tbsp water: The water thins the egg just enough for an even, light coating.
- Panko breadcrumbs: These Japanese breadcrumbs are the secret to that irresistible crunch.
- Sweet chili sauce: The backbone of the glaze, providing sweetness with a gentle warmth.
- Soy sauce: Adds salty depth that grounds the sweeter elements beautifully.
- Honey: Helps the sauce cling to every ridge and crevice of the crispy chicken.
- Rice vinegar: A splash of acidity that keeps the sauce from tasting cloying.
- Sriracha: Optional but recommended for anyone who enjoys a building heat.
- Sesame oil: Just a teaspoon adds a toasty, aromatic note that ties everything to its Thai inspiration.
- Garlic clove minced: Fresh garlic stirred into the warm sauce releases an aroma that fills the whole kitchen.
- Chopped fresh cilantro, toasted sesame seeds, and lime wedges: These finishing touches add color, texture, and a bright final squeeze.
Instructions
- Preheat and prep the pan:
- Set your oven to 220 degrees C (425 degrees F), line a baking sheet with parchment paper, and give it a light coating of oil so nothing sticks.
- Season the chicken:
- Pat the strips dry and sprinkle them evenly with salt and pepper on all sides.
- Set up the breading station:
- Arrange three shallow bowls in a row containing flour, the beaten egg mixture, and panko breadcrumbs for a smooth assembly line.
- Bread each strip:
- Dredge in flour first, shake off the excess, dip into egg, then press firmly into panko so the crumbs really grab on.
- Bake until golden:
- Spread the strips on the baking sheet without crowding and bake 18 to 20 minutes, flipping once halfway through, until deeply golden and cooked through.
- Make the sauce:
- While the chicken bakes, whisk sweet chili sauce, soy sauce, honey, rice vinegar, sriracha, sesame oil, and garlic in a saucepan over medium heat until it just starts to bubble, then pull it off the burner.
- Toss and coat:
- Transfer the hot baked chicken to a large bowl, pour the warm sauce over the top, and gently tumble everything together with tongs until every piece is glazed.
- Garnish and serve:
- Arrange on a platter, scatter cilantro and sesame seeds over the top, and add lime wedges on the side for squeezing.
 Save
Save The silence around that backyard projector told me these had graduated from experiment to tradition.
What to Serve Alongside
A pile of jasmine rice soaks up every drop of extra sauce that pools on the plate, which is exactly what you want. A crunchy veggie slaw with a lime dressing cuts through the richness and adds welcome freshness to each bite.
Making It Gluten Free
Swap the all purpose flour for a one to one gluten free blend, use gluten free panko, and replace soy sauce with tamari. I tested this for a friend with a gluten sensitivity and she said she could not tell the difference.
Leftovers and Reheating
Leftover sticky chicken fingers reheat surprisingly well if you spread them on a baking sheet and warm them at 180 degrees C (350 degrees F) for about eight minutes, which crisps the panko back up without drying out the meat.
- Store them in an airtight container in the refrigerator for up to three days.
- Avoid microwaving because the breading turns gummy almost instantly.
- If making ahead for a party, bake the chicken and make the sauce separately, then toss right before serving for maximum crunch.
 Save
Save Keep a stack of napkins nearby because fingers will be licked and that is the highest compliment any appetizer can receive.
Recipe FAQs
- → Can I make Thai sticky chicken fingers ahead of time?
-
Yes, you can bake the chicken strips ahead and store them refrigerated for up to 2 days. Reheat in the oven at 190°C (375°F) for 8-10 minutes to restore crispiness, then toss in the warm sauce just before serving for the best texture.
- → Can I use chicken thighs instead of breasts?
-
Absolutely. Boneless, skinless chicken thighs work well and stay juicier. Cut them into similar-sized strips and follow the same breading and baking process. You may need an extra 2-3 minutes of baking time to ensure they cook through completely.
- → How do I make this dish gluten-free?
-
Swap the all-purpose flour for a gluten-free flour blend, use gluten-free panko breadcrumbs, and replace soy sauce with tamari. Double-check that your sweet chili sauce and rice vinegar are certified gluten-free as well.
- → What should I serve with Thai sticky chicken fingers?
-
They pair beautifully with steamed jasmine rice and a fresh cucumber salad or crunchy veggie slaw. For a lighter option, serve them alongside a green papaya salad or wrapped in lettuce cups with pickled vegetables.
- → Can I fry these instead of baking?
-
Yes, shallow fry the breaded strips in oil at 175°C (350°F) for about 3-4 minutes per side until golden and cooked through. Drain on a wire rack set over paper towels before tossing in the sauce. Frying yields an extra-crispy coating but adds more fat.
- → How spicy are these chicken fingers?
-
The sweet chili sauce provides mild warmth, while the optional sriracha lets you control the heat. Without sriracha, they're family-friendly with a gentle tingle. With the full tablespoon, expect a noticeable but manageable kick that balances nicely with the honey.
