 Save
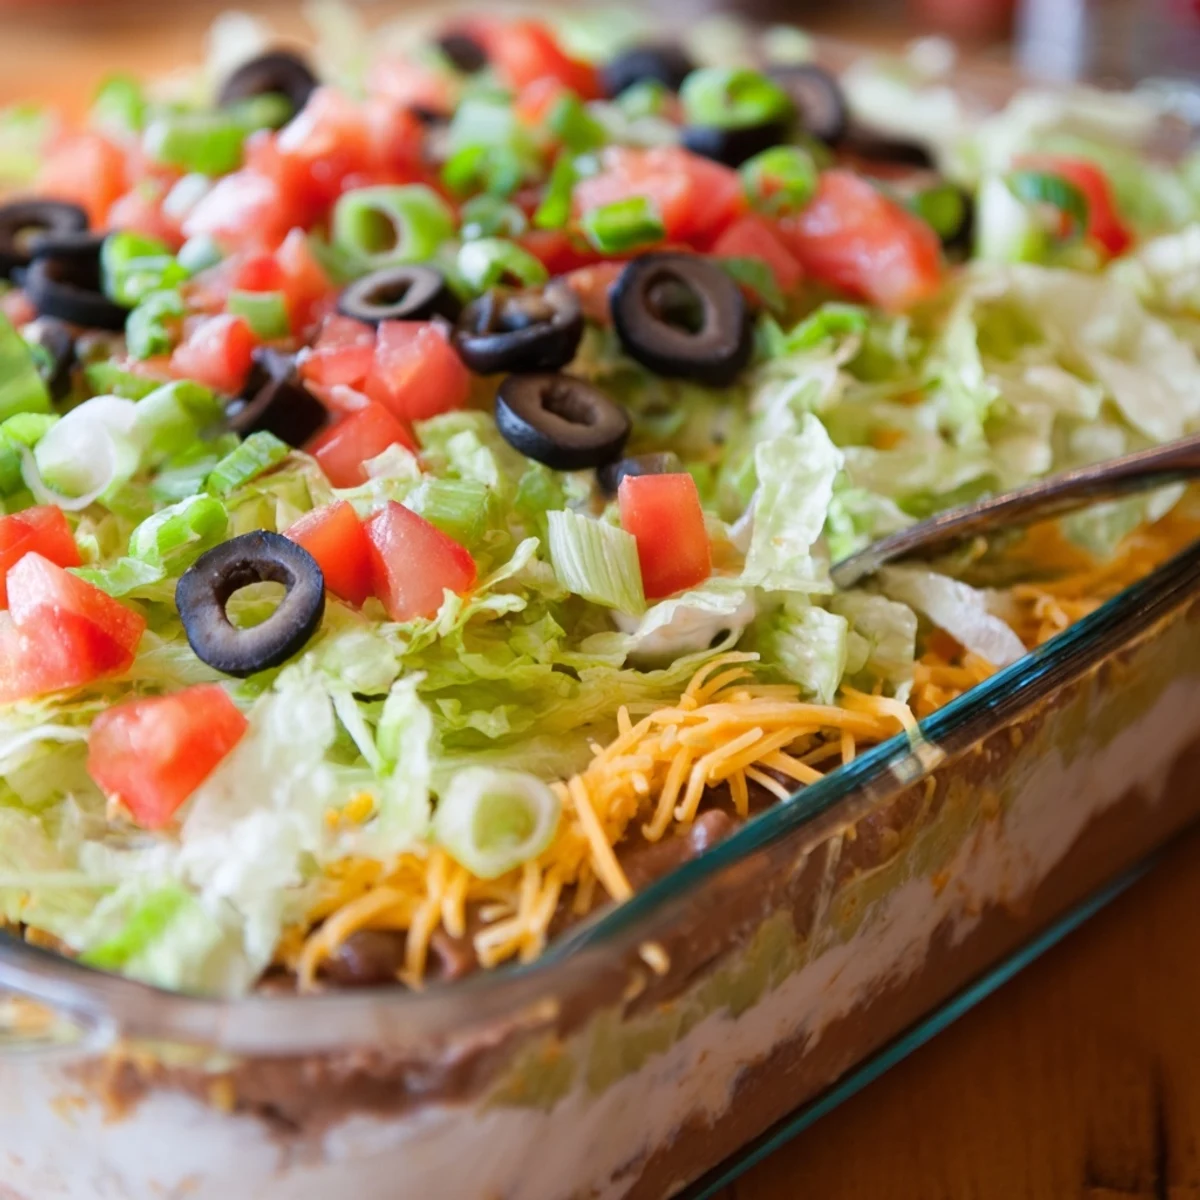
Save This vibrant seven-layer taco dip brings classic Tex-Mex flavors to any festive occasion. It starts with a base of creamy refried beans, topped with a seasoned sour cream and cream cheese mixture. Freshly mashed avocado provides a rich layer, followed by zesty salsa. The final savory layers include shredded cheddar, crisp lettuce, diced tomatoes, black olives, and green onions. It's an easy, no-cook preparation, perfect for entertaining a crowd. Simply combine ingredients, layer them in a dish, chill, and serve with tortilla chips. This delightful appetizer is ready in just 20 minutes, offering a satisfying and colorful addition to your spread.
I still remember the buzz around this End Zone Seven Layer Taco Dip at our impromptu game night. The vibrant colors alone were enough to draw everyone in. It felt less like a snack and more like a celebratory centerpiece. Everyone kept asking for more, proving it&s an absolute winner.
There was one humid summer evening, our backyard filled with the sound of cicadas and laughter, when this dip truly shone. Kids were dipping tortilla chips in between rounds of tag, and the adults lingered around the platter, trading stories. It was just a simple, happy moment, made even better by the easy, comforting flavors of this dish.
Ingredients
- Refried beans: These are your foundation, offering a rich, savory base that holds everything else beautifully.
- Sour cream & cream cheese: The dynamic duo creating that irresistible, tangy creaminess we all crave in a taco dip.
- Taco seasoning: The secret flavor punch, perfectly blending with the creamy layers to give it that authentic Tex-Mex zing.
- Avocados: Choose ripe ones for a smooth, buttery guacamole that adds a fresh, luxurious touch.
- Lime juice & salt: Just a splash and a pinch elevate the avocado, preventing browning and brightening the flavor.
- Chunky salsa: It provides a sweet, tangy, and sometimes spicy burst, plus beautiful color against the green.
- Shredded cheddar cheese: The classic choice for a reason, its sharp notes perfectly complement the other layers.
- Iceberg lettuce: Adds a delightful crunch and a cool, fresh contrast to the richer ingredients.
- Diced tomatoes: Bright, juicy bursts of flavor and a welcome pop of red on top.
- Sliced black olives: Their distinctive savory taste and dark color are quintessential for taco dip aesthetics.
- Chopped green onions: A mild oniony bite that cuts through the richness and adds another layer of freshness.
- Tortilla chips: Your essential scoop, make sure they are sturdy enough to handle all seven layers of deliciousness.
Instructions
- Whip Up the Creamy Dream:
- In a medium bowl, combine your softened cream cheese, sour cream, and taco seasoning. Mix until it&s perfectly smooth and well combined, leaving no lumps behind.
- Mash Your Guac:
- Grab another bowl and mash your ripe avocados with the lime juice and a sprinkle of salt. Aim for a slightly chunky texture, not completely smooth.
- Lay the Bean Base:
- Spread the refried beans evenly across the bottom of your serving dish. This is your sturdy starting point.
- Add the Creamy Layer:
- Carefully dollop and then spread the seasoned sour cream mixture over the beans. Be gentle to keep your layers distinct.
- Spoon on the Guacamole:
- Now, spoon the fresh guacamole over the creamy layer. Take your time to cover it evenly.
- Salsa Time:
- Gently spread the chunky salsa over the guacamole. This vibrant layer really makes the dip pop visually.
- Cheese Please:
- Sprinkle a generous layer of shredded cheddar cheese over the salsa. It&s a classic touch everyone loves.
- Top it Fresh:
- Finally, arrange the shredded lettuce, diced tomatoes, black olives, and green onions on top in neat layers. This is where your dip truly comes alive with color and texture.
- Chill and Serve:
- Pop your masterpiece in the fridge for at least 30 minutes to let the flavors meld and the layers firm up. Then, serve it with a generous pile of sturdy tortilla chips.
 Save
Save This dip became my go-to offering for any potluck because I knew it was always a hit. It transcended being just food and became a symbol of easy, joyful get-togethers. Seeing friends gather around it, sharing laughs, made every minute of prep worthwhile.
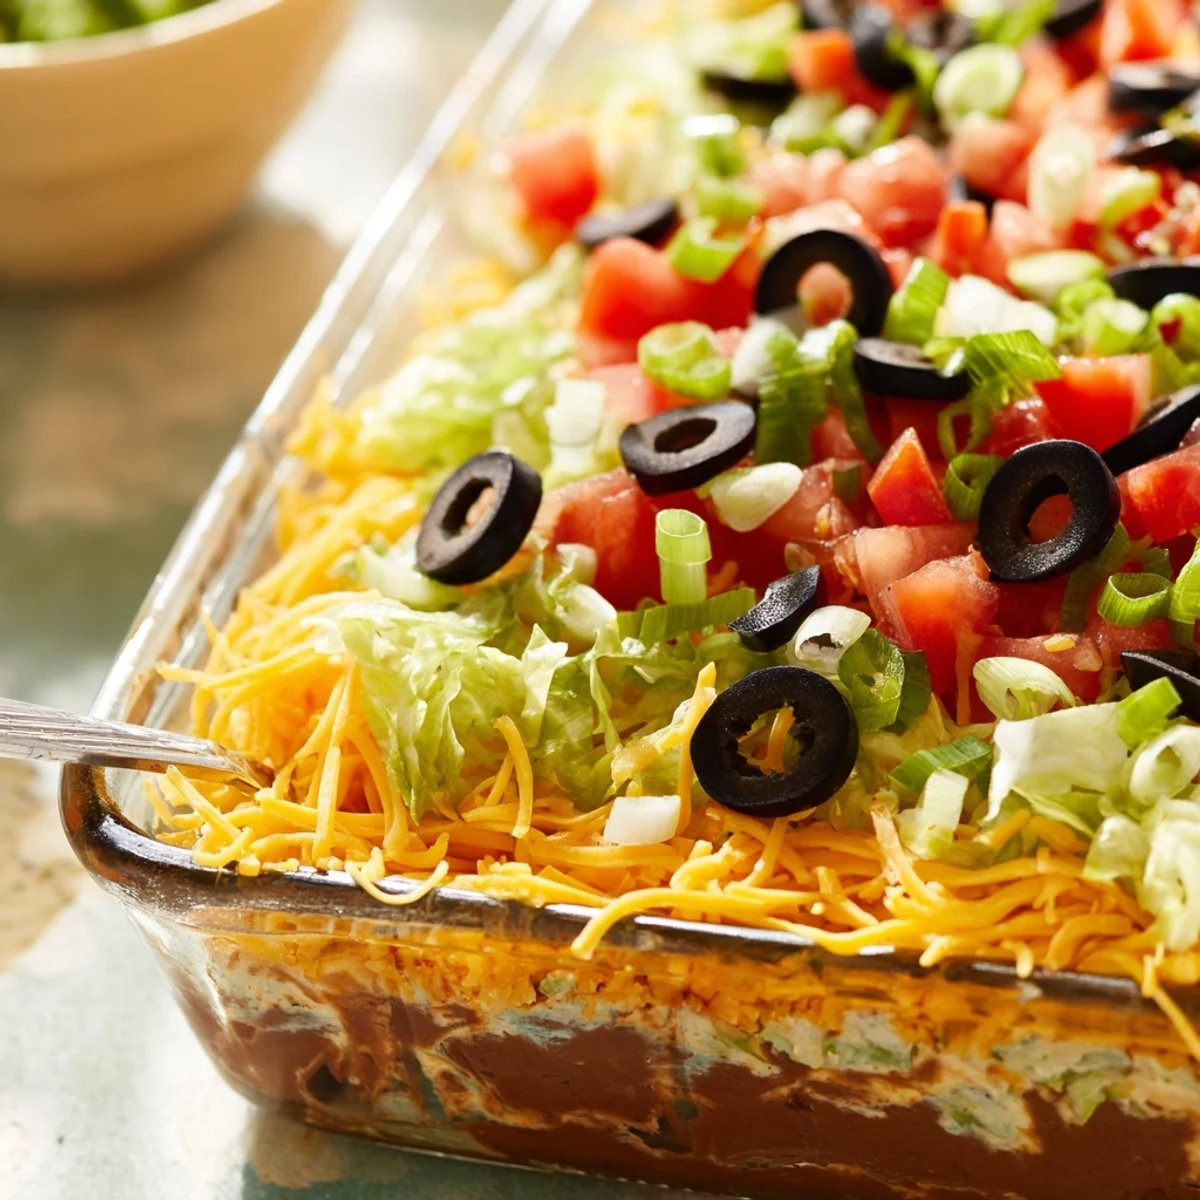
The Art of Layering
Creating beautiful, distinct layers is key to this dip&s appeal. An offset spatula or the back of a spoon works wonders for gently spreading the softer layers without disturbing the one below. Start from the center and push outwards slowly.
Customizing Your Dip
Don&t hesitate to play with the flavors; that&s part of the fun. For a kick, add diced jalapeños to the salsa layer or use a spicier taco seasoning. You could even swirl in a bit of hot sauce to the creamy layer.
Serving & Storage Secrets
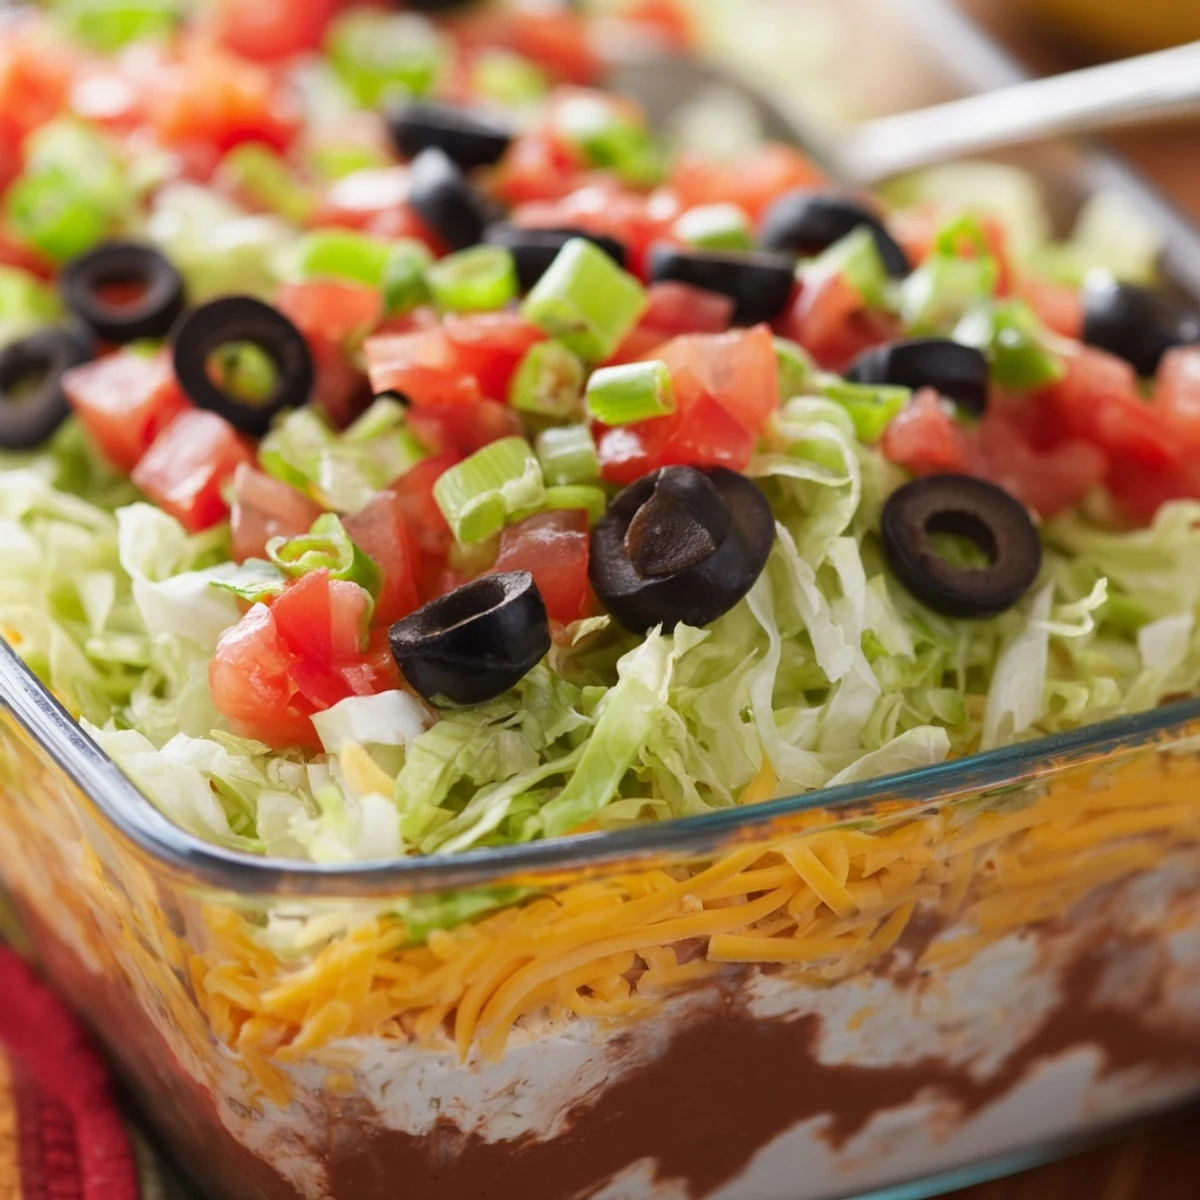
Serving your dip perfectly chilled truly enhances its refreshing taste and texture balance. It allows the creaminess to shine against the crisp toppings. Also, a clear glass dish is your best friend here.
- Always keep this dip refrigerated until just before serving for optimal freshness.
- If you have any leftovers, cover the dish tightly with plastic wrap to minimize air exposure.
- Enjoy the remaining dip within two days for the best quality.
 Save
Save This End Zone Seven Layer Taco Dip is more than just a snack; it&s a celebration in a dish. I hope it brings as much joy to your table as it has to mine.
Recipe FAQs
- → How long does this dip need to chill?
-
For optimal flavor and layering, it's best to chill the dip for at least 30 minutes before serving. This allows the layers to set and flavors to meld beautifully.
- → Can I make this dip ahead of time?
-
Yes, you can prepare this layered dip a few hours in advance. For best results, add the fresh toppings like lettuce and tomatoes closer to serving time to maintain their crispness.
- → Are there any substitutions for sour cream?
-
Absolutely! For a lighter option, you can easily substitute Greek yogurt for the sour cream in the creamy layer. Ensure it's plain, unsweetened yogurt for the best flavor.
- → How can I make this dip spicier?
-
To add a kick, use a hot salsa or incorporate finely diced jalapeños, either fresh or pickled, into any of the layers, particularly the salsa or bean layers.
- → Is this dip suitable for vegetarians?
-
Yes, this layered dip is naturally vegetarian if you use vegetarian refried beans. It contains no meat products, making it a great option for diverse dietary needs.
